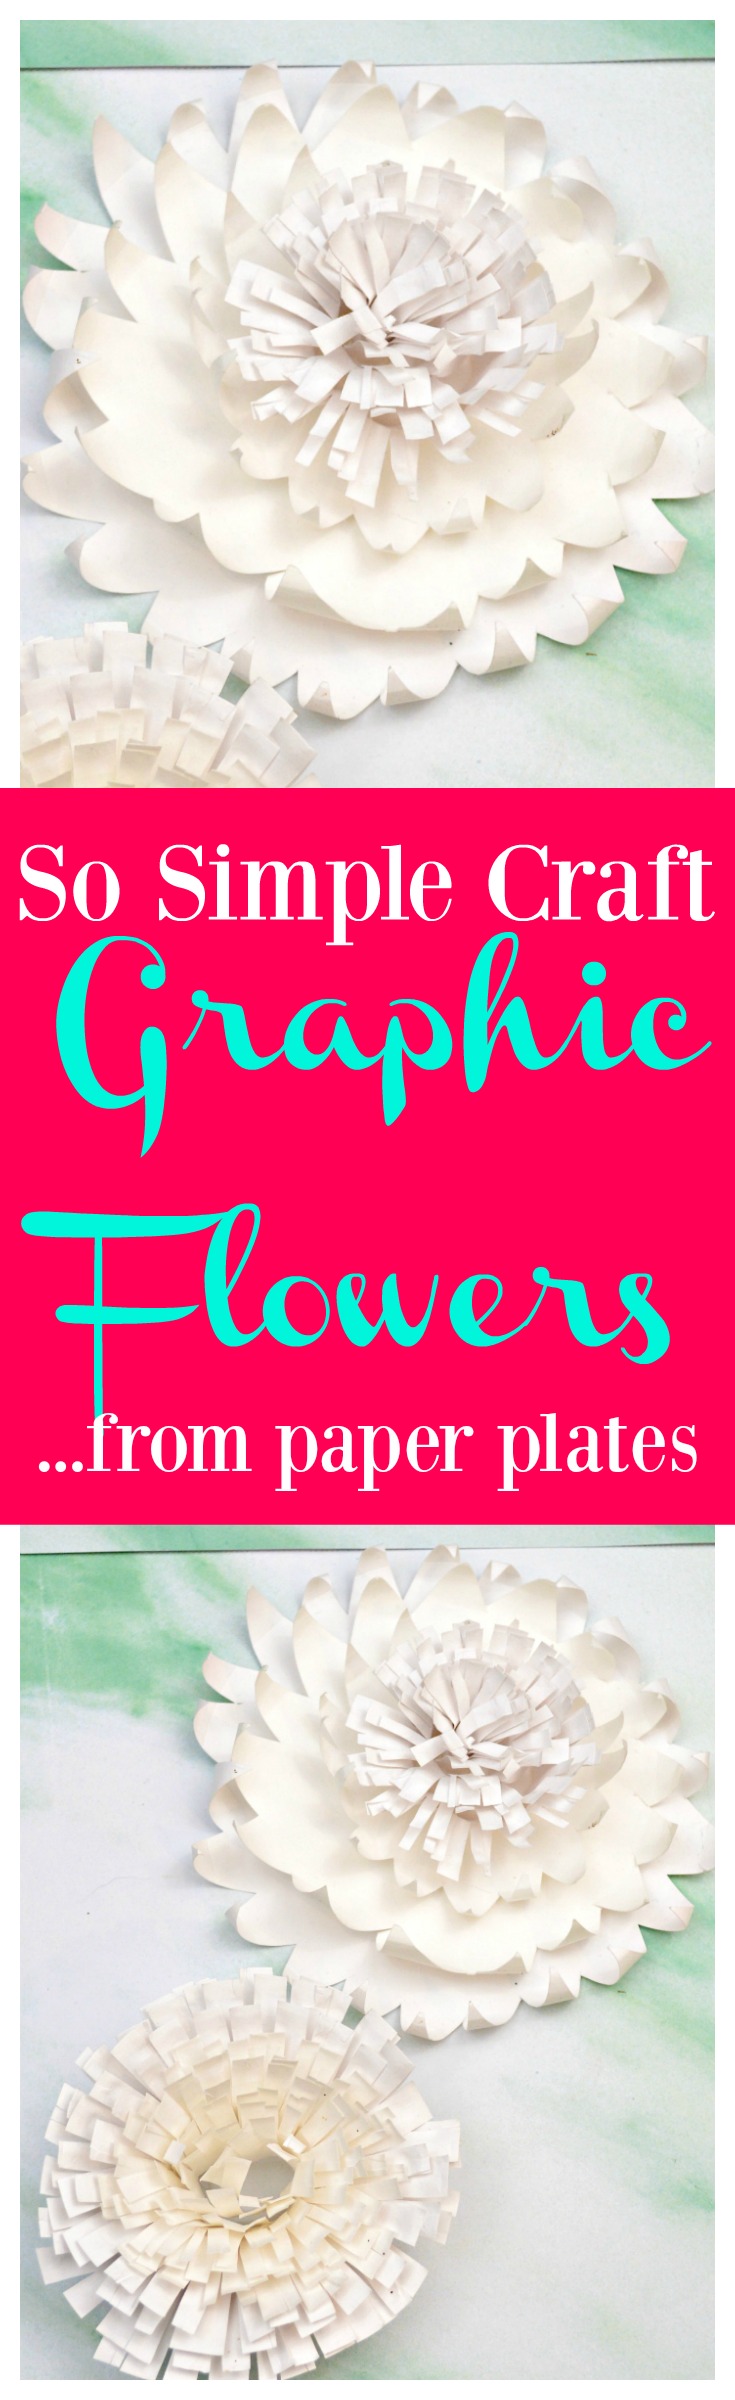
**This post contains affiliate links. If you click one and make a purchase, I may receive a commission at no cost to you.** When I make something crafty, I want it to be aesthetically pleasing, useful in some way and also inexpensive. As much as I love crafting, I’m not going to make something that costs more to make than to buy. The graphic paper flowers from paper plates I made this week fit into all three of those categories. They are pretty in a sort of stark, graphic way, they are useful because they are going to be bringing some much needed brightness to my dark living room (I’ll reveal that finished product later!) and they are super inexpensive to make. I was inspired by this wreath by Alisa Burke and I’ve included a tutorial for each type of flower I made for you to follow.
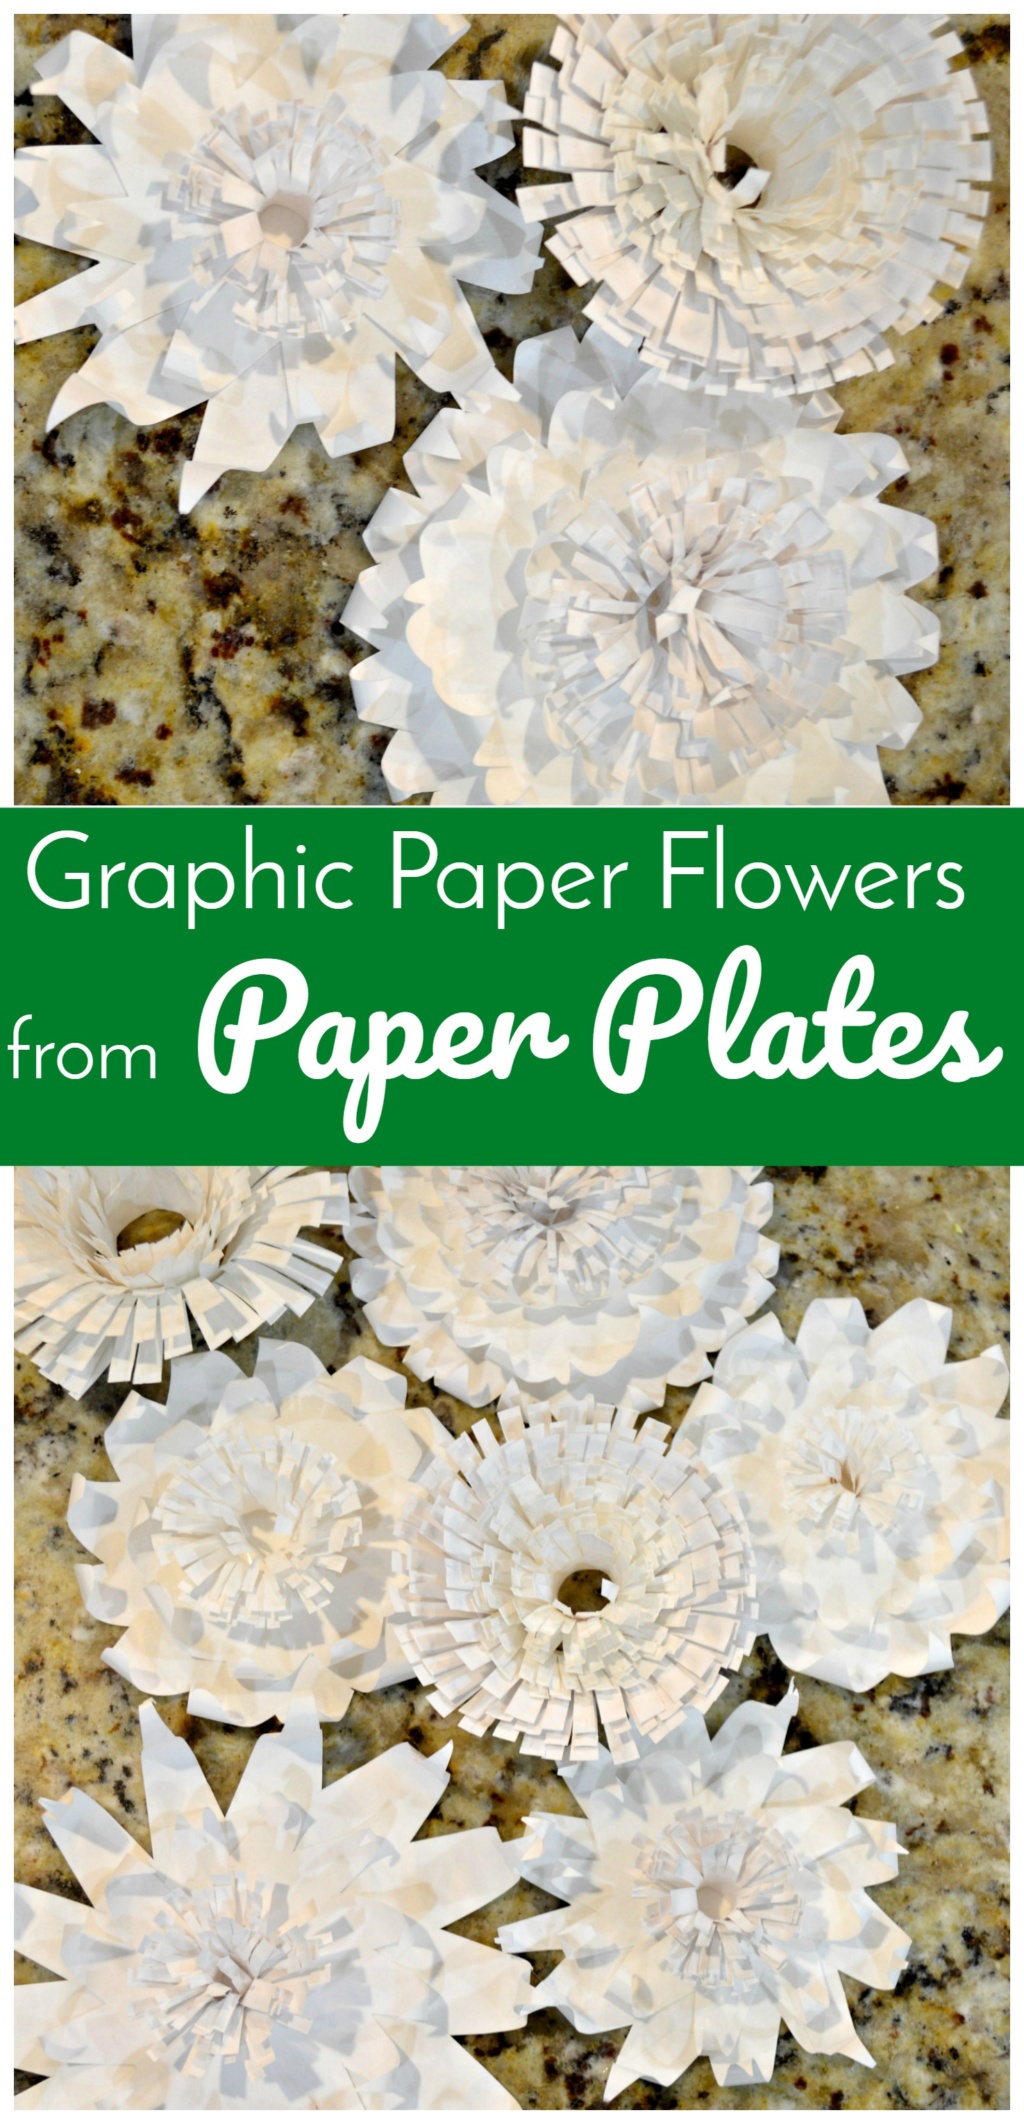
These are even better in person, I promise, but they were super difficult to photograph. The “petals” create shadows on the flower which adds some nice depth in real life, but the shadows are not so great for photos. I love that they are monochrome, but with tons of texture. I made three types of flowers, but they each use just two simple paper plate cutting techniques.
Graphic Paper Flowers from Paper Plates
Materials
Flower #1
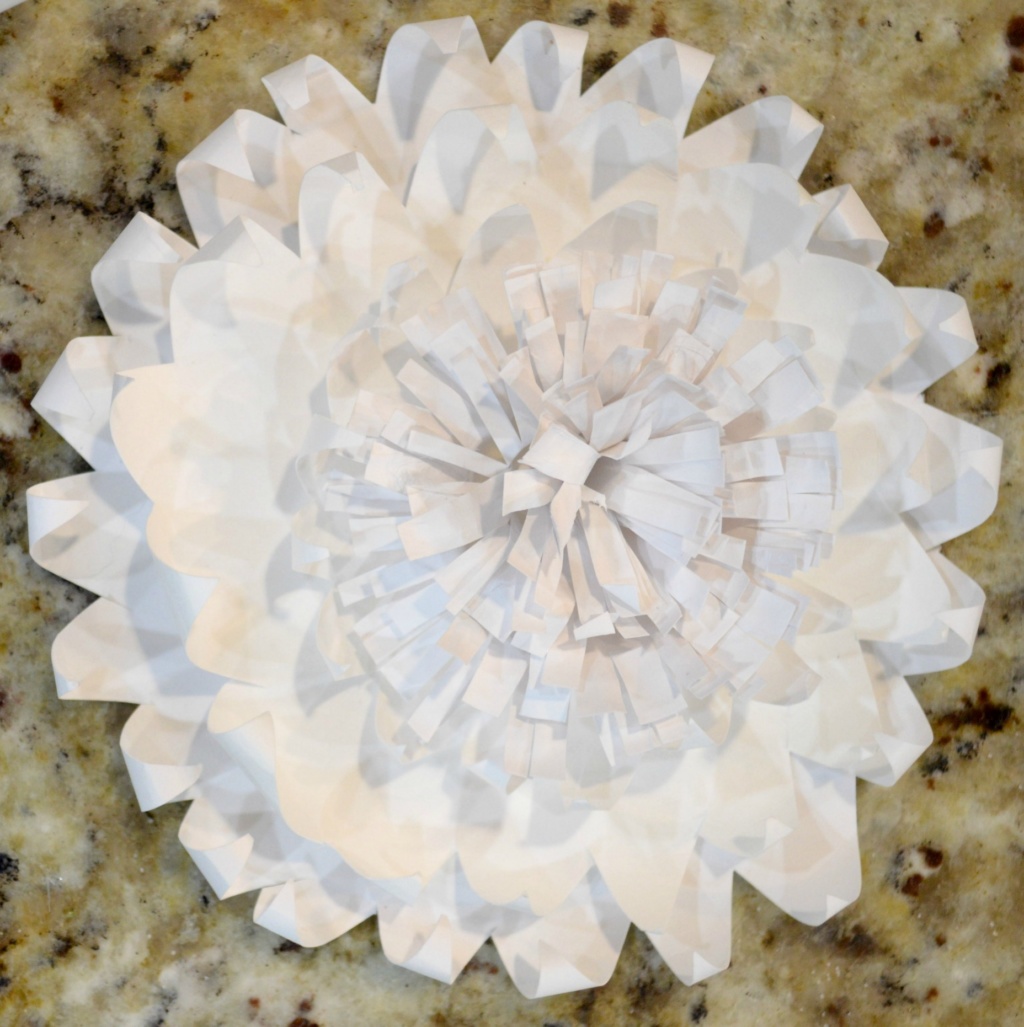
Flower #1 has 4 layers. The first three layers are all the same, just the 2nd is smaller than the first and the third is smaller still.
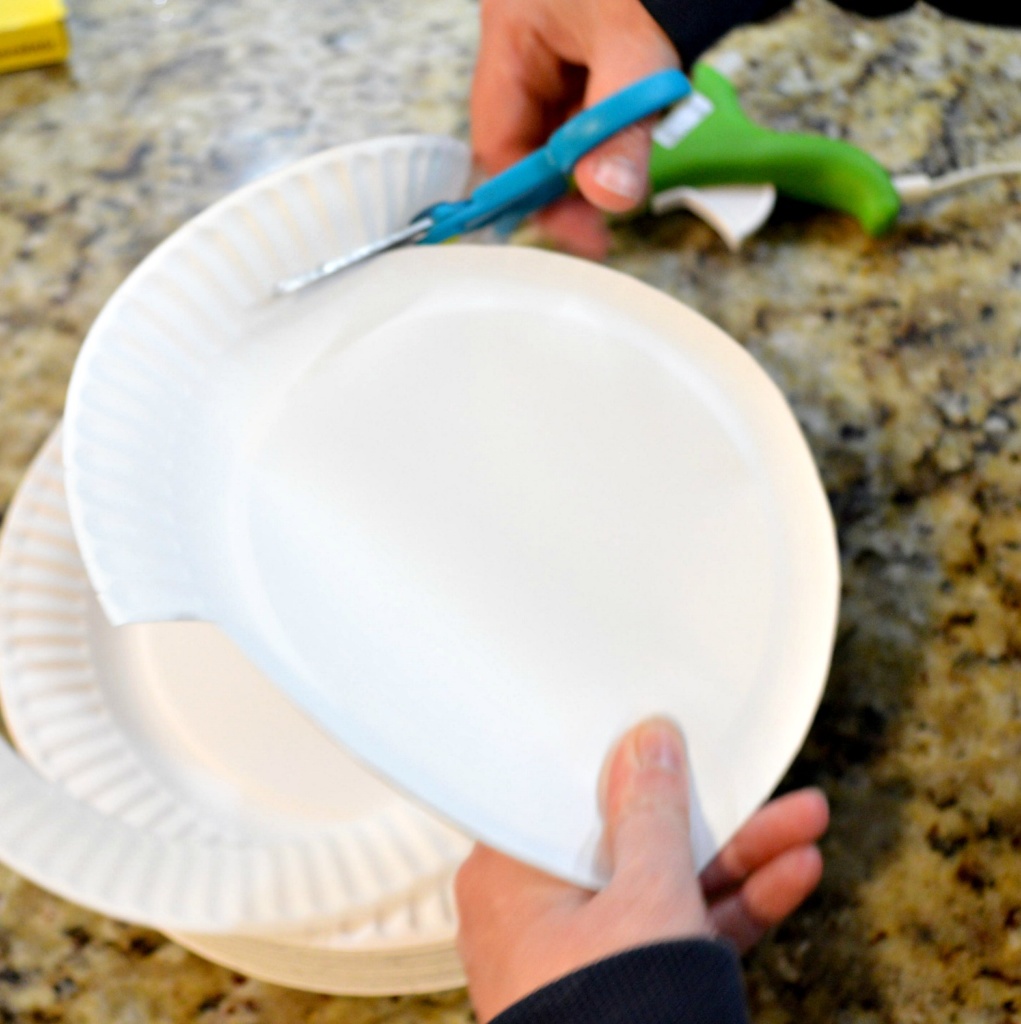
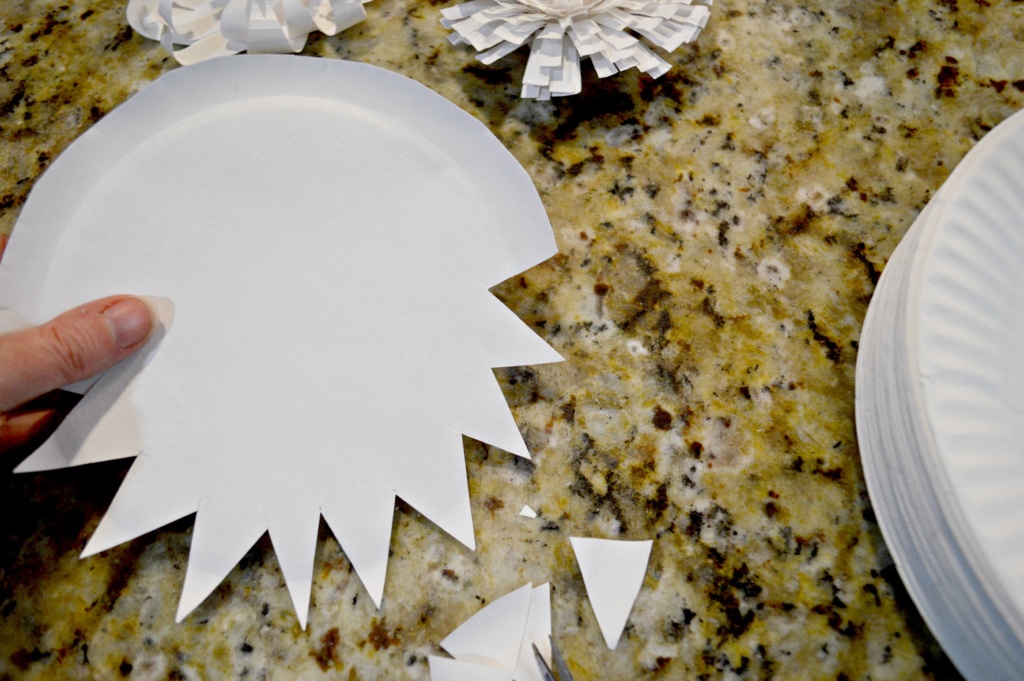
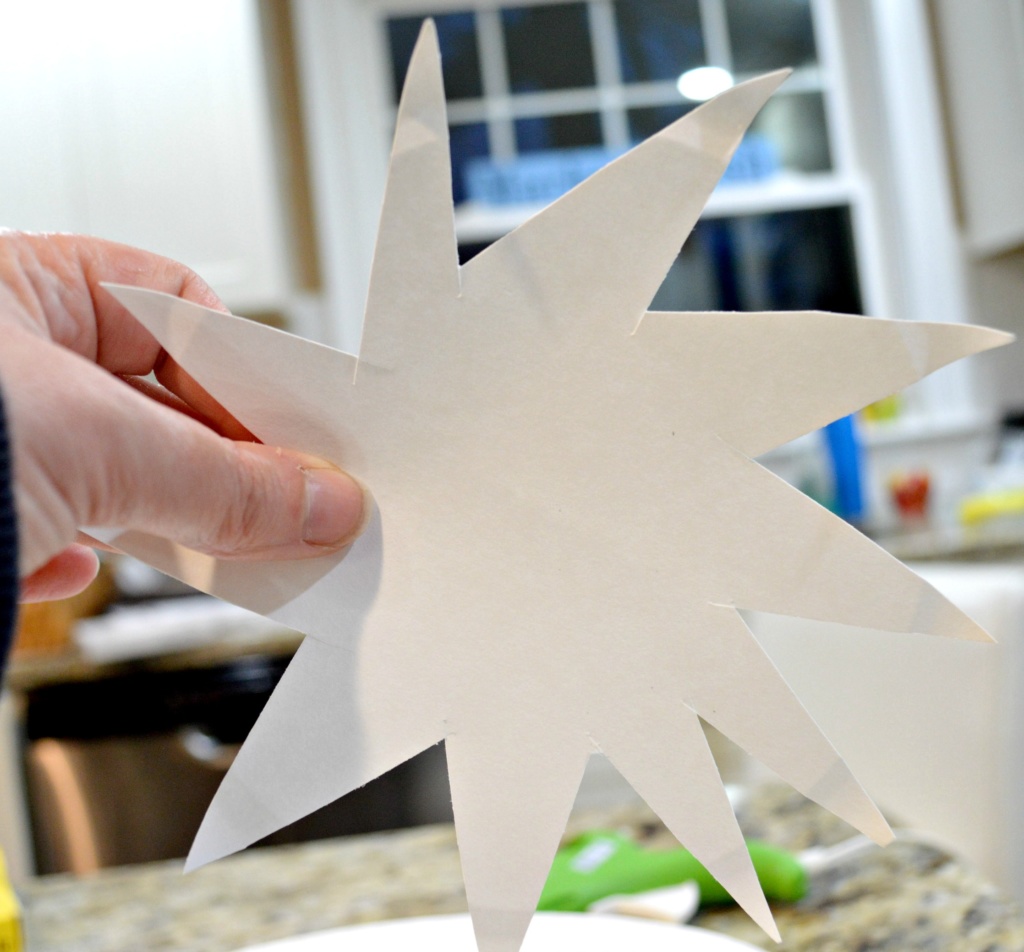
- Trim the outer rim from the plate. This is the part of the plate that is sort of rippled. Reserve this as you will use it for the fourth layer. The remaining circle of plate will be the bottom and largest layer of your flower. Cut two more circles from two more plates, each a little smaller than the previous.
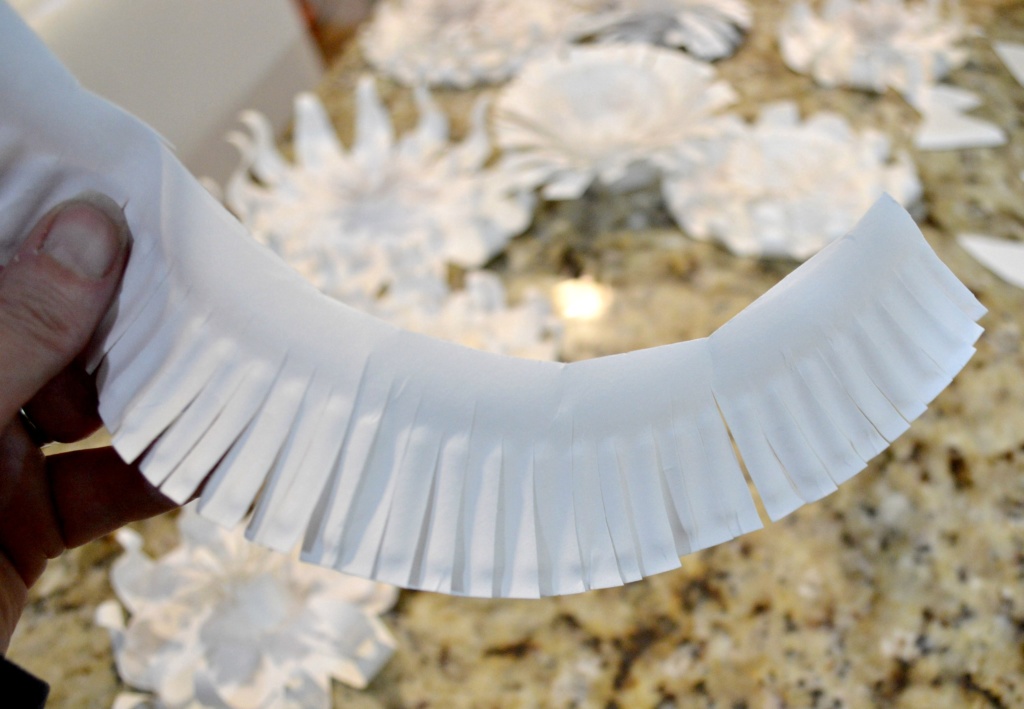
- Cut into the paper plate to create triangles, or spikes, depending on your attitude on any given day. The triangles should be about an inch long on each side. Totally eye-balled, this is by no means an exact science as I’m sure you have guessed already. Cut triangles all the way around each circle.

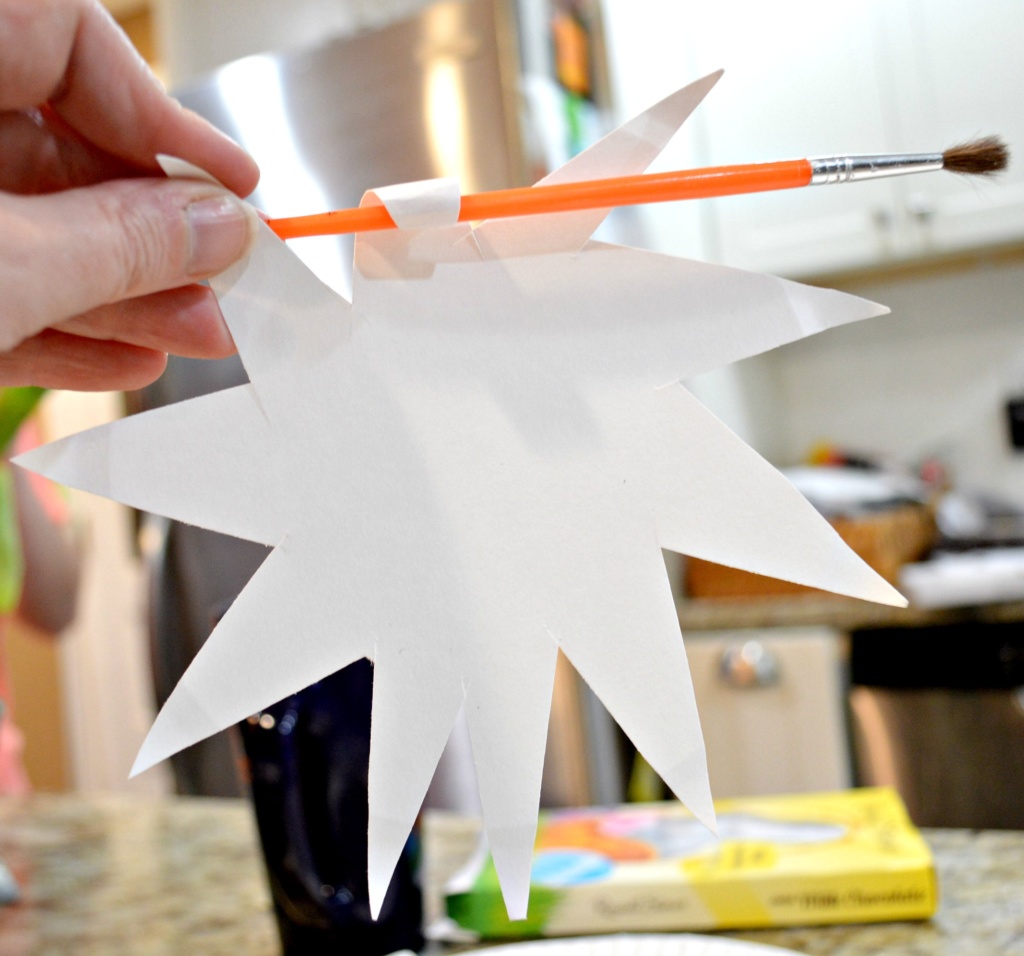
- You are now going to use a pencil or the end of a paintbrush to curl the points of the triangle. Before curling them, you can also round off the pointy ends of the triangle with scissors is you’d like a softer look to your flowers. I did a few both ways. Repeat this with each of the three circles you cut out.
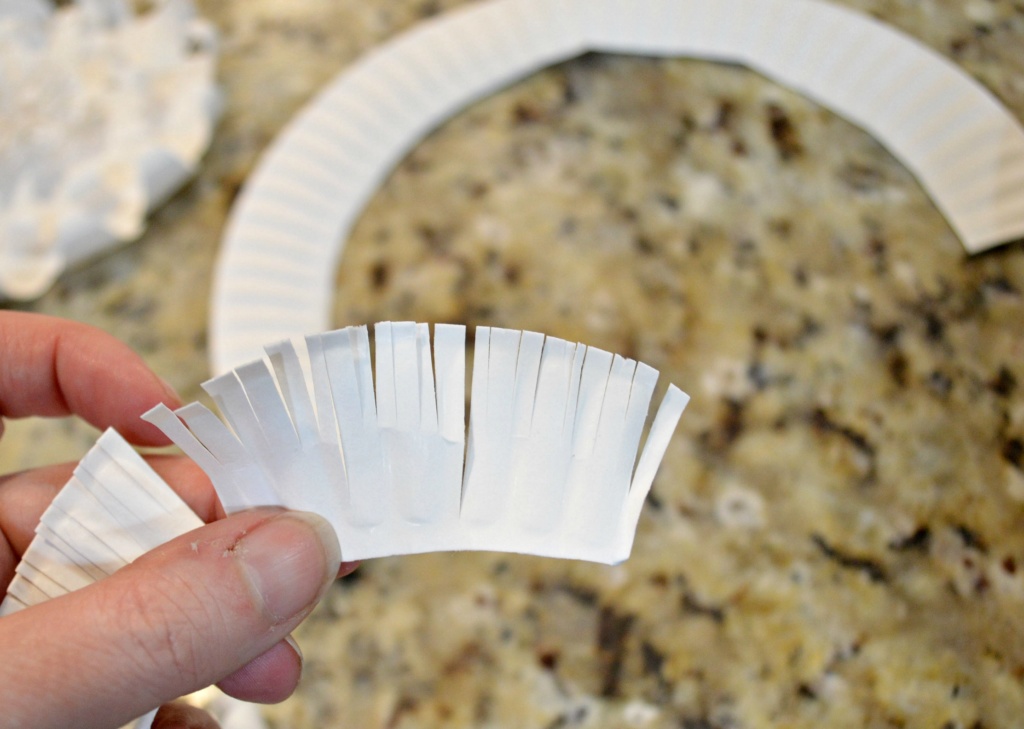
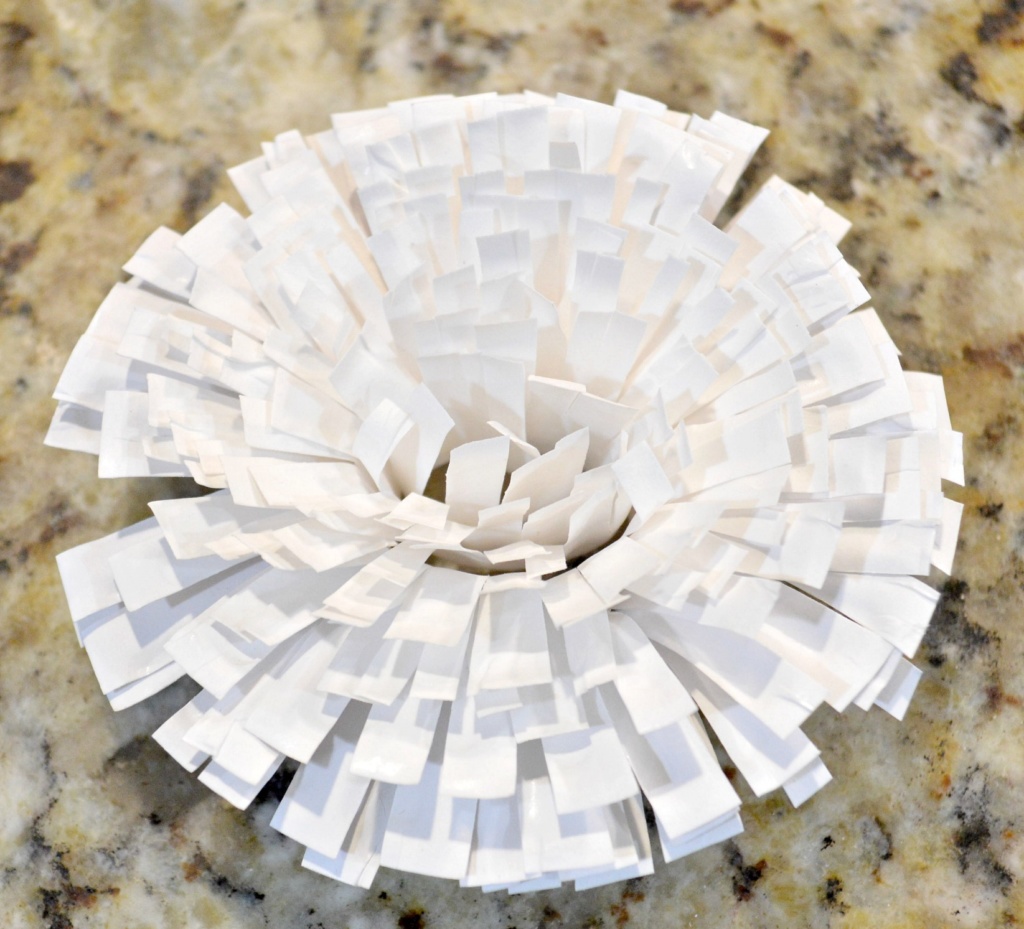
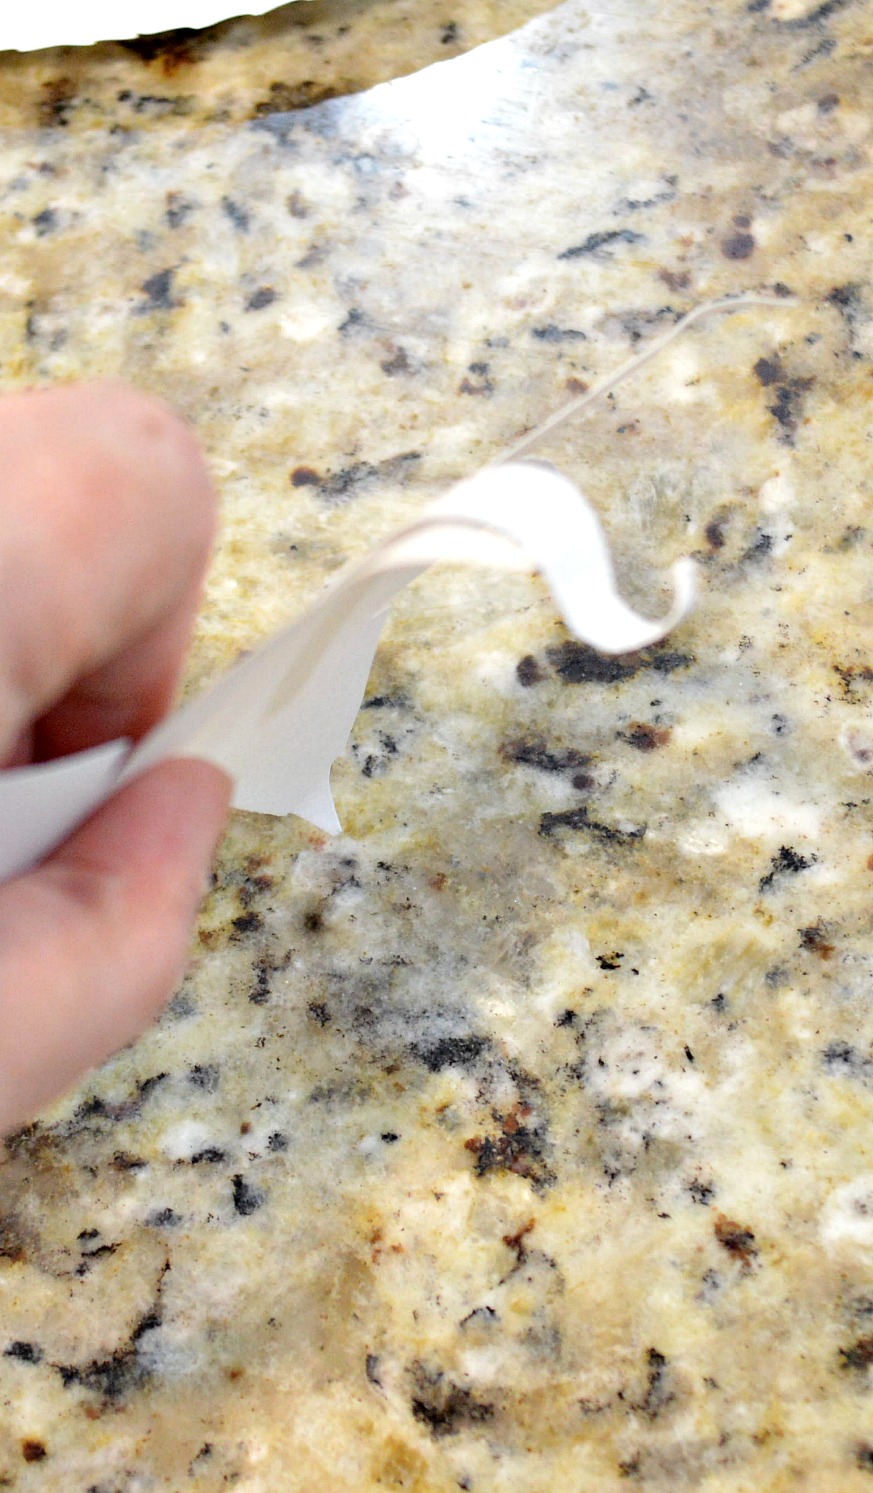
- For the fourth layer, or the inner part of the flower, you’re going to take the rim portion of the plate that you cut off previously and cut strips into it. You will only need about half the length of the rim for this part.

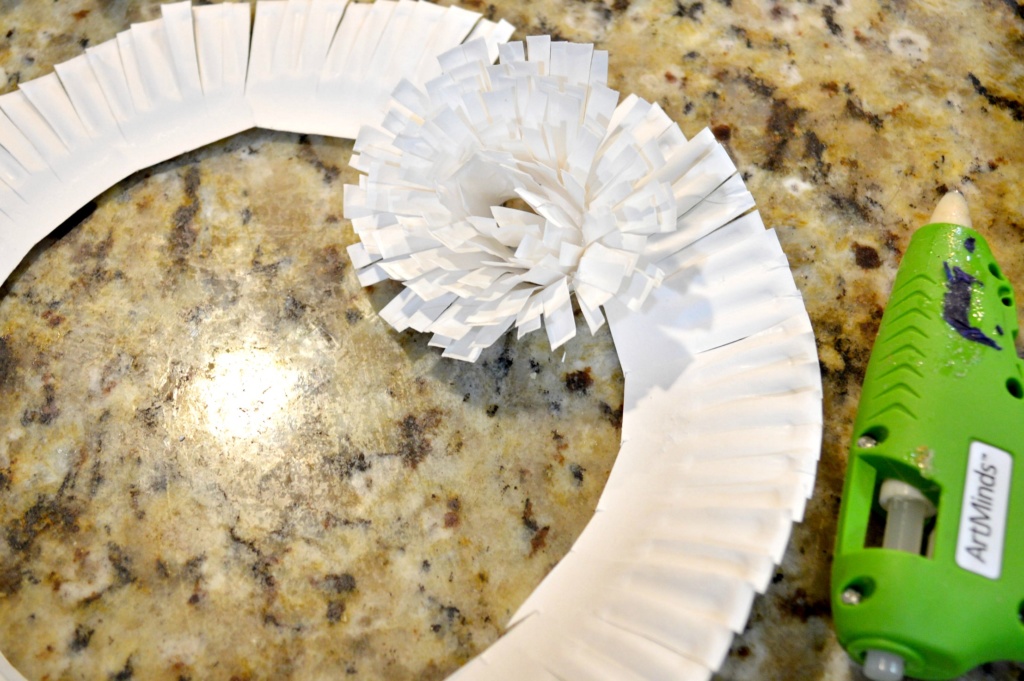
- Roll this piece into itself, dotting a bit of hot glue as you go so that the rolled plate doesn’t fly open.
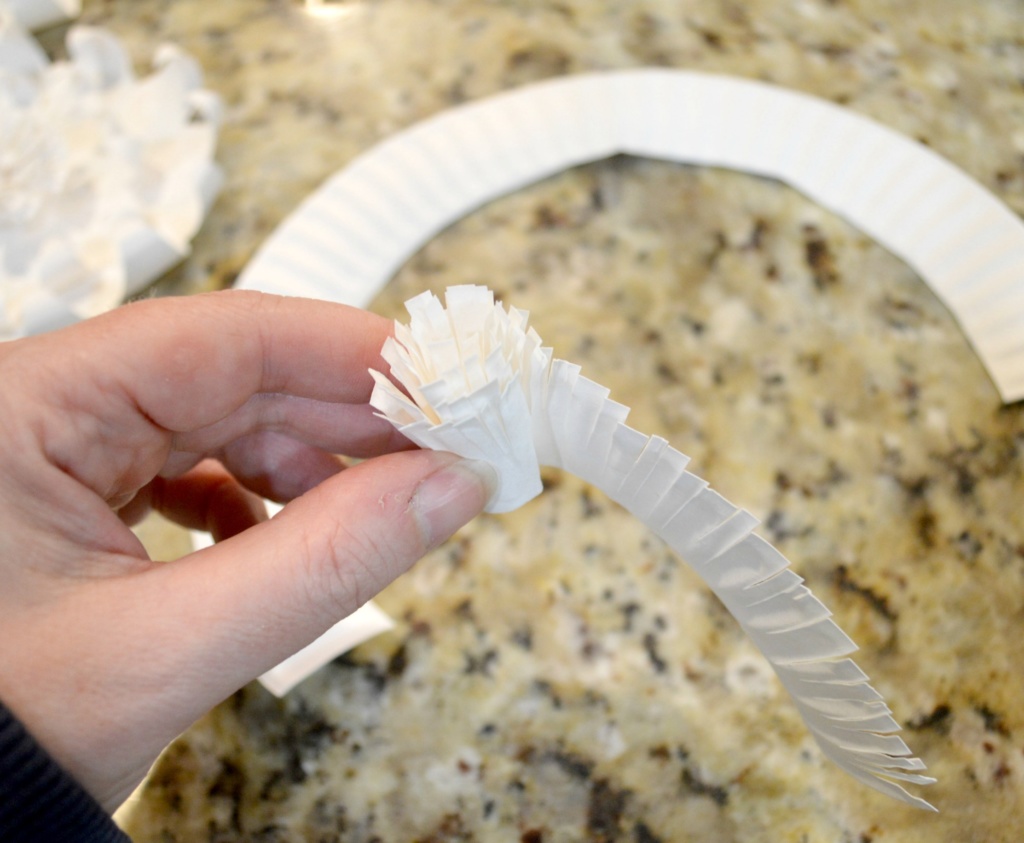
- Smoosh down the fringy paper roll to fan out the paper a little bit.
- Hot glue each layer of the flower together, the biggest part on the bottom, then the second biggest, then the third, then the inner part. This instruction is probably self explanatory, right?


Flower #2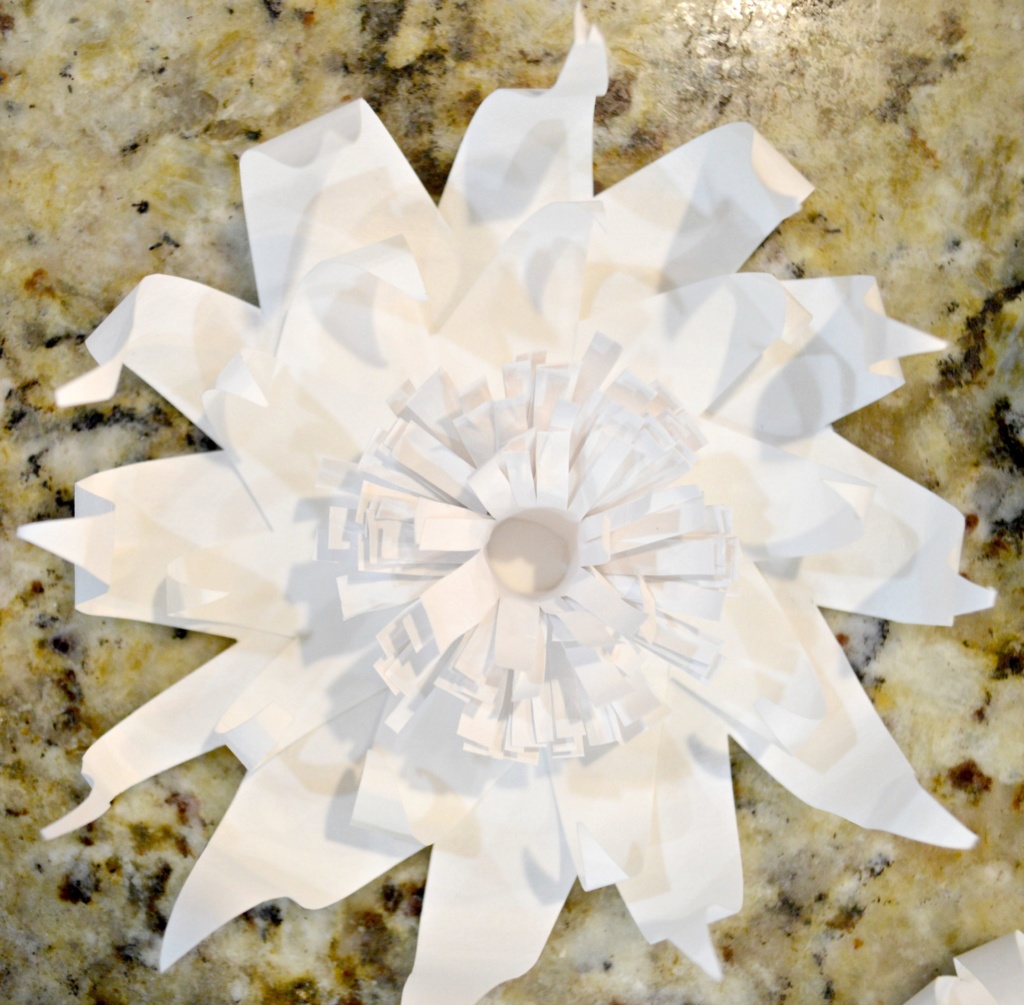

- Flower #2 has 3 layers, all very similar to Flower #1. You will start by cutting the rim off of the paper plate. Use the the remaining circle for the bottom and largest part of your flower and then cut another slightly small circle from another plate to form the second layer. Again, reserve the rim that you cut off to make the inner portion of your flower.
- This time you are going to cut much longer, more exaggerated triangles into your paper plate.

- This time, when curling the pointy parts of the triangles, roll the tips all the way down, then, uncurl just the tip and curl it in the other direction.
- Create the inner part of the flower just as you did for flower #1.
- Hot glue each layer together.
Flower #3
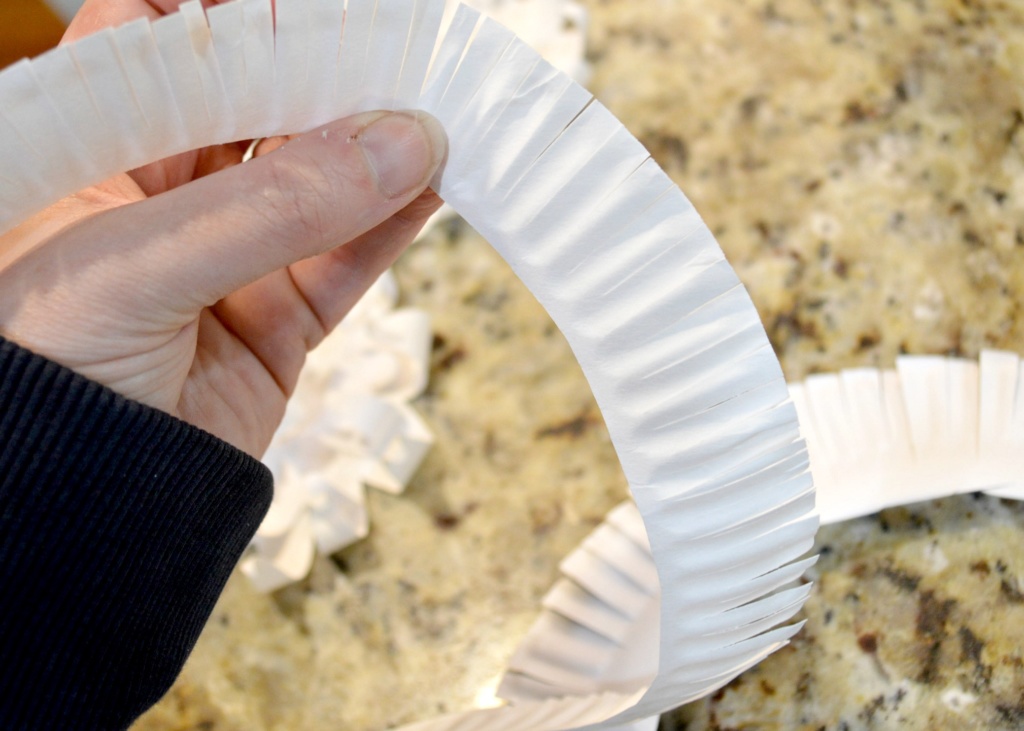
- Flower #3 has just two layers. Start by cutting the rim off of a paper plate, cutting strips into it and loosely rolling it onto itself, hot gluing as you go, just as you did when creating the inner layer of each of the two previous flowers. You can roll as loose or tight as you like, depending on how big you want your final flower to be. The looser, the bigger.

- Create your piece for your second layer by cutting the rim off of a second paper plate, but make this second one thicker than the first. For example, if you cut the first piece right at the bottom of the rim, cut the second piece at the second line on the paper plate. This will make sense when you have a paper plate in front of you. This second piece is going to be the outer layer of your flower and you want it to be bigger than your first layer. Cut this into strips as you did the first.

- Hot glue the end of your second strip of plate to the already rolled and glued first layer and start wrapping it loosely around the first layer. Secure it with dabs of hot glue as you go.

Now you have three types of pretty cool paper flowers. You can make a Spring wreath from these and it will be very unique and eye catching. Or, you can use them as more permanent decor, as I intend to, but first I must make about 40 more flowers. I promise to share my finished project as soon as I’m done!
How are you going to use your flowers??