If at first you don’t succeed, fail a little less the next time. Tonight I gave String Art a second try. I’m happier, but not quite there yet.

After my initial attempt, I did some more searches and I found a picture of a free form string art in a little boys room. For some reason, I didn’t pin it and I have never been able to find it again, but it was affixed directly to the wall instead of to a piece of wood or canvas. At some point I became I fixated on having the string art attached to something other than the wall. But, when I saw that picture, I thought I would give it a try.
I basically outlined a letter S on the wall with a pencil and then started adding nails. I realized as I was nailing that I would need to vary the distance of the nails depending on what part of the letter I was at. The tighter the curve, the closer together the nails needed to be to mimic the curve. I also realized while nailing that I now had 40 or so nail holes in my wall. Hmm. Interesting. Then I realized that if and when I paint that wall, I have no idea how I will paint behind the art. So, something to think about if you are thinking of trying this!
FREE FOR READERS
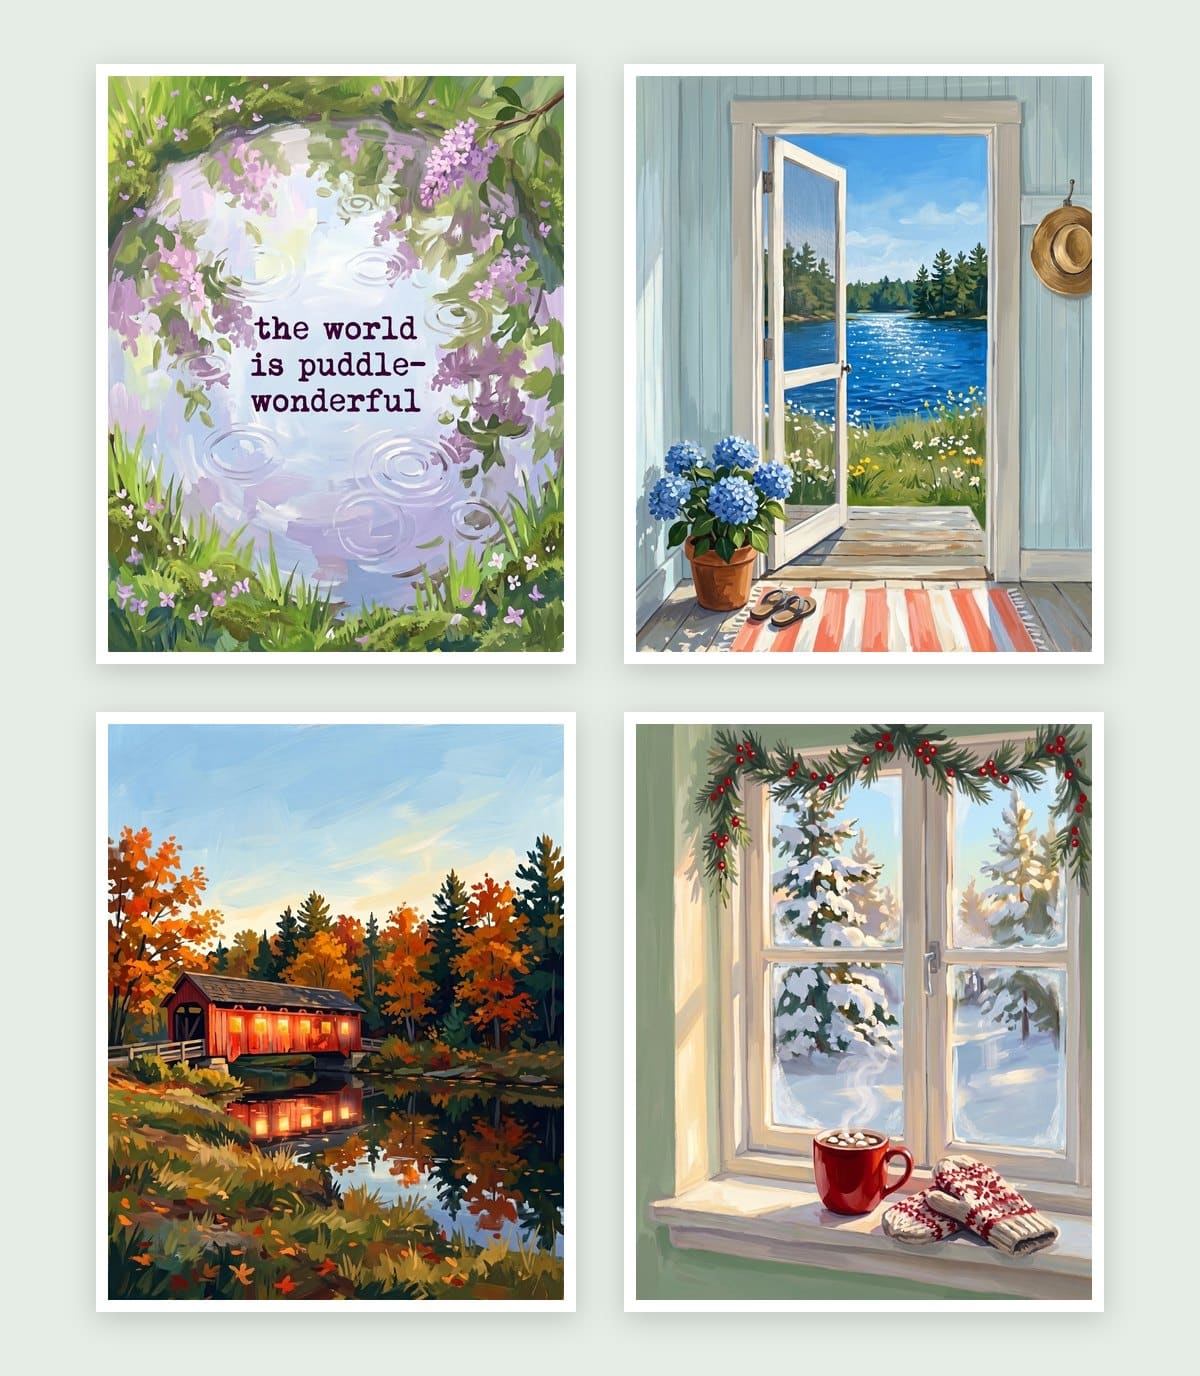
Seasonal Decorating, Made Simple
12 painted prints, three for every season. Just print, frame and swap.
Once all of the nails were in, I used ombre embroidery floss as the sting. I loved this part. It was very relaxing, sort of zen like. After I had added a few layers of string, I stepped back and checked things out. That’s when I realized I wasn’t thrilled with the shape of the S. I like the top, but I would love the bottom curve to curve in a little more. It’s not terrible, but not exactly what I wanted. Not bad enough to start over, at least not right now.