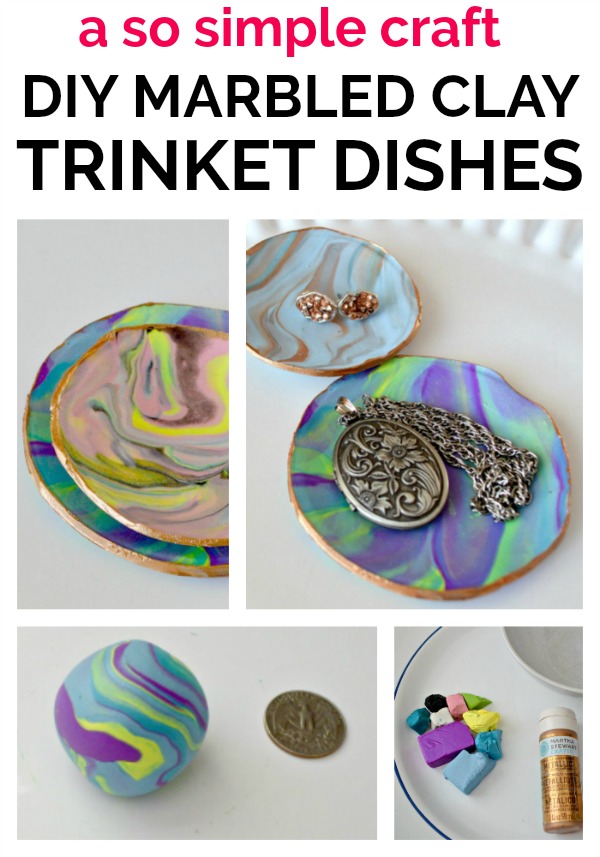
I have been obsessed with this little hand made marbled clay dish craft that I saw on A Beautiful Mess and tonight I finally sat down and made one.
These are so easy and come out so pretty! They are kind of addictive to make.
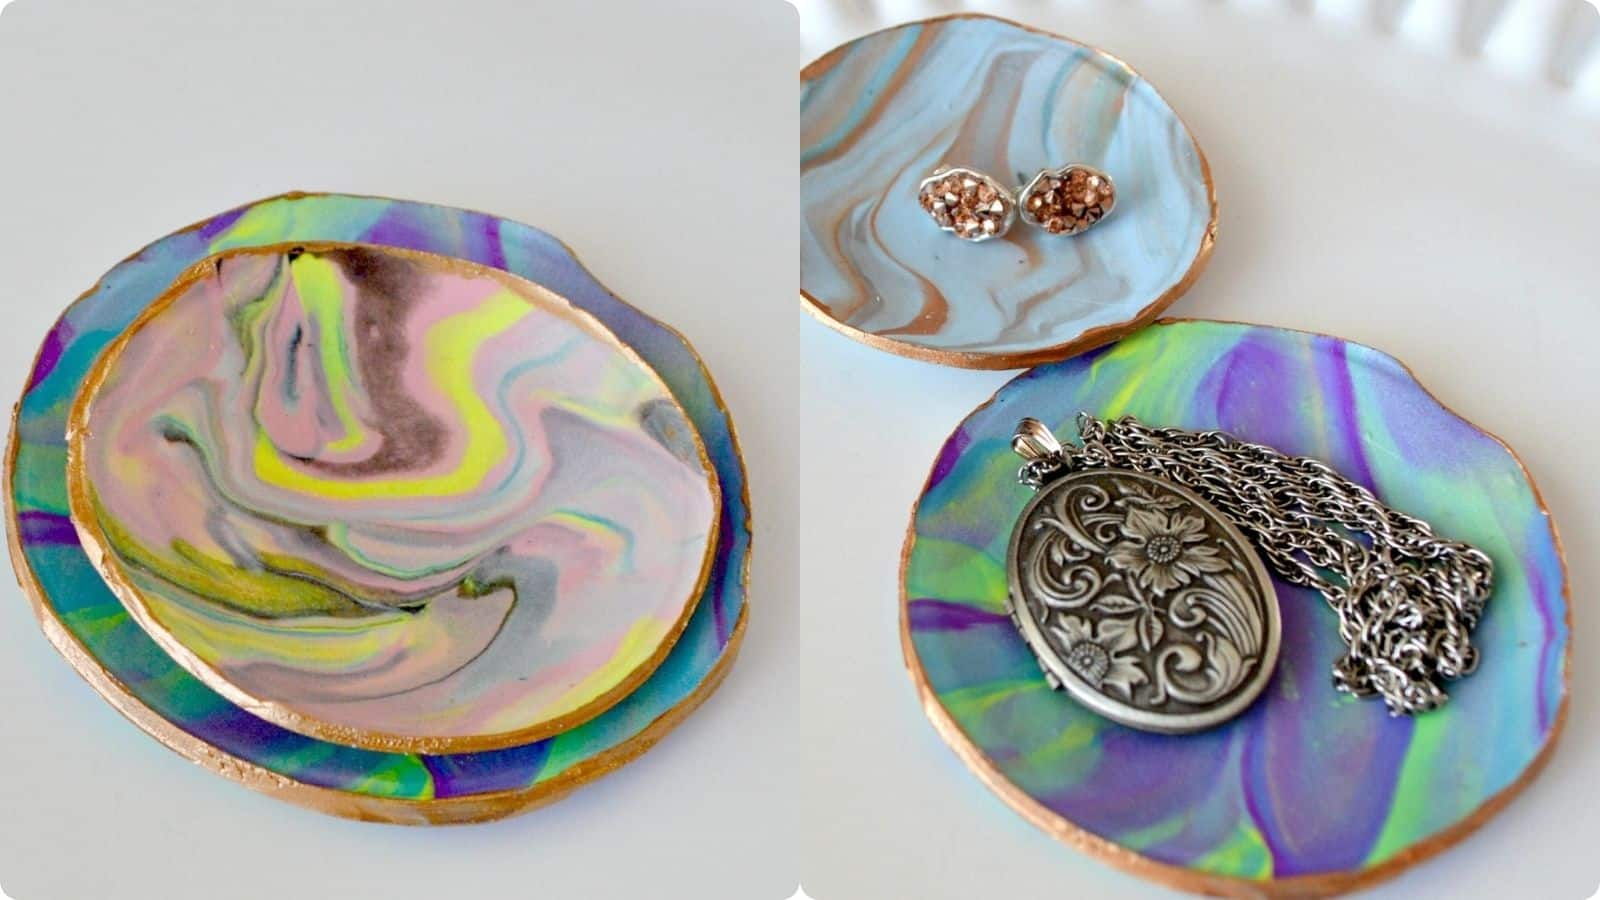
I’m so excited with how they came out!
One of the things I love about this craft is that there are really only two materials you’ll need that you might not already have on hand; clay and some copper craft paint. These would be a great craft to make and sell.
***This post contains affiliate links. If you click one and make a purchase, I may receive a small commission at no cost to you!***
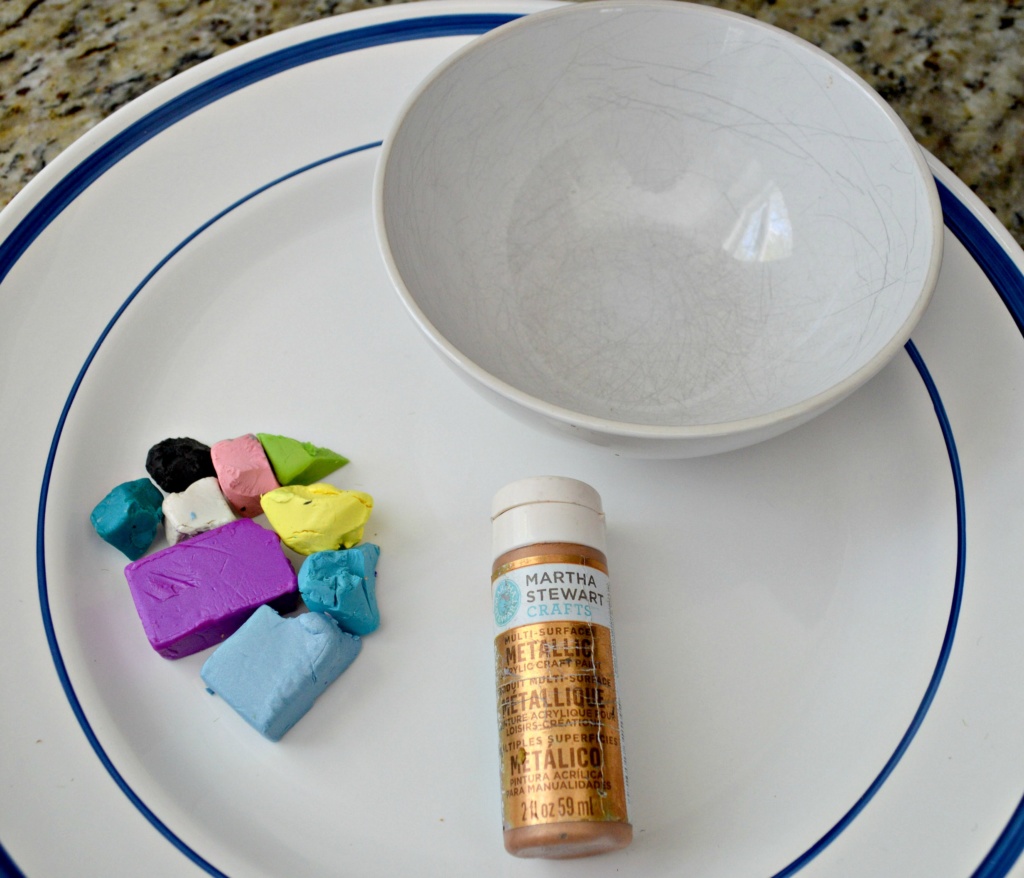
The Materials for Your Marbled Clay Dish

- Sculpey Clay (There are smaller sets of Sculpey clay that you can get, but I really wanted a good variety of colors)
- Martha Stewart Copper Craft Paint – I have used this paint on about 1 million different projects and it is the perfect accent!
- Bowls (to bake your trinket dish in. I used my cereal bowls)
- A circular object – To use to trace out a nice circle shape for your dish. For instance, I used my giant coffee cup. I’ve also used the top of one of those Swiss Miss Containers. You may want two different sized circular objects in case you want to make two different sized dishes, as I did.
psst…

The Steps
Step 1. Choose your colors.
My rules of thumb for picking colors of clay are that they should coordinate, there should be one color that is the majority and then accent colors including one light color (like the yellow here). I do like to see a little bit of black in most of the dishes I’ve made, but I didn’t think it would work with this color scheme.
But for the most part, just have fun picking your colors. These are so quick and simple it’s hard to mess them up!
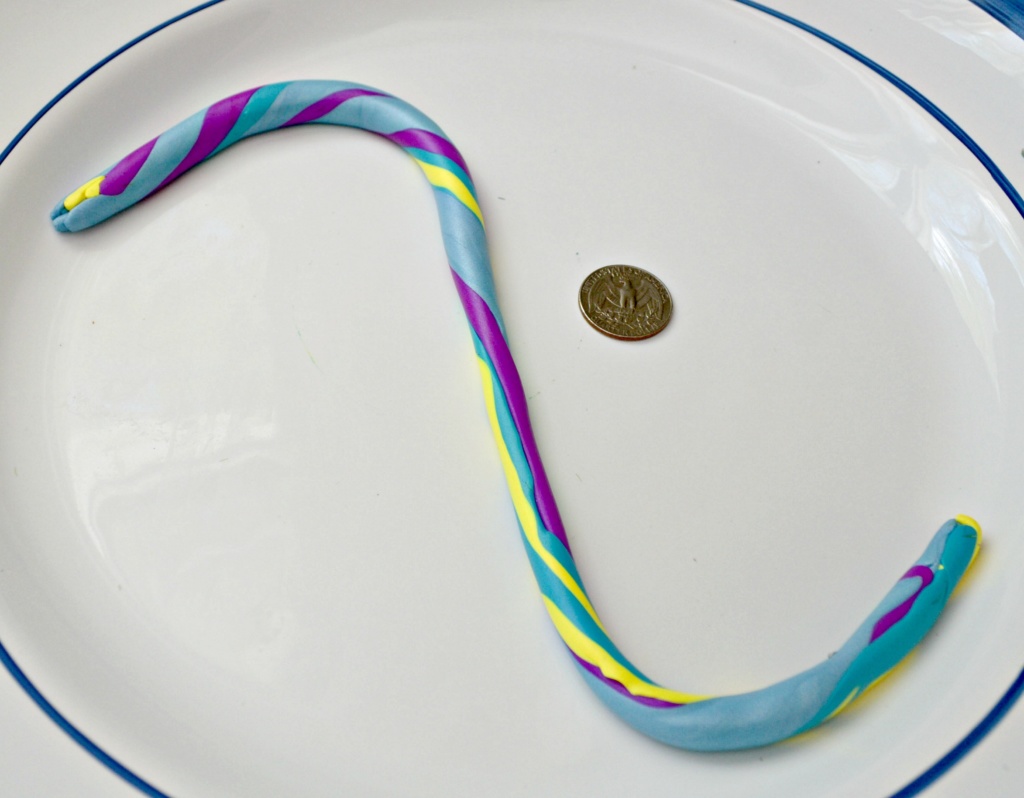
Step 2. Roll your clay into snakes.
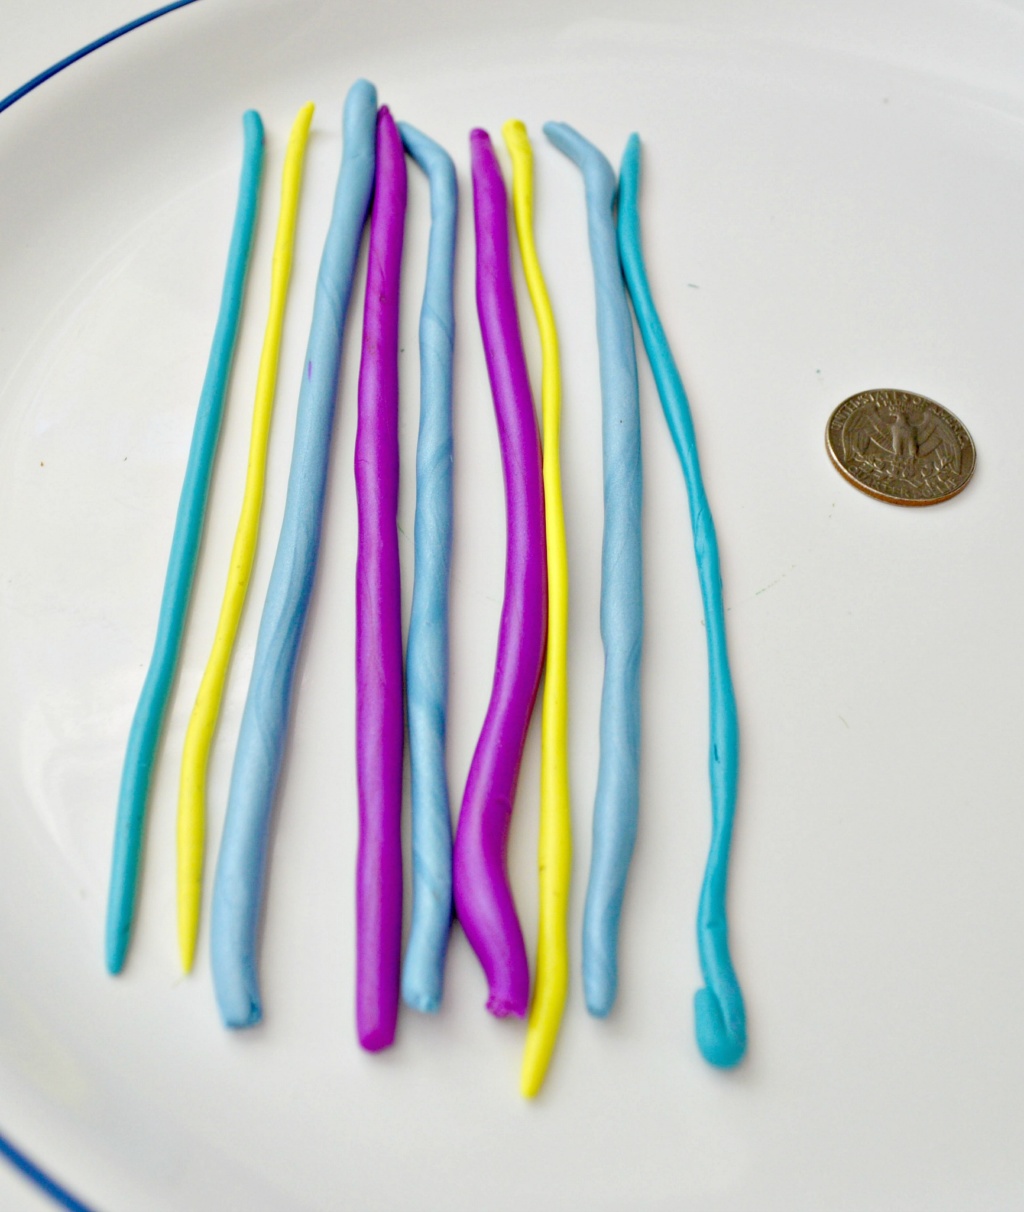
Yep, just roll pieces of each color you’ve chosen into long skinny snakes between your palms.
I’ve included that quarter on the plate to give you an idea of the size of the clay strings.
Step 3. Twist your snakes together.
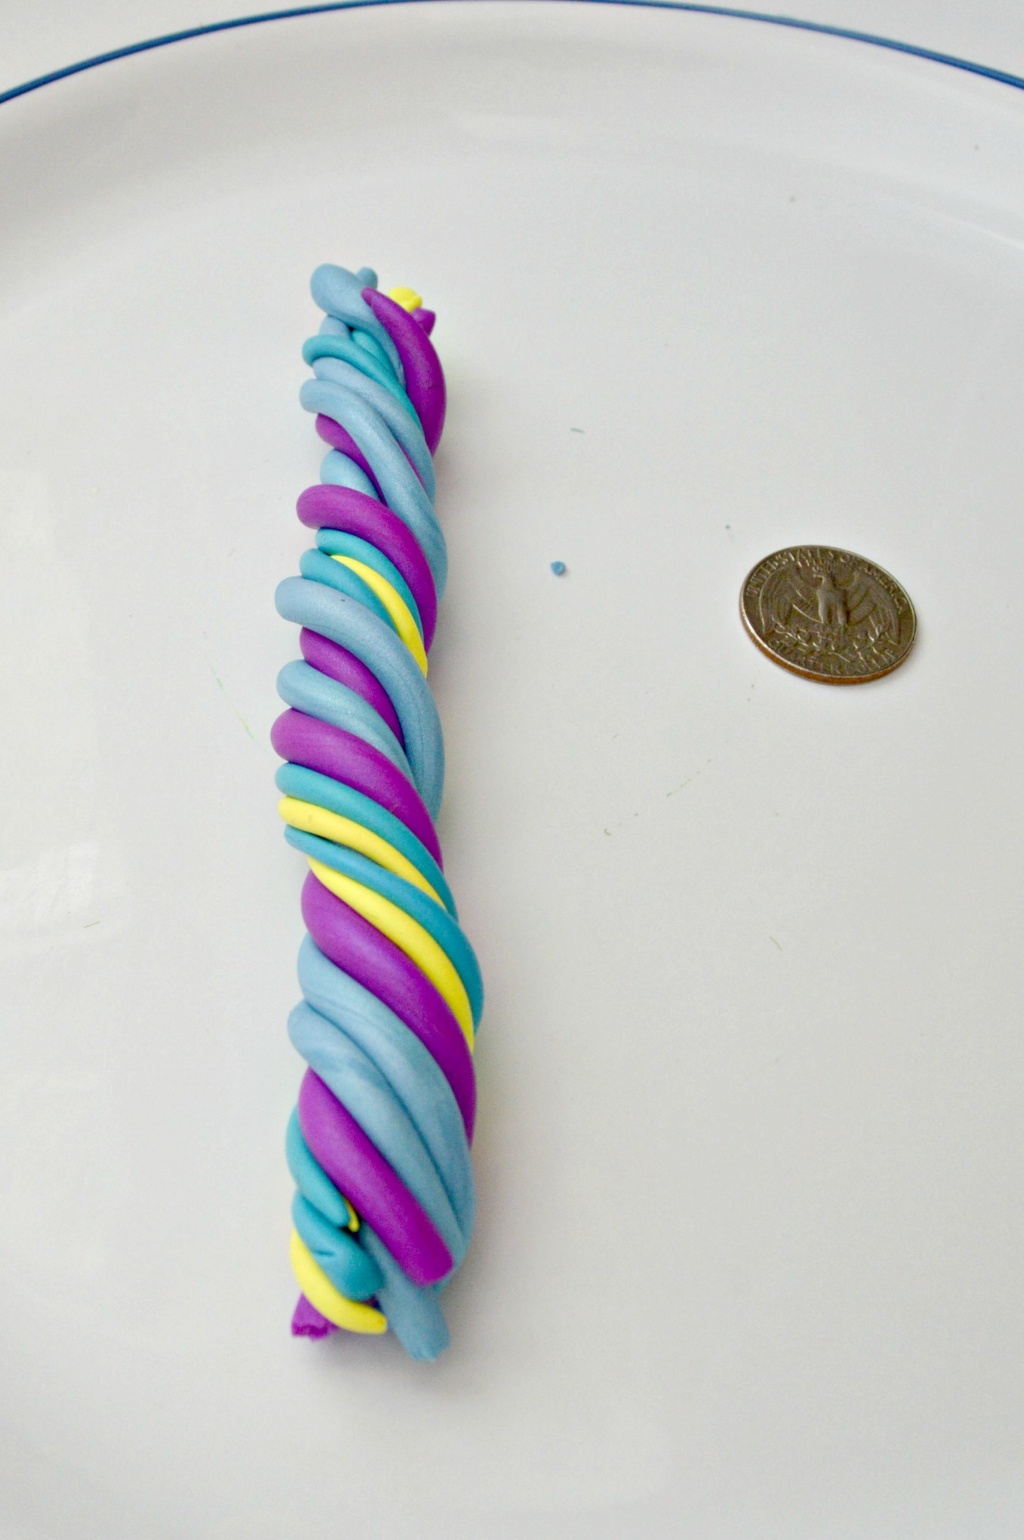
Simple enough, right?
You can’t mess it up even if it doesn’t seem simple, so no worries!
Step 4. Roll the twisted snakes on a flat surface forming them into a longer, skinny snake again.

Step 5. Fold the long skinny snake in half and then twist together.
Step 6. Roll the twisted clay out on a flat surface again.
Repeat the twisting and rolling one to two more times until you feel the colors are evenly distributed. I would not twist and roll more than three times as your colors can start to get muddled.
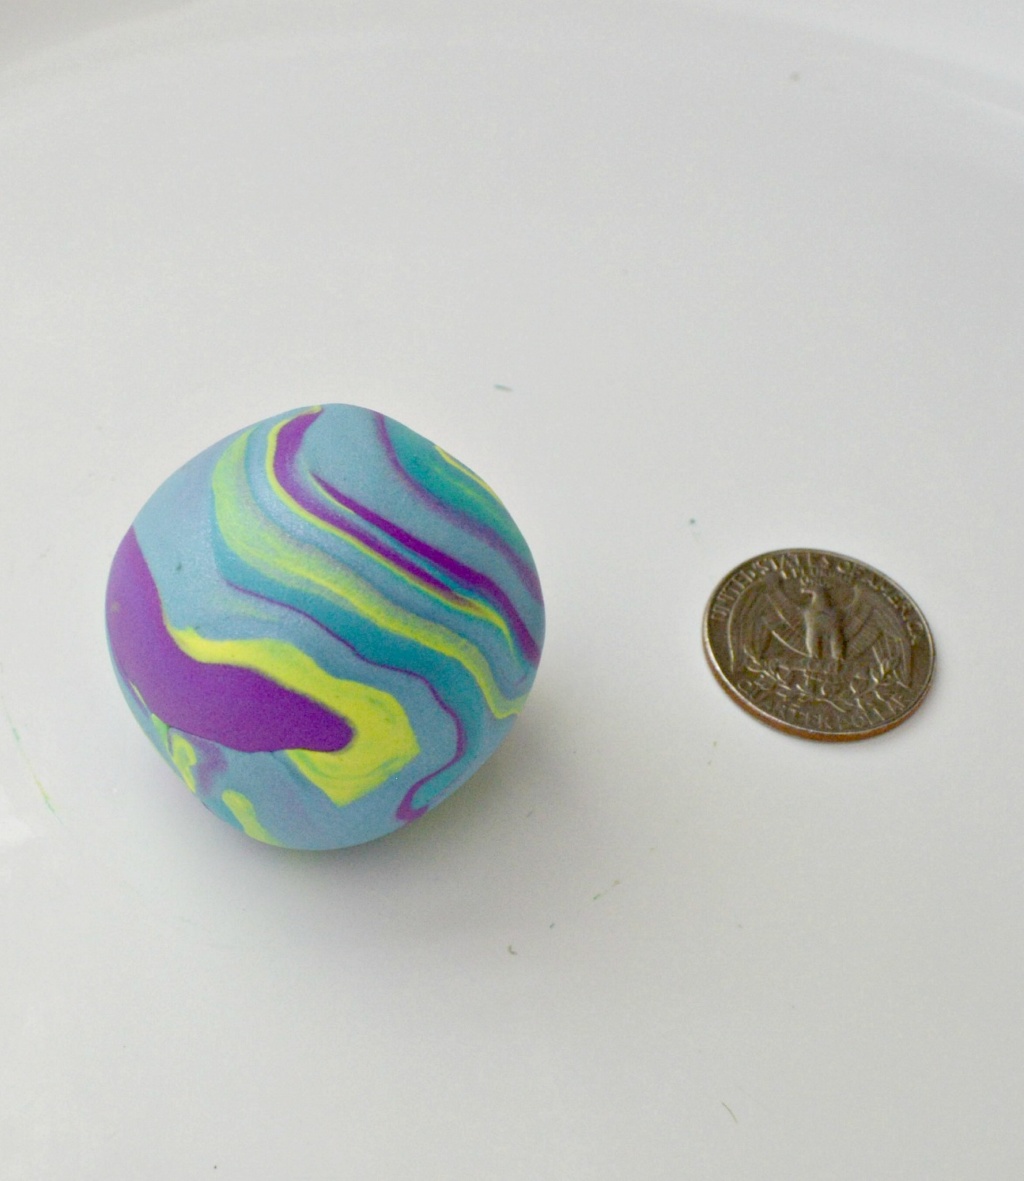
Step 7. Roll your clay into a ball.
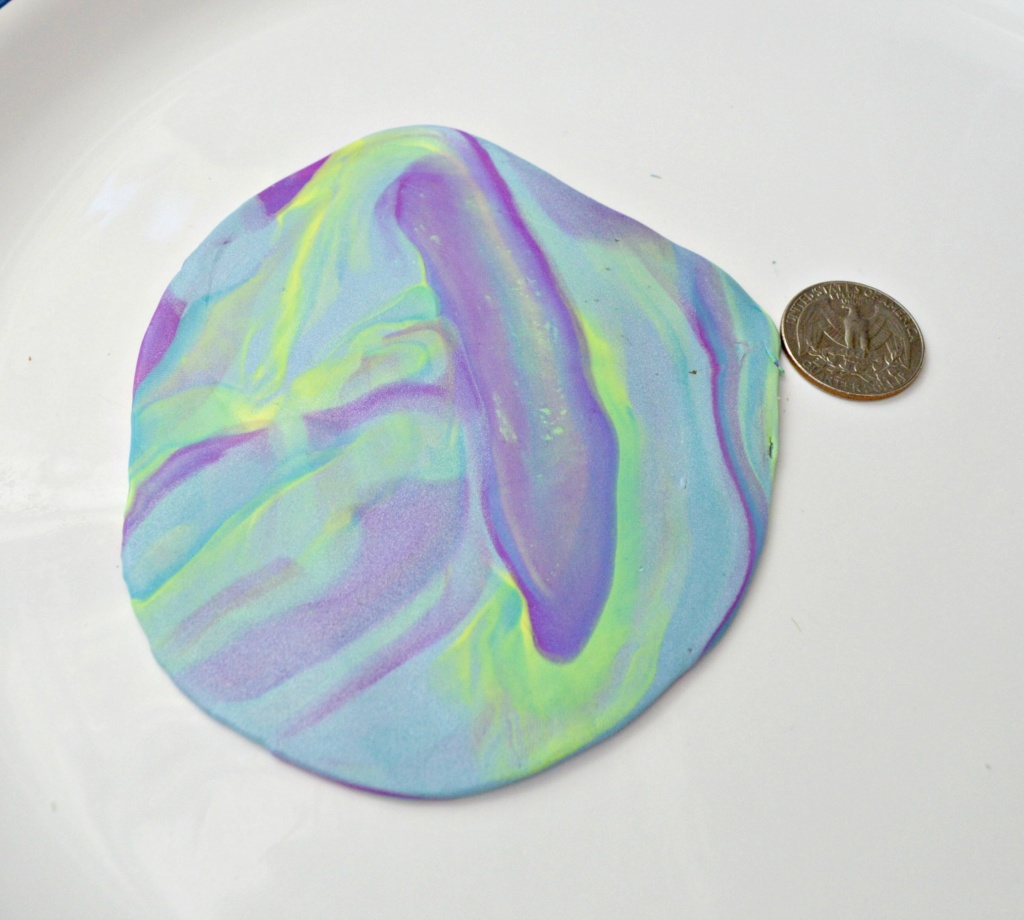
Step 8. Roll your clay ball into a circle using a rolling pin.
Or, you can use a jar of Turkey gravy if you don’t have a rolling pin. As I did. I don’t recommend using a tin can as a substitute because they have bumps that give the clay a weird texture. Your clay should be about a 1/4 inch in thickness.
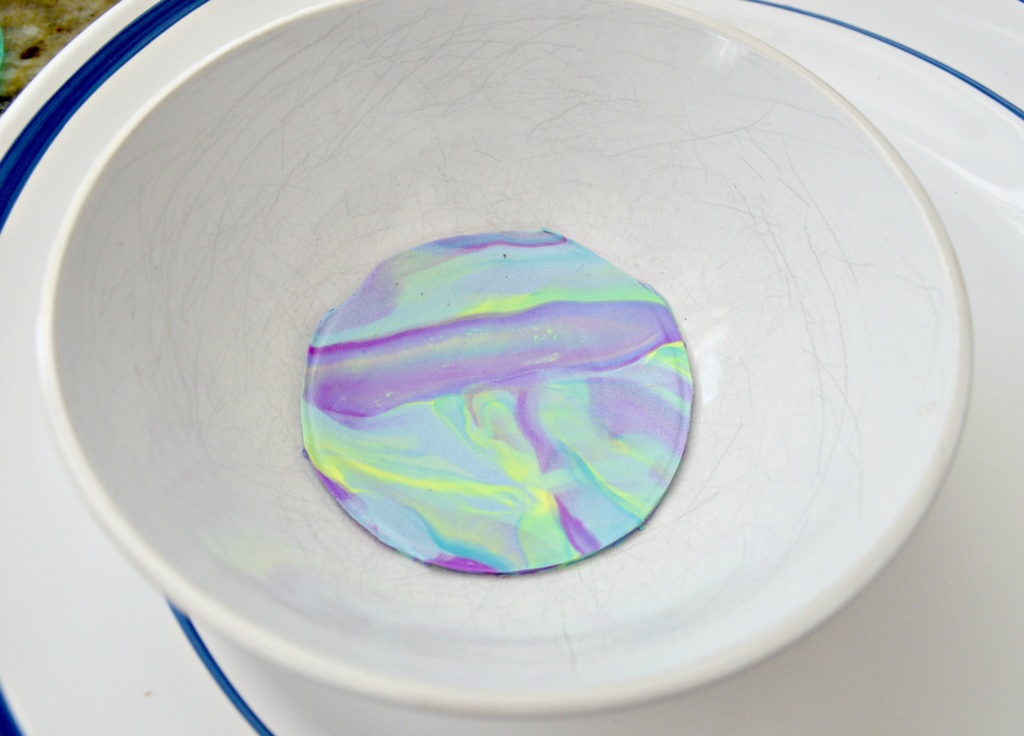
Step 9. Using your circular object and a butter knife, cut your clay into a circle, then gently place the circle of clay in a bowl.
Don’t smoosh it into the bowl. The bowl will allow the circle to bake with a slight curve to it, thus becoming dish-like, as opposed to just a flat circle.
Step 10. Bake the dish in the oven according to the instructions on the Sculpey clay package.
I bake mine at 210 degrees for 9-11 minutes depending on how thick the clay is.
Step 11. Allow the dish to cool and then gently remove it from the bowl.
To finish it off, you can use a nail file to smooth out the edges and then paint the edges with the copper paint.
The copper edge adds just the right amount of finish to these perfectly imperfect dishes.
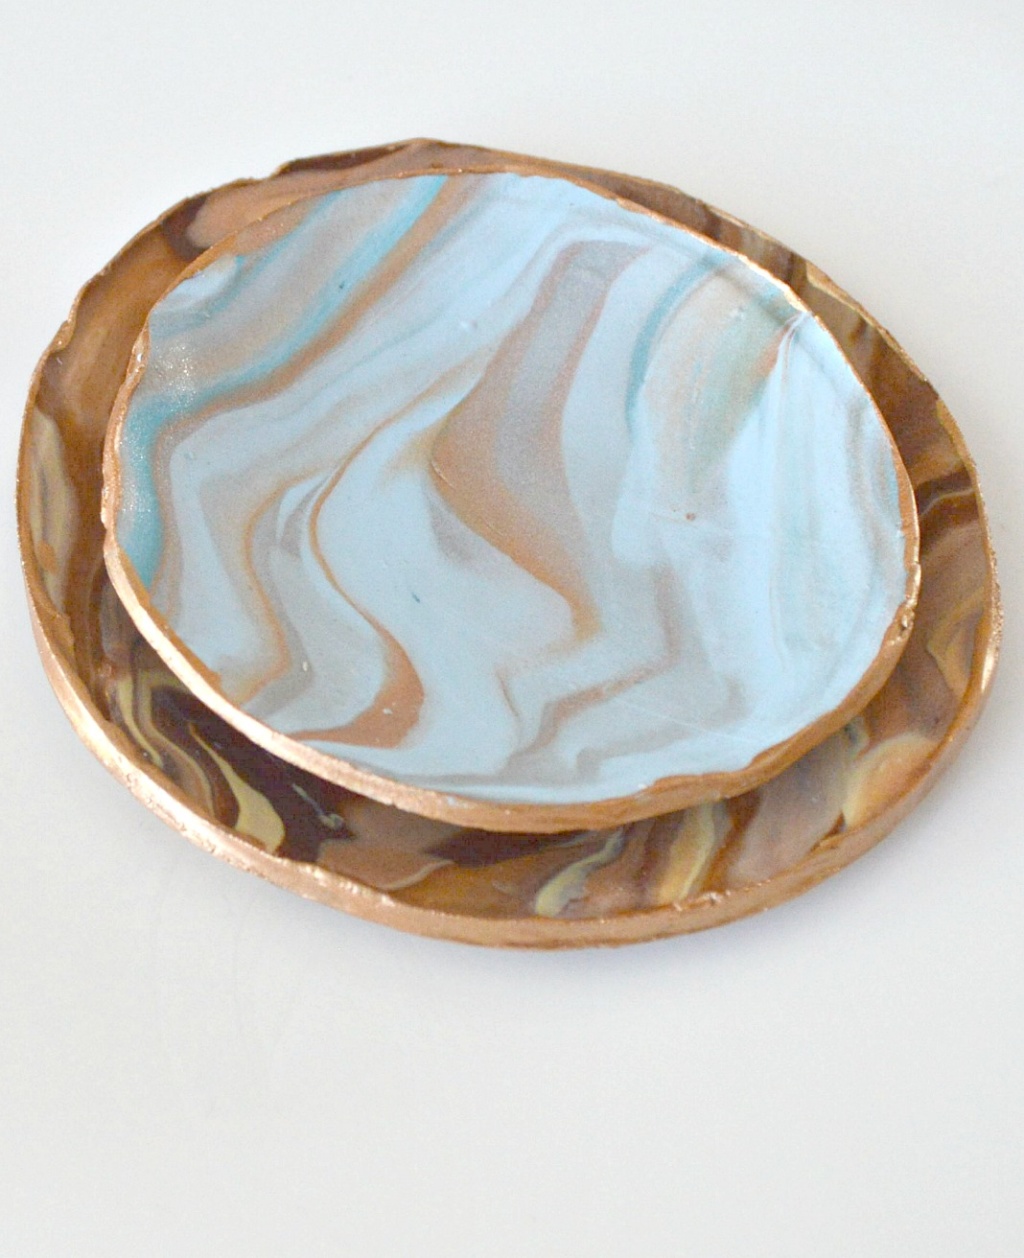
I definitely recommend making two different size dishes so that you can pair them and stack them!
Now that you have all of the details, grab your Sculpey clay and copper paint and start making these! I know you’ve gotten trinkets around that are longing for a dish to call home!
If You Liked It Then You Shoulda Put a Pin in It!

Got left over clay? Check out these posts with more marbled clay madness!