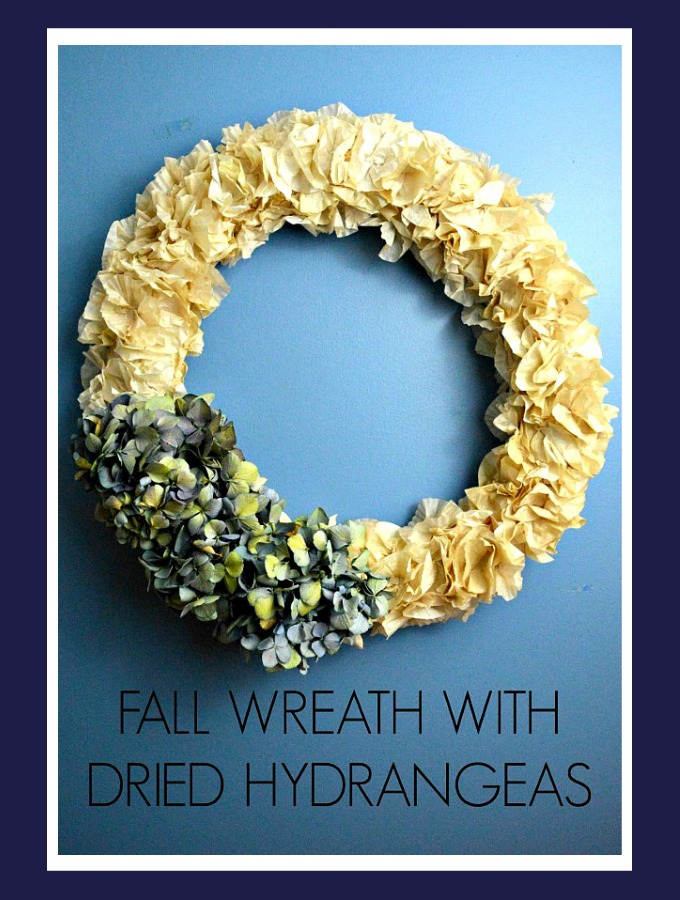
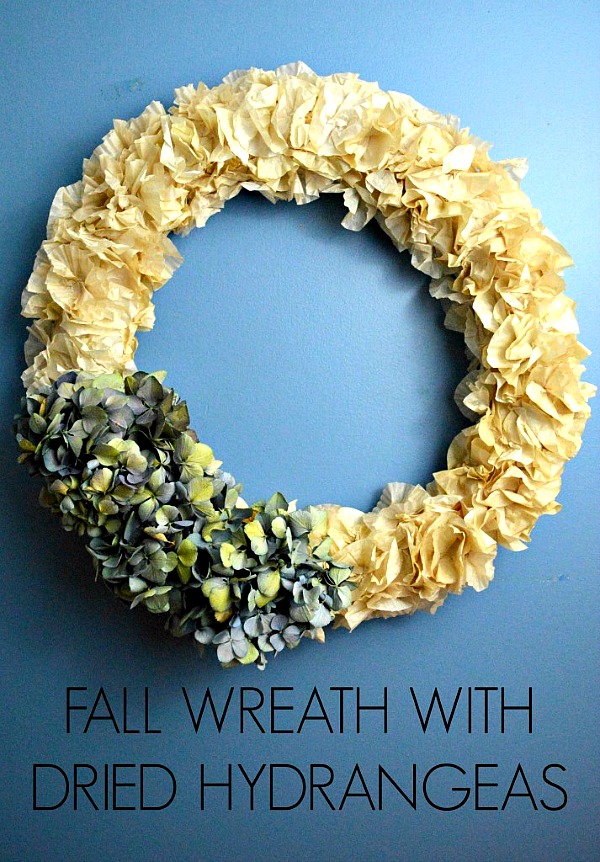
I made something and it doesn’t look like I made it. That’s one way I know I’m happy with the outcome of the project I just completed.
Is it me, or does that look expensive? Guess what? It wasn’t. I spent less than two dollars on it. I already had the wreath form and a glue gun and glue sticks, so I didn’t have to purchase those. The hydrangeas are from my mother’s garden. I cut them a few weeks ago and left them in a vase without water and they dried nicely. The only thing I bought was a package of cupcake liners. For $1.99.
Supplies
Straw Wreath Form
White Cupcake Liners
Floral Pins
4 Tea bags
Hot water
4-5 Dried Hydrangea blooms
Step 1. Dye your cupcake liners. This is the most tedious part of the process. Fill a bowl with hot water and pop in your tea bags and allow to steep for a few minutes. Separate your cupcake liners and place them in the tea water. Allow to sit for several minutes until they have absorbed some color from the tea.
Step 2. While the cupcake liners are dyeing in the tea, turn your oven on to about 180 degrees. As soon as it preheats, shut it off. Place the freshly dyed cupcake liners on baking sheets and pop them in the oven until they have dried out. They will take a good 20-30 minutes to dry out. I had to repeat this process several times with batches of cupcake liners.
CHEAT – When I ran out of white cupcake liners, I went to Target to get more. Guess what? They didn’t have white cupcake liners. But they did have a beige parchment paper cupcake liner. They looked pretty much exactly the same as the dyed cupcake liners. They only problem with them is that the parchment didn’t glue as well as the regular liners.
Step 3. Grab your glue gun. Prepare yourself for the inevitable glue gun burns on your finger tips. Take a dyed and dried cupcake liner and fold it in half. Pinch the middle of the straight edge of the cupcake liner and form it into a ruffly, bunchy flower like blossom. Hot glue the little ruffly flower like liner to the wreath form. Repeat until the wreath form is covered.
Step 4. Secure your dried hydrangeas to the cupcake liner flower lined wreath form using the floral pins.
This is a bit time consuming. I dyed the cupcake liners one night and then attached them to the wreath form the following night. I would say I spent 2-3 hours total on the wreath. It was worth every minute, though. I love the way it came out.
Here’s another peek:
Make one! You deserve it.

