Many years ago, in middle school, I remember doing something in Art class with a wood burning tool. Now, the obvious question is, who puts a tool hot enough to burn wood in the hands of a twelve year old?
Crazy, right?
I also had wood shop and used all kinds of hand tools and power tools and metal shop where we used tools I can’t even name. I’m talking really sharp saws, people. Metal cutting saws. (On a side note, we also had sewing and cooking and everyone, boys and girls, took all four classes. I don’t believe any of those are offered anymore at the school. So sad).
The wood burning tool from Art class has always stuck with me. I loved the smell of the burning wood. I can’t tell you what I made with that thing, but I can remember that smell distinctly.
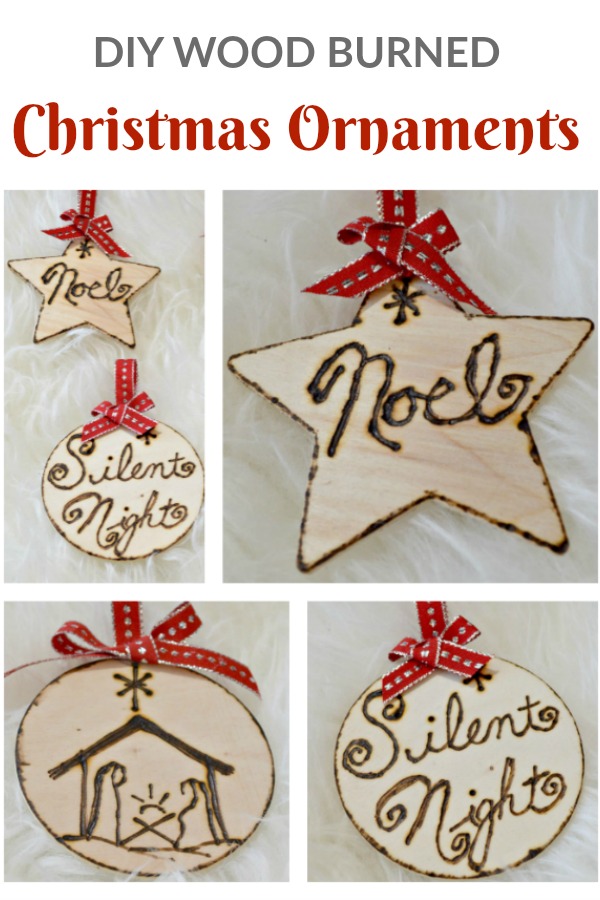
I’ve seen a bunch of wood burned items in my social media feeds and decided to give it a go and make some DIY Wood Burned Ornaments.
***This post contains affiliate links. If you click one and make a purchase, I may receive commission!***
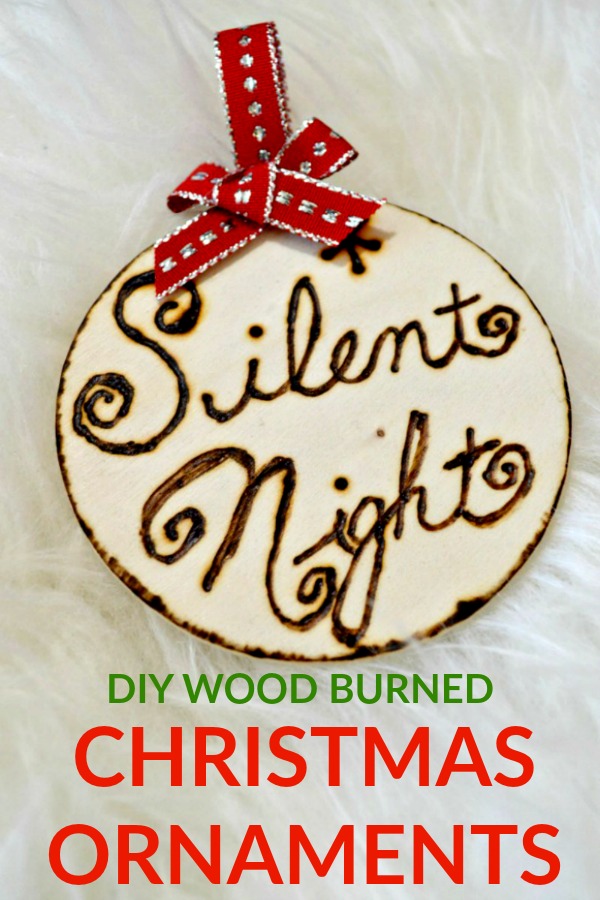
I’m thrilled with how they came out!
And I’m equally thrilled with the Zen experience of burning wood. I made about 8 ornaments total and I either spent an hour or 5 hours. Either one sounds totally plausible to me.
It was one of those activities where time flew because I enjoyed what I was doing but also seemed to stand still because I was so calm and enthralled in what I was doing.
Not all crafts fall into this category, by the way. Like for instance, making felted soap.
Don’t get me wrong, I adore felted soap and I plan to make some for gifts this year, but the process of making it is not Zen like in any way. Mostly, probably, because it involves maneuvering the soap under hot water for several minutes.
But, burning wood. I could do that all day. And you can, too.
Because it fits all of my favorite crafting criteria. It’s easy, inexpensive and creates something either useful or beautiful or both.
Materials for DIY Wood Burned Ornaments
- Wood Burning Tool (which was way less expensive than I imagined!)
- Unfinished Wood Shapes – (I used thin ones like these, but there are lots of options on Amazon)
- Ribbon
- Glue Gun
Directions
Step 1
Decide what you want to put on your ornament. I started out by searching Pinterest for inspiration and came up with a bunch of different graphics and words I wanted to use. I printed those out to a size that would fit on the ornament to use as a template or to reference once I got brave enough to free hand.
Step 2
Tape your picture or graphic to the ornament and use a dull-ish pencil to firmly trace the lines of the graphic.
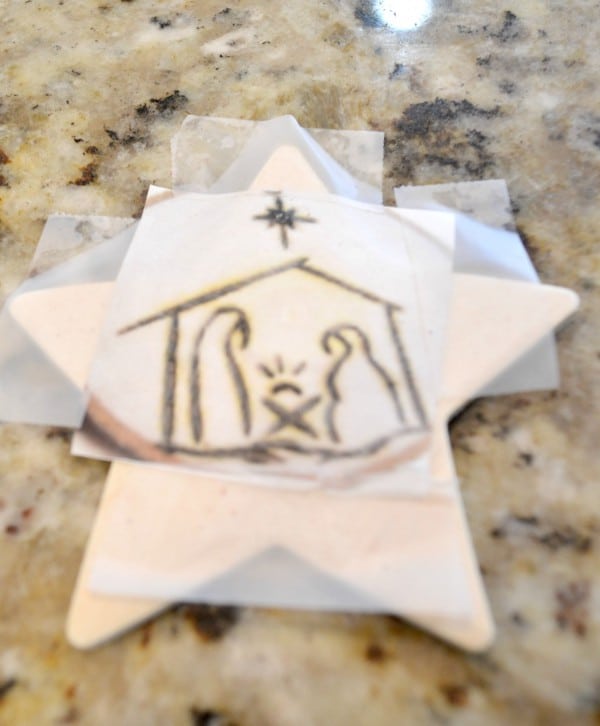
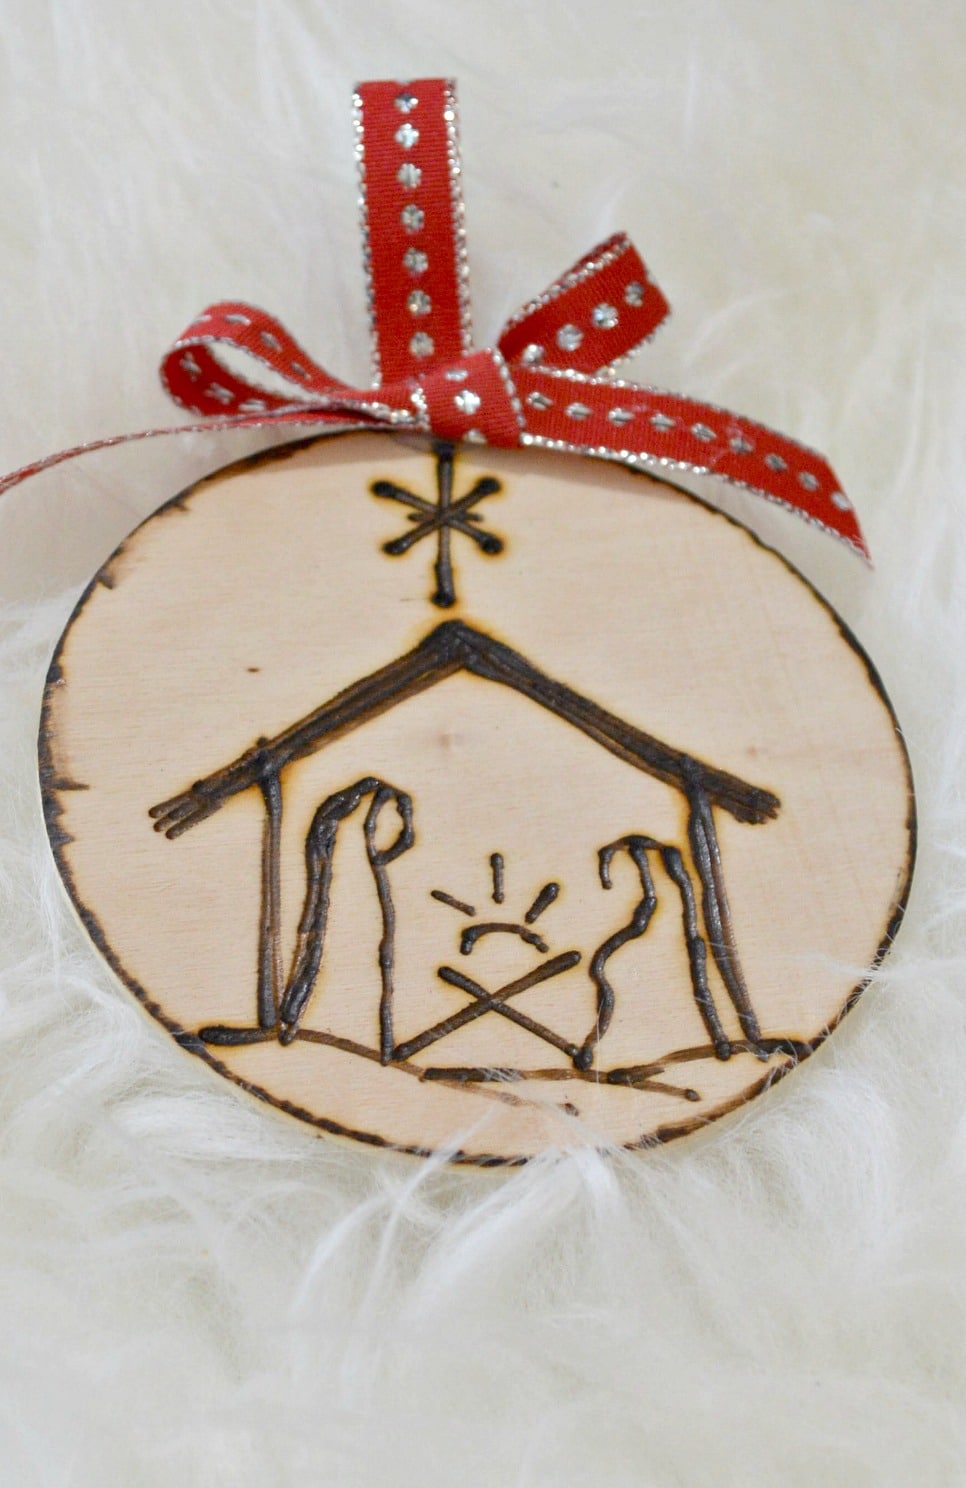
(How awesome is that Nativity? If you’re not interested in making ornaments, but want to buy one that looks like that, they are sold in this Etsy shop!).
Step 3
Ok, time to use your wood burning tool. Please follow the directions, don’t burn yourself, don’t leave it plugged in all night, don’t try to change the tip until it is cool and not with your bare hands even if it is cool, ok?
Deal.
So, it definitely takes a little bit of getting to know your tool. (You might have noted that I said earlier that I made 8 ornaments but I have only shown four completed ornaments. Yes, that’s right. Lots of trial and error here. I was glad I only spent $0.49 on each ornament. Now that I’ve had some practice, I will probably try a more expensive, prettier wood slice for my next project).
First, pick your tip. I mostly used the one that most resembled a pen tip, but if you are looking for straight lines, the one that looks like a mini calligraphy thingy is good.
Basically, you are going to burn over the lines you made with your dull pencil until you have the desired amount of burn. This is a careful balance between moving the tool steadily while keeping even pressure.
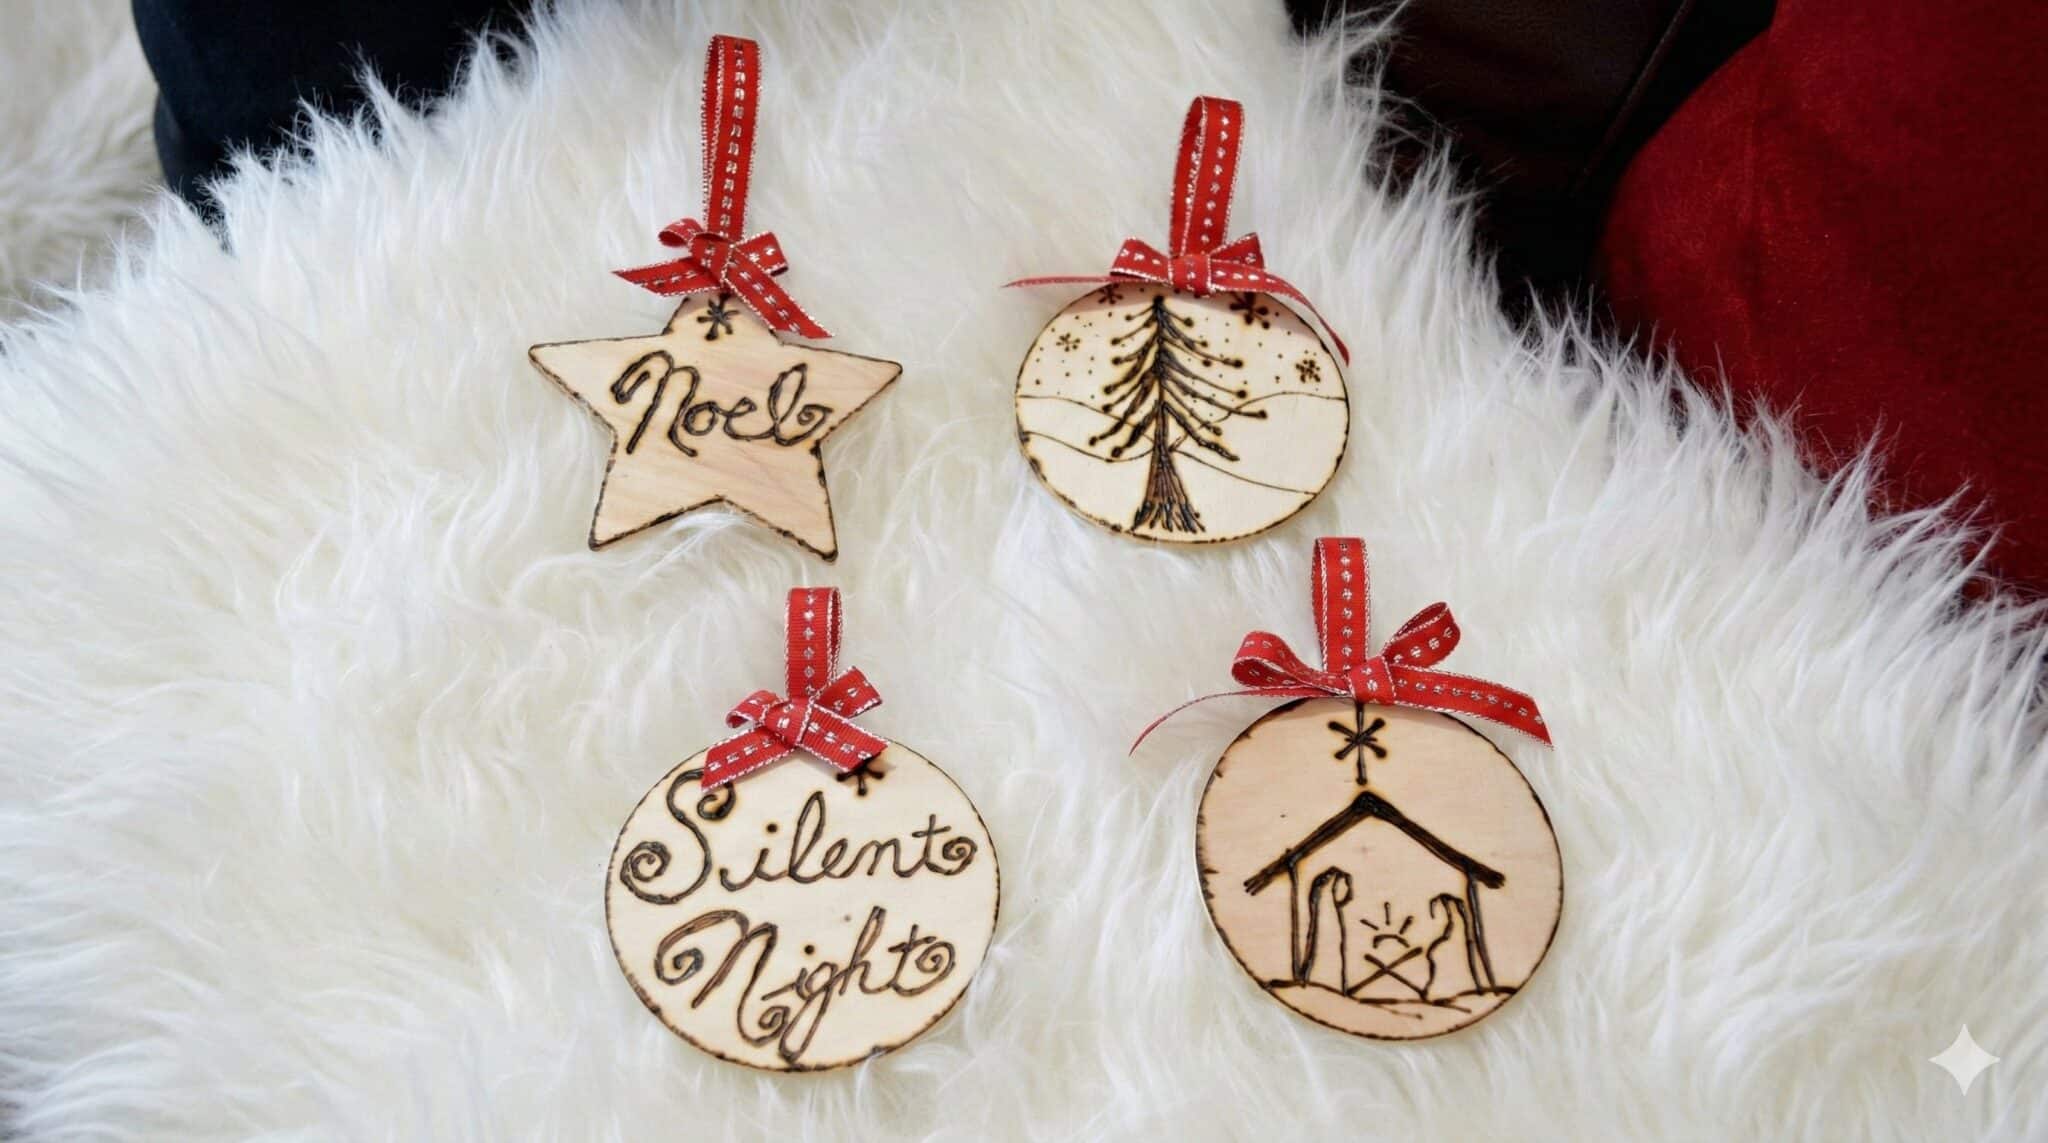
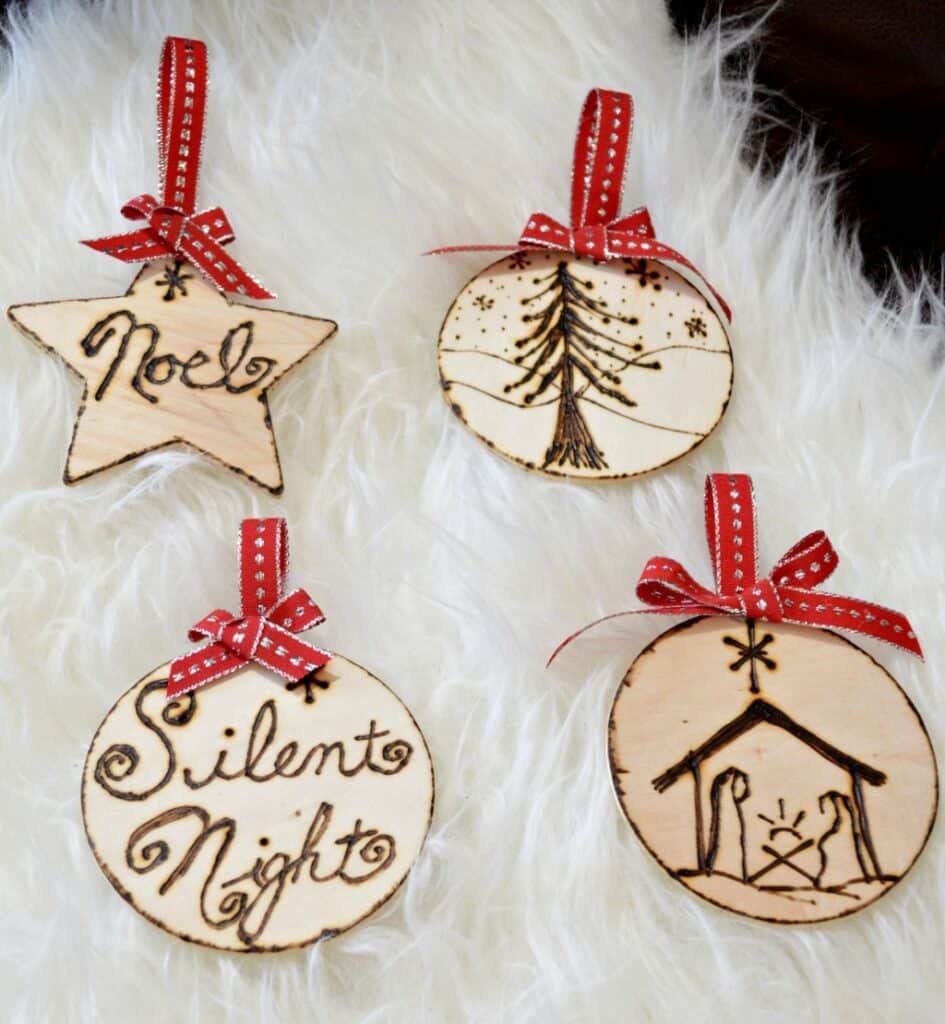
See where the Zen comes into play? Plus the smell. Mmmmmmmmm. Here are the four that I loved:
Step 4
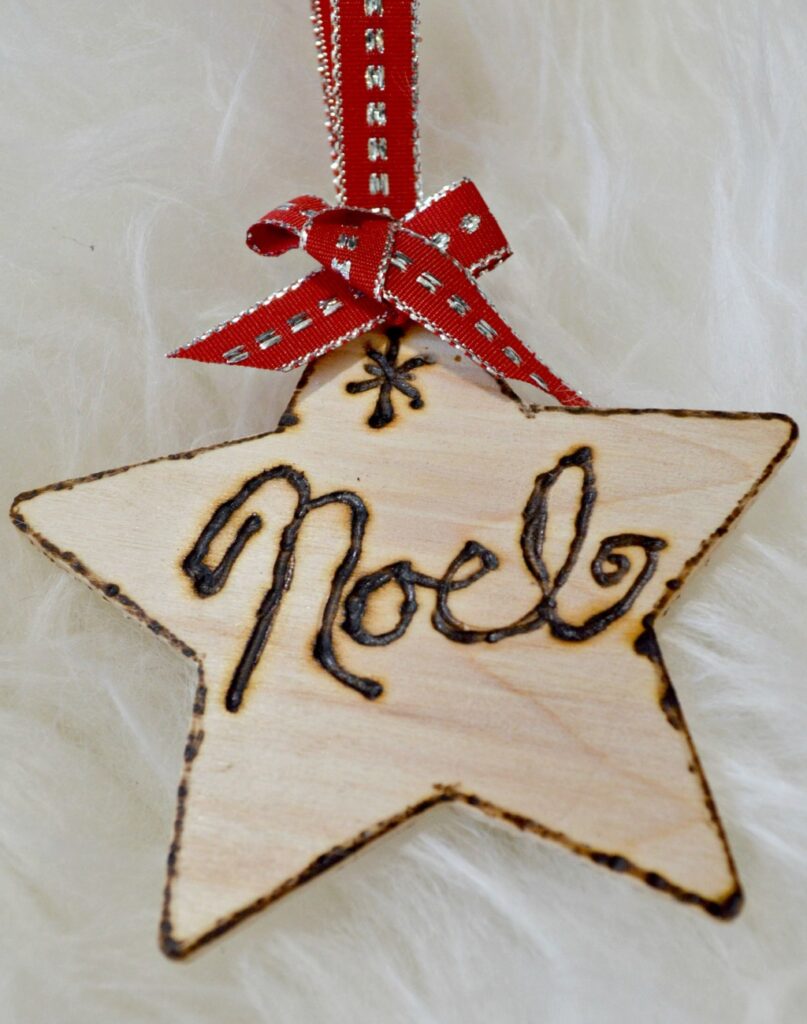
Get Brave! Guess what, the whole tracing thing was kind of ruining the Zen vibe, so I eventually quit tracing and just free handed! These four, the favorite four, where done free hand.
I had my pictures printed and I referenced them visually, but at this point, I was kind of winging it!
Step 5
Add a little bow and a hanger with your ribbon. I hot glued mine to the ornament.
PS, making a tiny bow is the opposite of Zen. Not my favorite part of the project.
I can’t encourage you strongly enough to try these!
They were really an experience to make and so worth it!
If you liked it then you shoulda put a Pin In It!