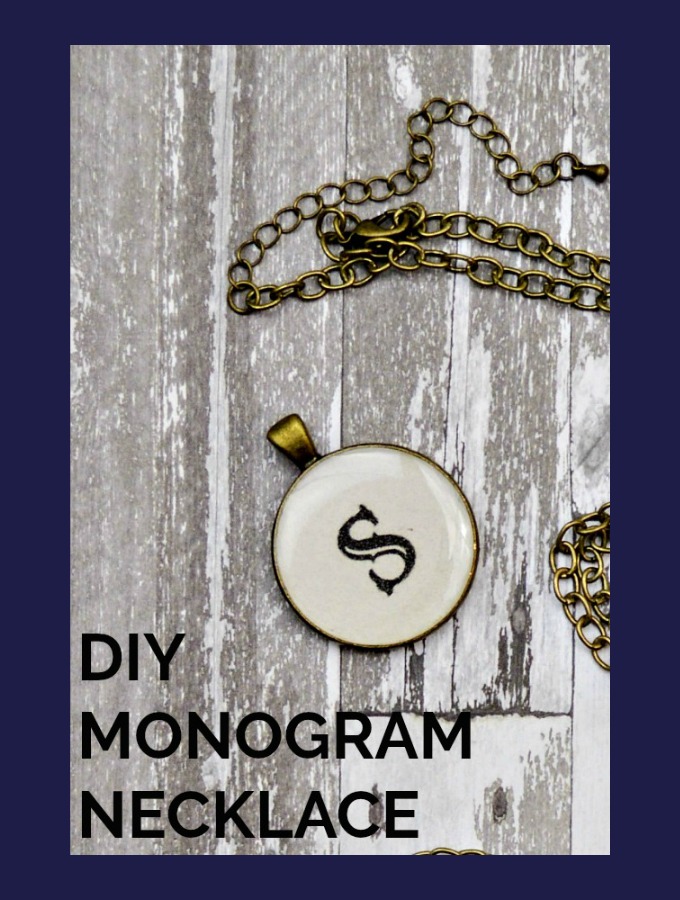
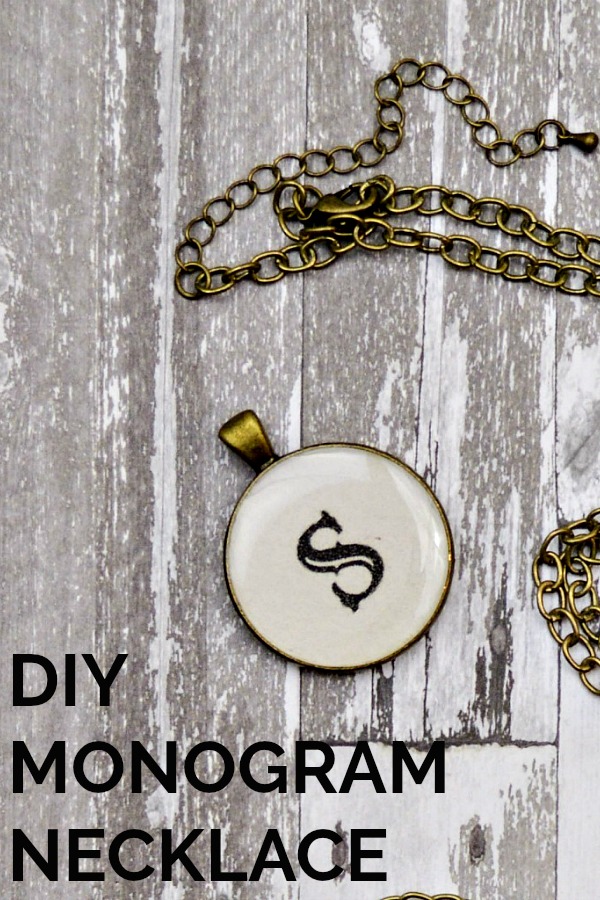
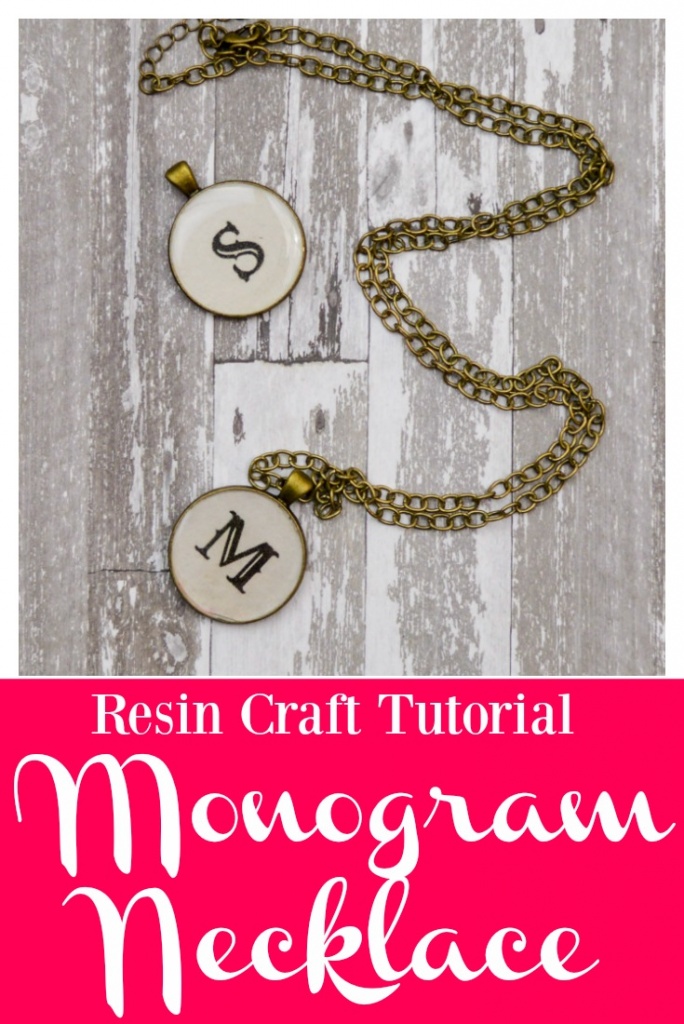
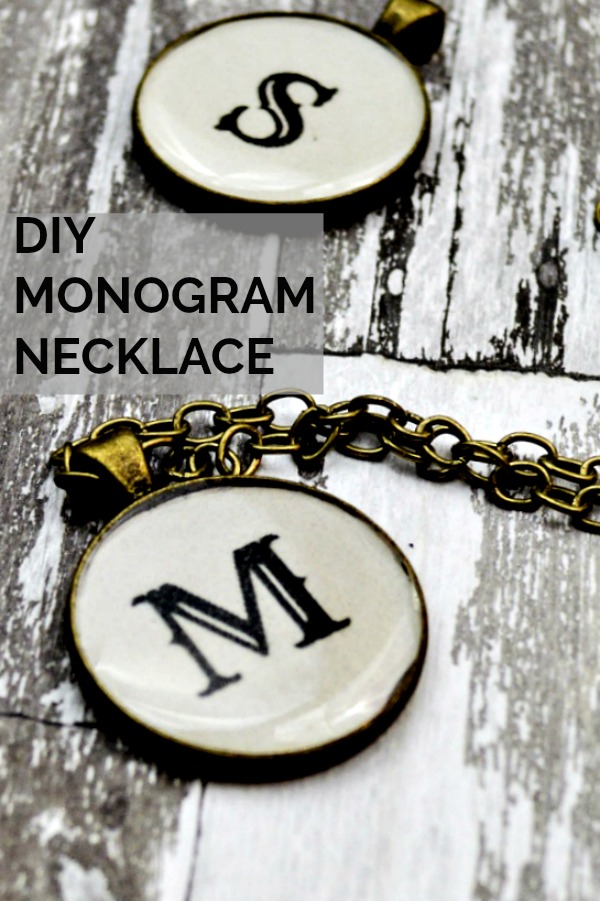
I promised you this would be the year of the Resin Craft. Unfortunately, I made that promise with absolutely no idea how to use resin. Except for the few tutorials I read. Ok, skimmed. So, I decided to do the smart thing and start off with a super simple Resin Craft Tutorial for a DIY Monogram Necklace. ***This post contains affiliate links. If you click one and make a purchase, I may receive a commission at no additional cost to you.***
Before we get into the tutorial, I have to tell you something. I was seriously scared to try this. I don’t know why. Resin seemed like a step outside of my comfort zone so, I really did end up reading a few solid tutorials and before I started, I sat down and read through ALL of the directions. I’m so glad I got over my fear because these DIY Monogram Necklaces came out totally adorable!
Looking back, I have no idea what I was so worried about. The resin was incredibly simple to work with. The project itself is really easy, so it was a great way to start my resin journey.
Resin Craft Tutorial – DIY Monogram Necklace
Materials
**A note on purchasing these materials. Generally, I would love you to click my affiliate links and buy them on-line, but for these jewelry bits, I definitely think you should go to your local craft store and check them out first hand. See what finishes you like. I’m including links so that you have a visual of what you need, but I wasn’t able to find the exact finishes that I bought in the store, online.**
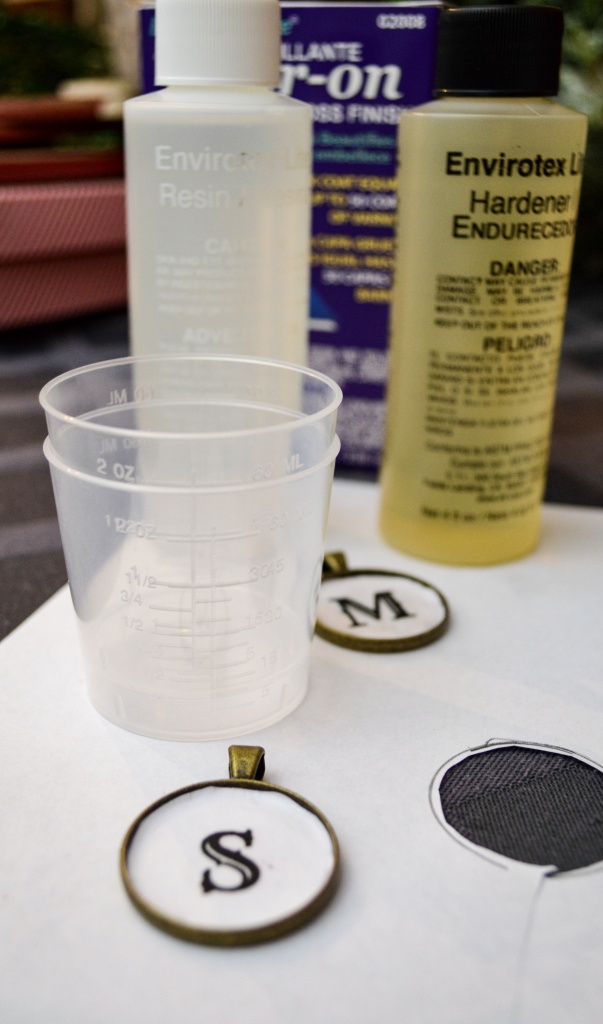
Envirotex Lite Pour On Resin – 4 oz. (you will only use a little bit of this on two necklaces, so plenty more resin projects to come from this purchase!)
Plastic Measuring Cups and Stirrers – I got mine at Michael’s. The stirrers came with the cups. You need at least two measuring cups
Bezels – I bought something similar to these from Michael’s. They came in a pack of 3
Necklace Chains – Mine is similar to these from Michael’s. Also a package of 3
Mod Podge
Rubber Gloves
Small Paint Brush
Straw
Newspaper or something similar to cover your work surface
Instructions
Step 1
The first step, it turns out, probably took the most time in this project and that was deciding which font to use for my monogram letter. I used picmonkey to design my monogram, but you could do it in any software you want, really. When I printed mine, I resized the graphic to 150×150 and that was just the right size for my pendant. I played around with a few different sizes to see what worked best, so depending on the size of your bezel, be prepared to play around with the size as well.
Step 2
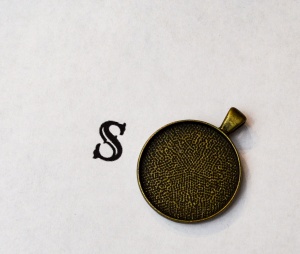
This is hardly a step, but the second step is to cut out your printed monogram. So here’s what I did. I placed the bezel over the paper so that the monogram seemed like it would be in the center of the bezel (I know this is not super scientific), traced around the bezel with a pencil, then cut around the pencil line.
This will leave you with a circle that is actually a smidge bigger than you need it to be. But this on purpose. Well, it wasn’t at first, but it turned into a happy accident. Once you cut out your monogram circle, center it in the bezel. When the letter is basically centered, you can sort of score or push the paper with your thumb so that it’s pressed up against the sides of the bezel. Take the paper out and cut off the excess. I promise this makes more sense when you’re doing it as opposed to reading it. I ended up cutting out two more blank, plain white circles to put underneath the monogram just to make sure none of the darkness of the bezel showed through.
Step 3
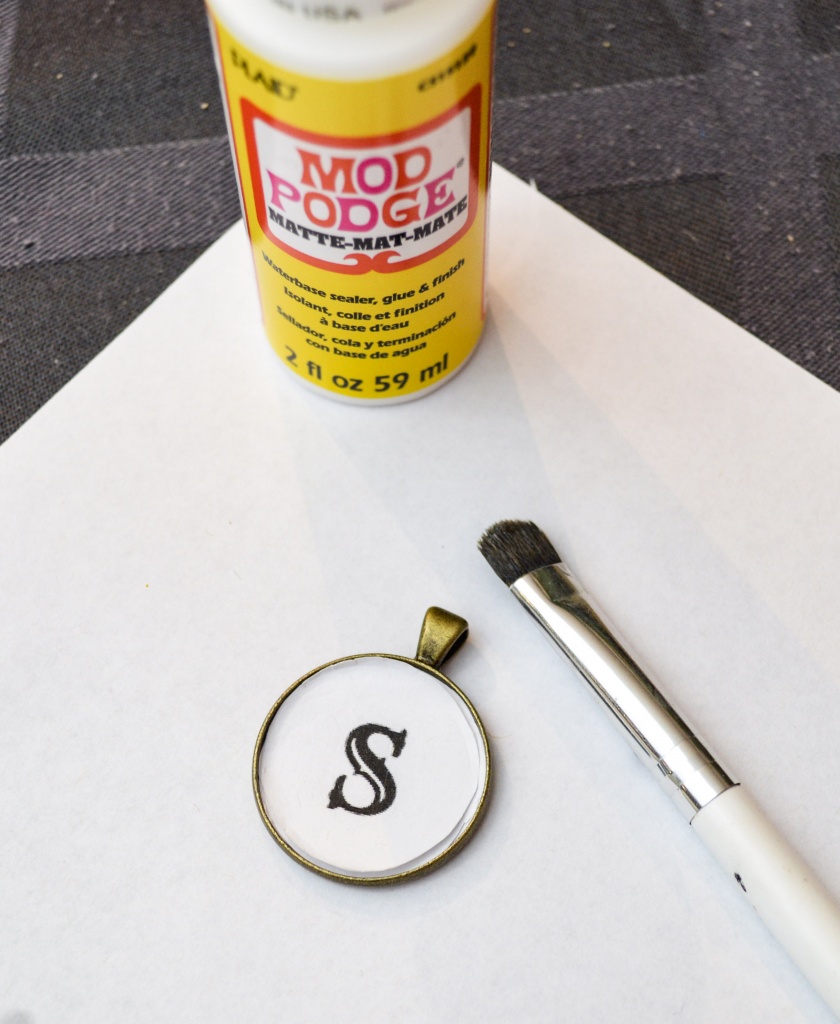
Next you’re going to mod podge the monogram into the bezel. This will help protect the paper a little and hold it steady once you’re pouring the resin on. Use your small paint brush to give it a thin coat of mod podge and make sure you keep an eye on the monogram and that it stays centered. Let the mod podge dry. Completely. Totally dry. Got it?
Step 4
Alright, time to put the gloves on. Literally, put your rubber gloves on. We’re about to mix resin. Make sure you’ve remembered to cover your work surface with newspaper or something else you won’t mind spilling resin on. Your resin is going to come with instructions. Read them. All the way through and carefully. They have lots of good information. The key points are:
- Your resin bottles should not be cold. If they are cool to the touch, put the bottles in a bowl of warm water for a few minutes to warm them. Resin does best in a room that is 75 degrees, so it’s very likely, unless it’s summer or you crank your heat, that you will need to warm up the bottles a little bit. I put mine in a bowl of warm water for about five minutes.
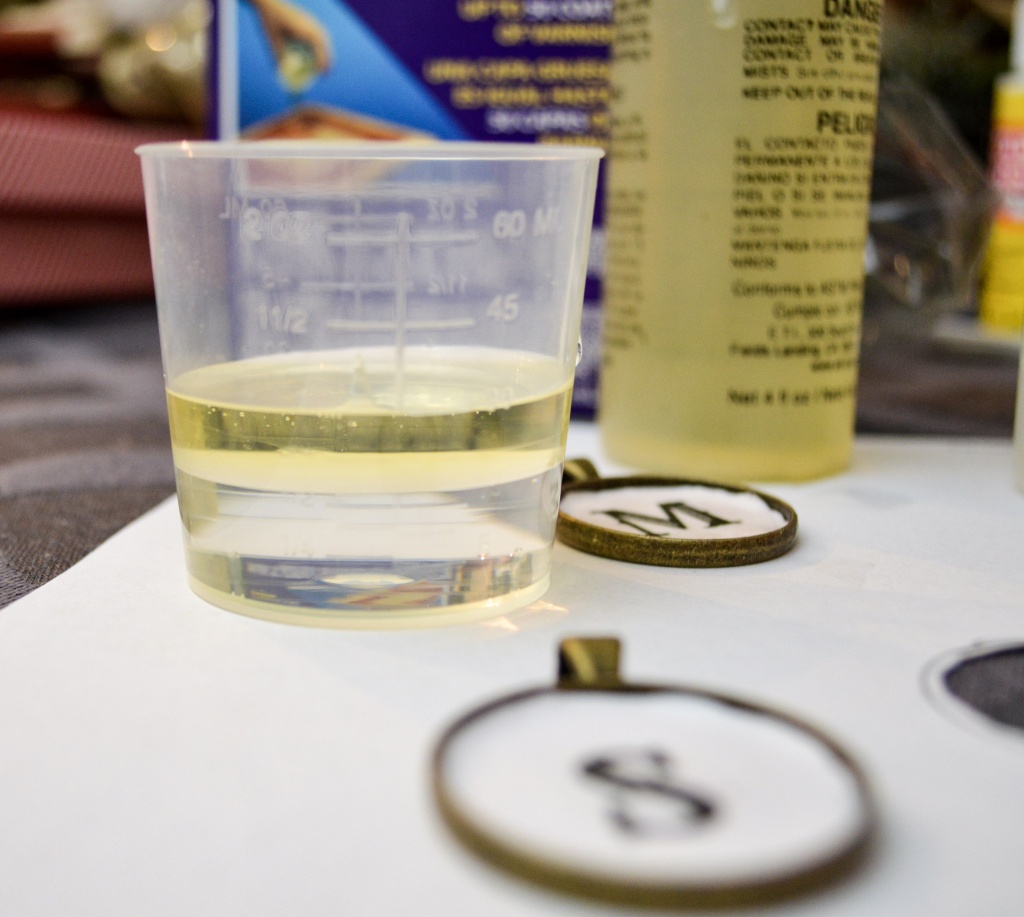
- You need to be EXACT in your measurements. This is why we use the measuring cups. First, pour in the resin. I poured mine to the 1/2 mark on my cup. Then, on top of the resin, pour in the hardener. Right on top, up to the 1 mark on the cup.
- Start stirring. You will stir for 2 minutes in this round of stirring. While you’re stirring, you’re also going to be scraping the sides of your measuring cup as you stir. This is important, don’t skip this step. I’m not sure why it’s important, but every tutorial I read and the directions expressed the importance of scraping the sides of the cup.
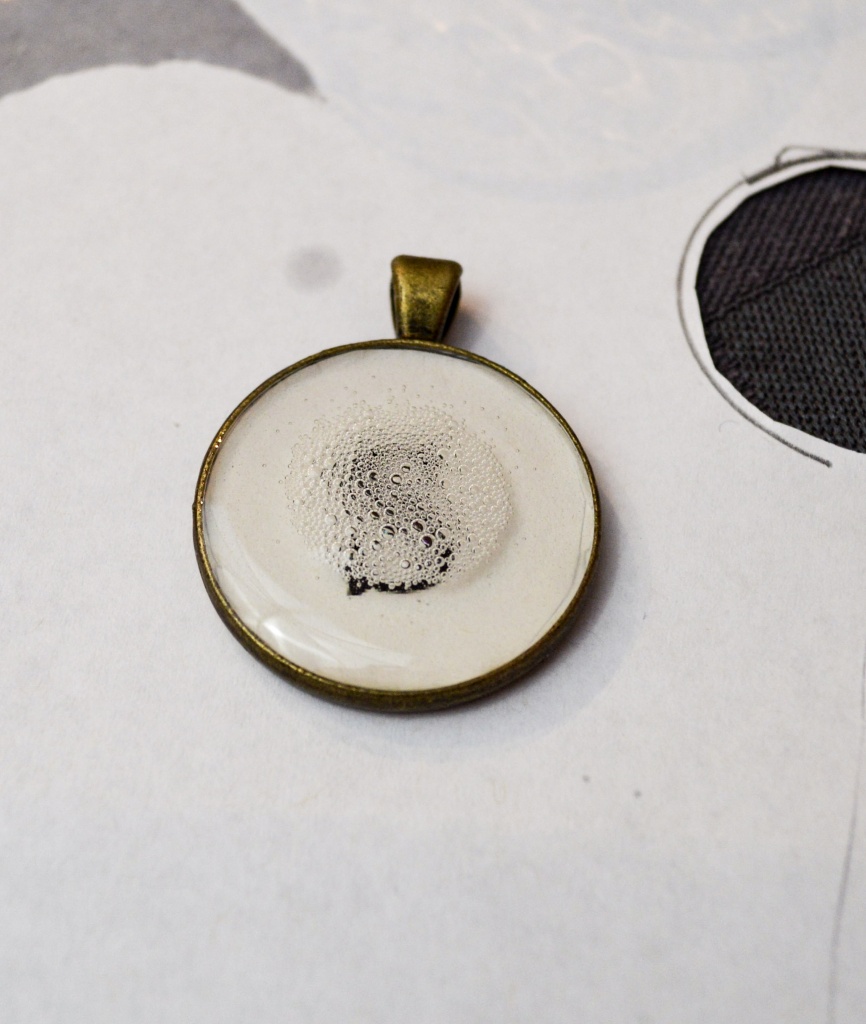
- After the two minutes are up, pour the resin into the second measuring cup. Continue stirring and scraping the sides of the cup for another minute. You’re going to think there are WAY too many bubbles and that you messed up. You didn’t.’
- Once you’ve finished stirring, the resin is ready to pour. You have about 25 minutes to work with the resin at this point, but it’s best to pour asap. The resin is self leveling, so carefully pour just enough resin into your bezel to fill it and create just a little bit of a “dome”. The resin isn’t a super quick pour, it’s somewhere between honey and water, so this part isn’t difficult. Cover your pendant with a bowl or something else to protect it from dust and debris. Wait 15 minutes. (Do a 15 Minute Cleaning Interval while you wait!
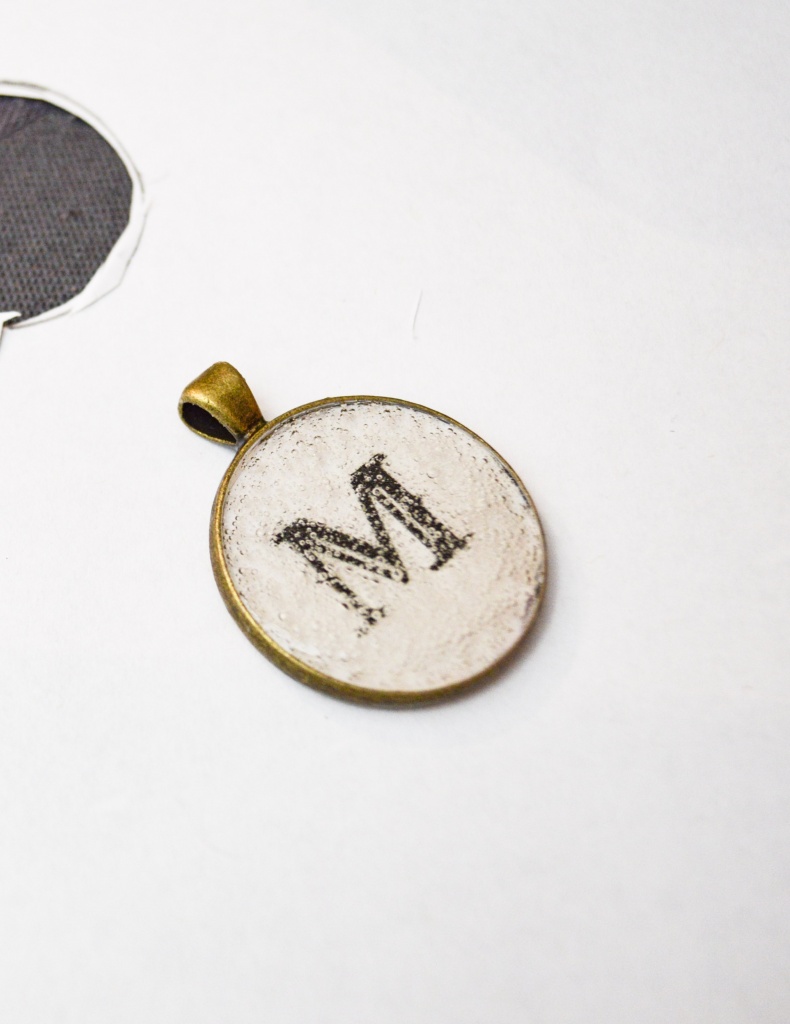
- After 15 minutes, all of those bubbles you saw after mixing are going to float to the top of the resin. This is where the straw comes in. You are going to gently blow on the bubbles and they will magically disappear. Ok, it’s not magic, it’s carbon dioxide that actually breaks up the bubbles. Recover your pendant with your bowl or other cover.
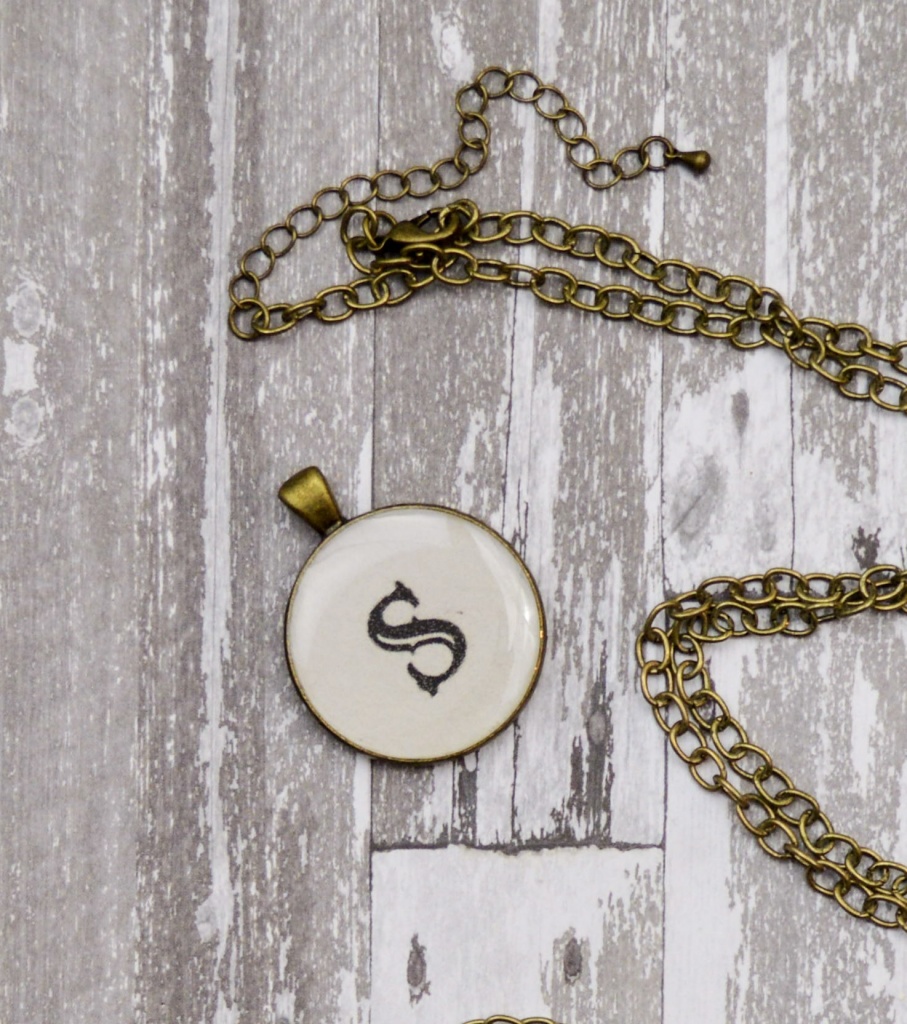
- The resin will take 7 or more hours to set up and 3 days or more to completely cure. Read the instruction as the times can vary widely depending on temperature and humidity.
Step 5
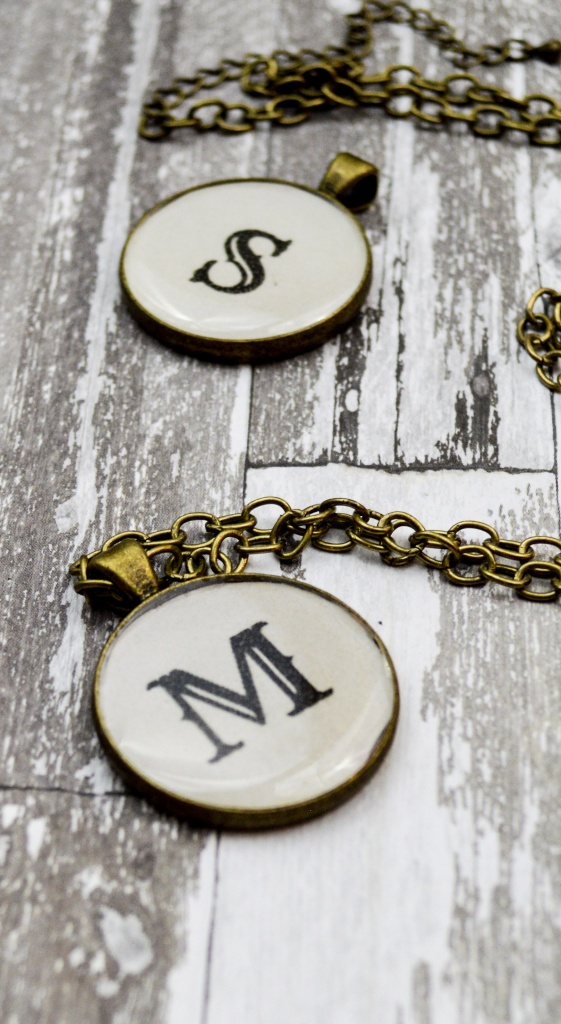
Once your pendant has completely cured, string your chain through it and plan what you’re going to say when someone says, “I love your necklace! Where’d you get it??”
Here’s what I love about this project. It was really incredibly easy. A tiny bit time consuming, but we’re talking maybe an hour. And the simplicity of the necklaces is just perfect. This was really the perfect place to start with resin. I’m over my irrational fear of it and so ready to try another project!
