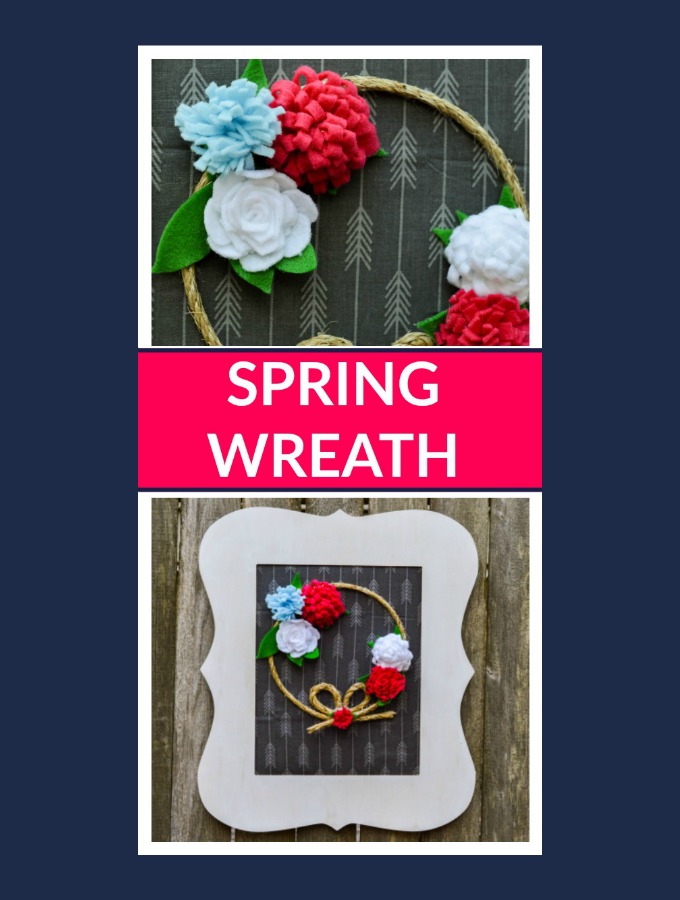
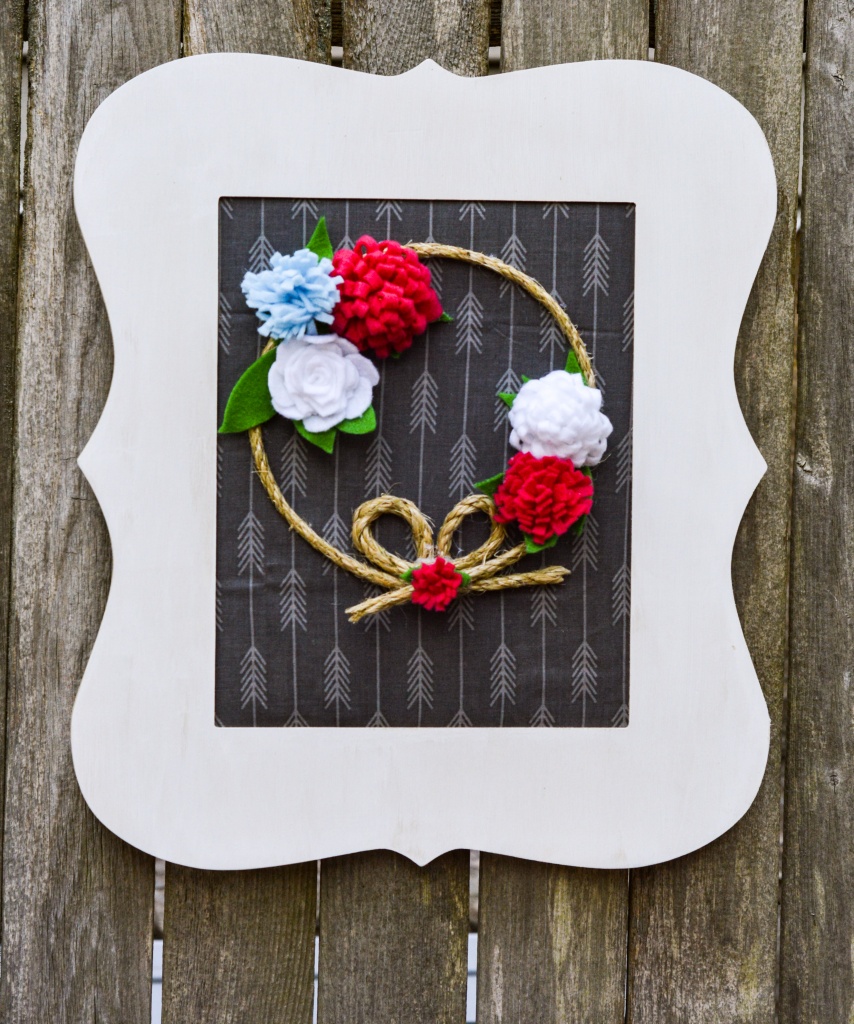
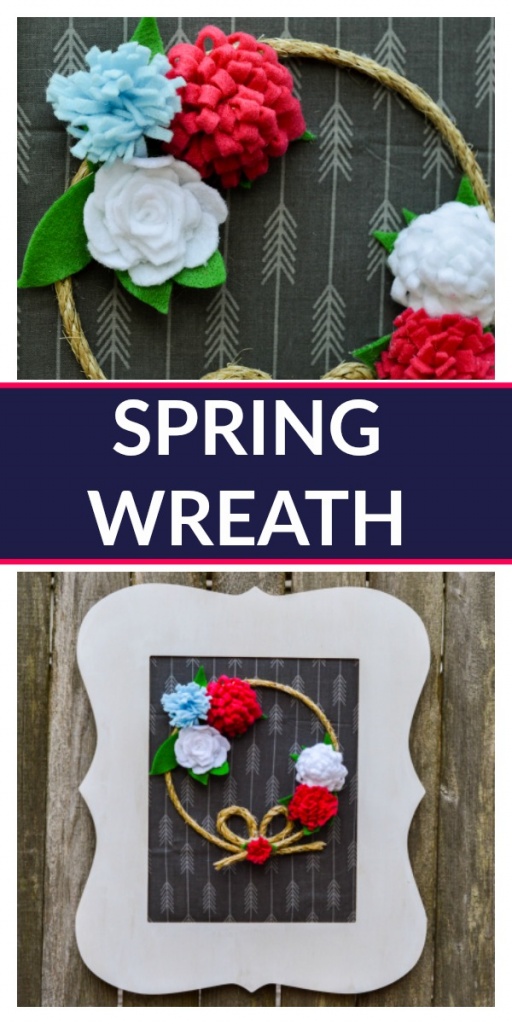
I think at this point, I can’t even really say that we are having a crappy Spring so far here in New England. Because apparently Spring just is cold and rainy every year now. Then, it’s suddenly summer. To help brighten things up around here, I made a cheerful and unconventional Front Door Wreath with Felt Flowers.
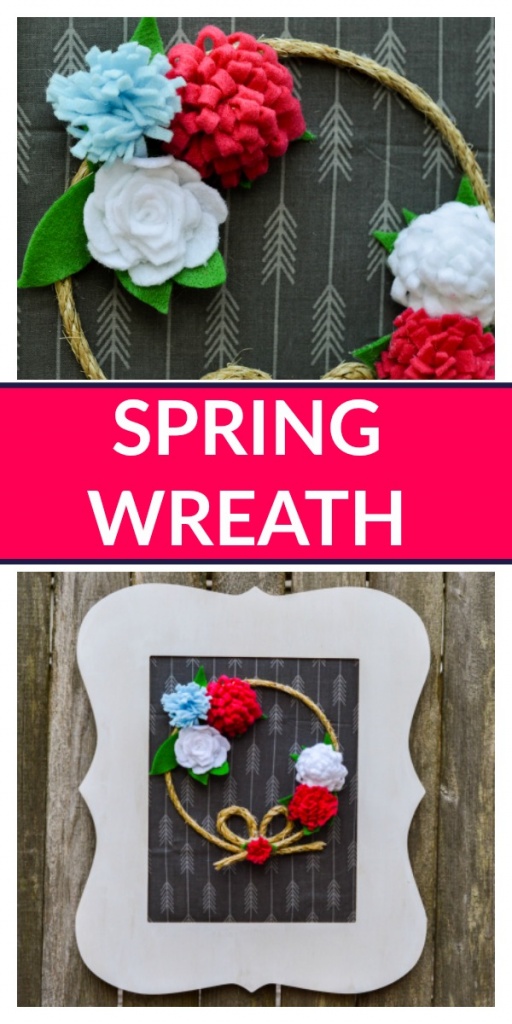
I’m calling this a wreath, but as you can see, it’s made from a picture frame (one of the cheapo unfinished one’s from Michael’s!) so it could also be wall decor. I think it would be adorable in a little girls room.
Front Door Wreath for Spring
This was actually a fairly simple project, although I did have to complete it over the course of a few days. I painted the unfinished wood frame one day, made flowers the next and then I put the whole thing together the following. Mostly just because I couldn’t string together more than 30 minutes in a row, though. As long as the frame dries, you could knock this out in an afternoon.
Materials
Gray Arrow Fabric (not available on-line)
Felt in various colors (I used a couple of pinks, white and light blue)
Glue gun
Twine
Thin Batting
Step 1:
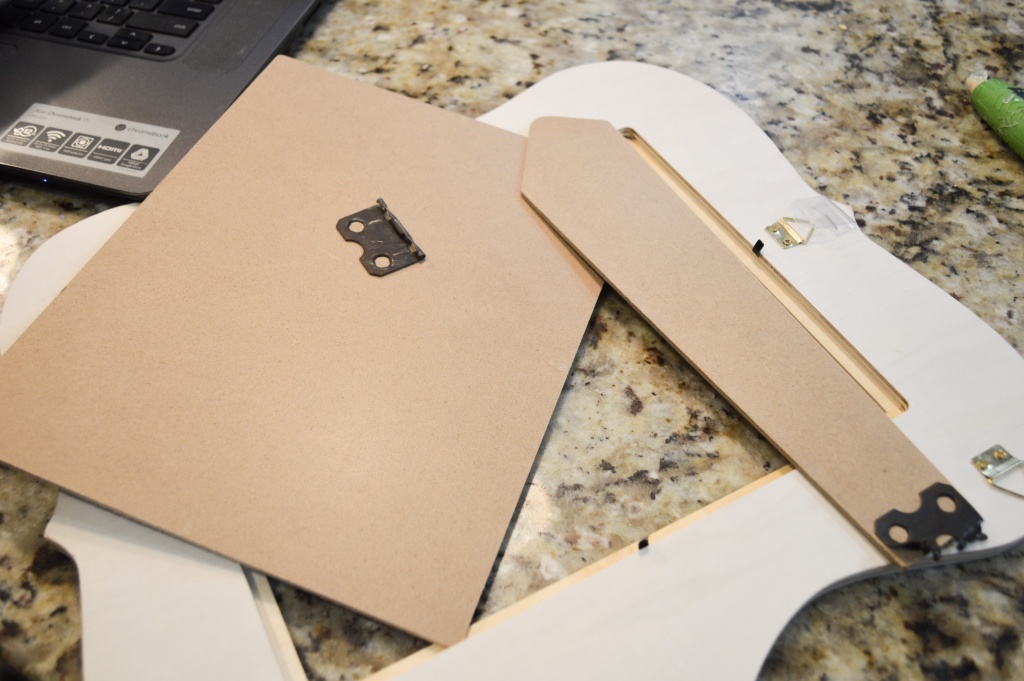
Break your frame. If you are planning on using this as a front door wreath, you aren’t going to want that annoying stand thing on the back of the frame. I broke that off. Tools use: Brute force. (Just kidding it took nearly no effort to break that thing off).
Step 2:
Paint your frame. I painted mine white because I love how white stands out on my red front door. Of course if your door is white, you might want to paint the frame a different color. Allow the paint to dry.
Step 3:
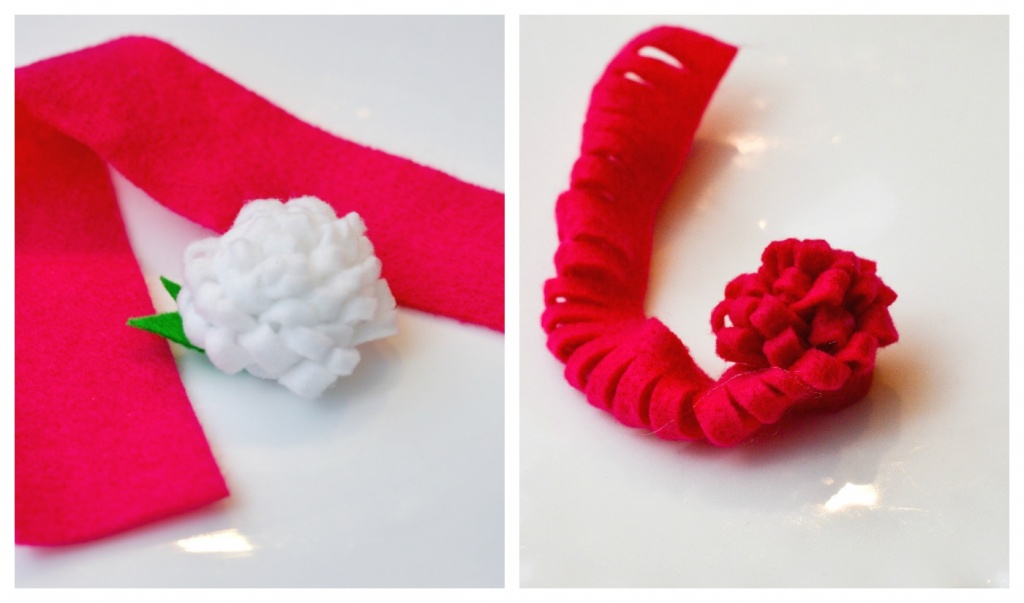
Make some flowers! I made three different types of flowers. and I’m going to show you how to make each of them.
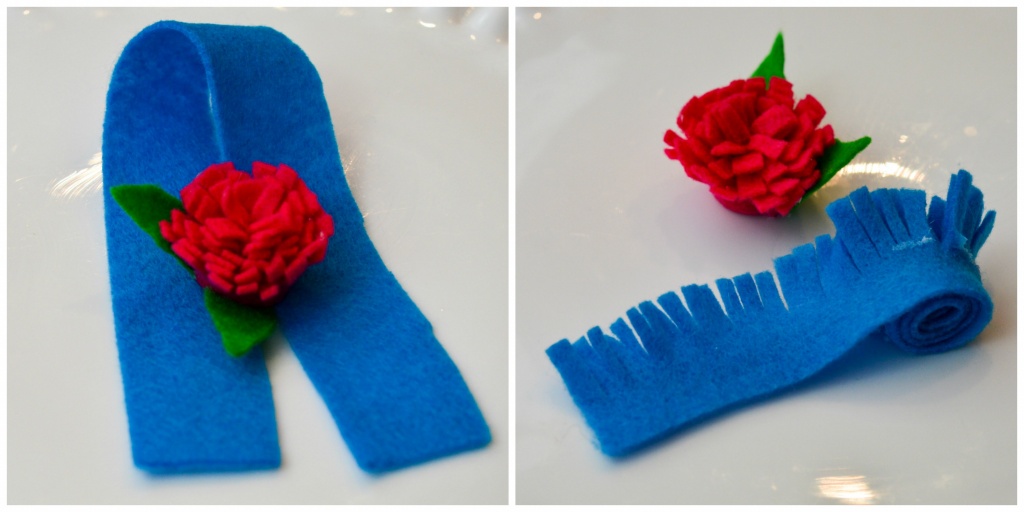
Closed Loop Flower:
1st – Cut about a 1 inch strip from the length of one piece of your felt.
2nd – Fold the strip in half width wise.
3rd – On the closed side of the fold, snip about 3/4 of the way through the strip.
4th – Wrap the strip into a tight coil, securing with hot glue as you go.
5th – Cut some leaf like shapes from your green felt and add them to the finished flower.
Dandelion-like Flower
1st – Cut about a 1/2 inch strip from the length of one piece of your felt.
2nd – Cut about 3/4 of the way through the strip.
3rd – Wrap the strip into a tight coil, securing with hot glue as you go.
4th – Cut some leaf like shapes from your green felt and add them to the finished flower.
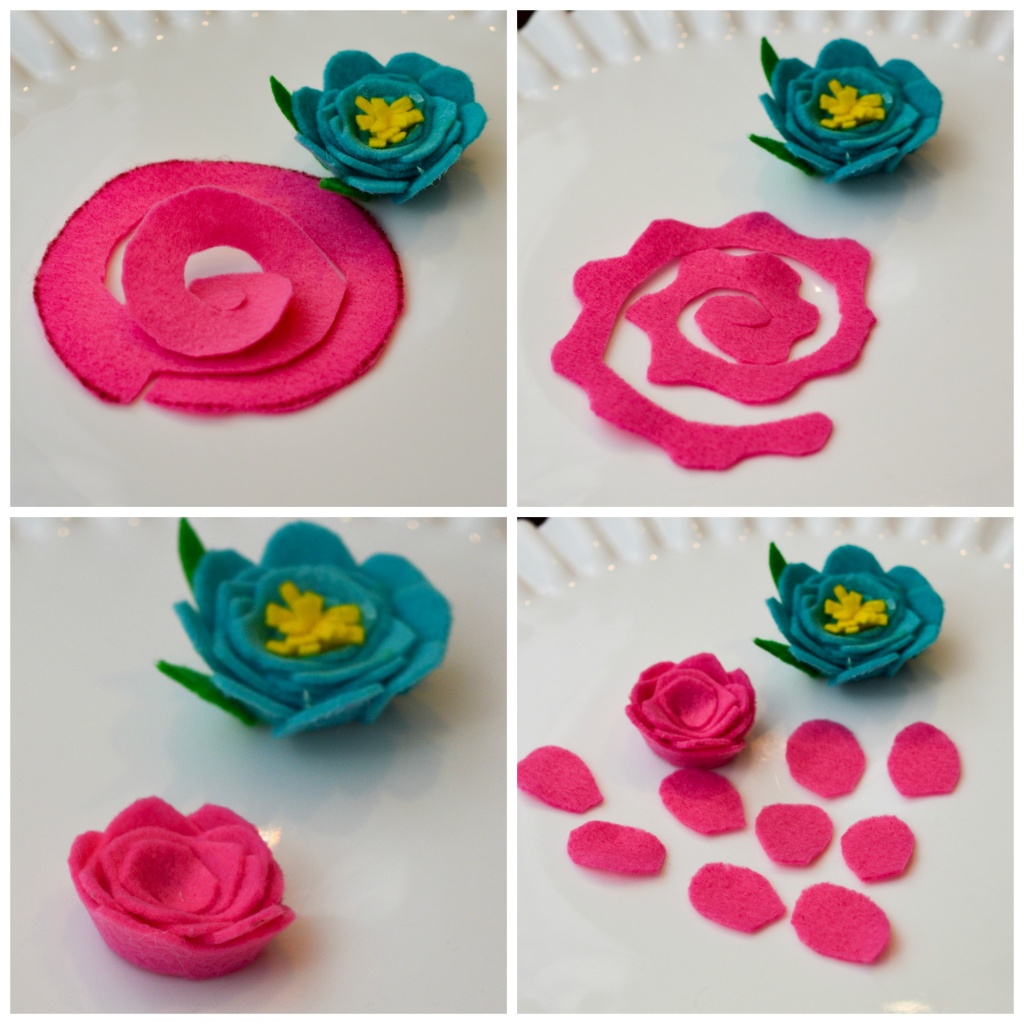
Rosette Flower
1st – Cut a circle out of your felt. I used the bottom of a candle to get draw a circle shape on the felt and then cut it out of that.
2nd – Cut the circle into a spiral.
3rd – Cut petal like shapes into the spiral. (Please note how not petal like my cuts are. It’s ok. Your flower will still be pretty. Mother Nature isn’t perfect, either)
4th – Wrap the spiral into a tight coil around itself, securing with hot glue.
5th – Cut out petal like shapes from leftover pink felt and attach them to the rosette with hot glue.
Step 4:
Assemble the frame. I covered the back of the frame with a layer of batting and then the gray arrow pattern fabric. I used hot glue to secure the batting and the fabric to the back of the frame.
Step 5:
Cut a length of twine and attach it to the fabric with hot glue in a circle. My twine was thick, so I ended up making the little bow with separate pieces of twine. I cut two short pieces and formed each into a half of the bow and then hot glued that to the circle. I made a teeny tiny flower to cover the place where the two halves of the bow meet.
Step 6:
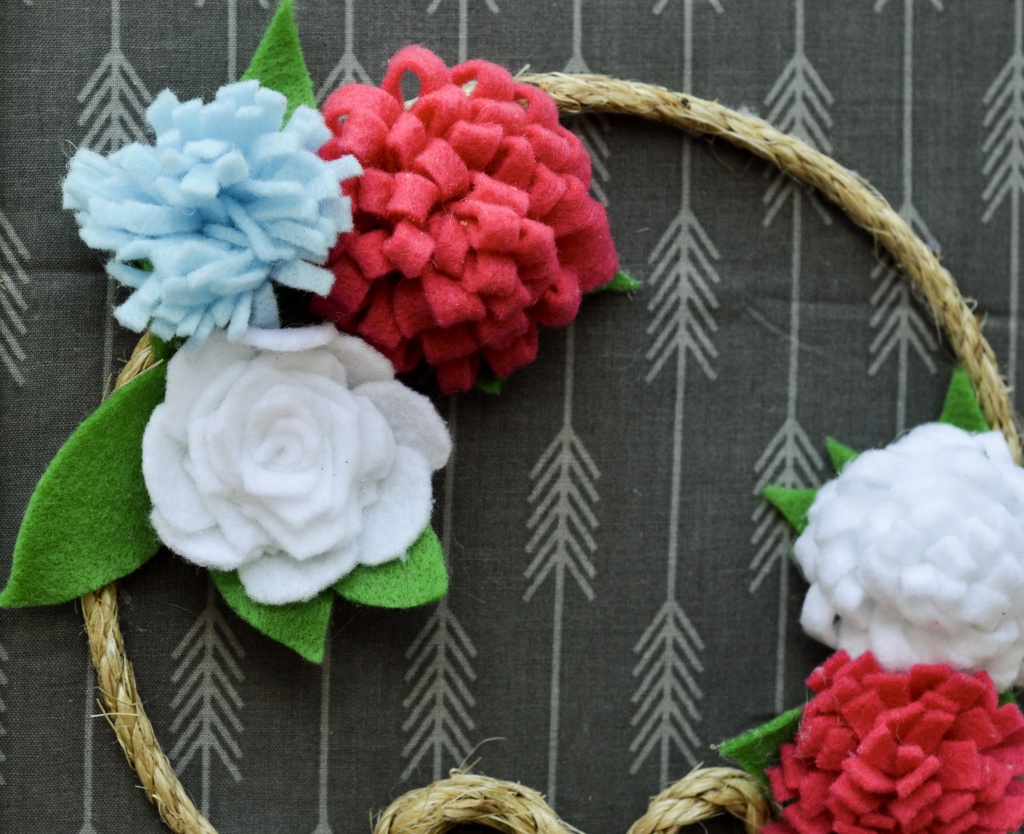
Add your flowers. Pop the flowers on the circle and move them around until you are happy with their placement. I also made some more large green leaves at this point and arranged them around the flowers. When you’re happy with how the flowers and the leaves look, attach them with hot glue.
And there you have it! I super cute front door wreath made by your own two hands. Or, can’t you see it in a little modern farmhouse baby girls room? Instead of doing the circle, you could do an initial. Totally adorable. If I do say so myself.
