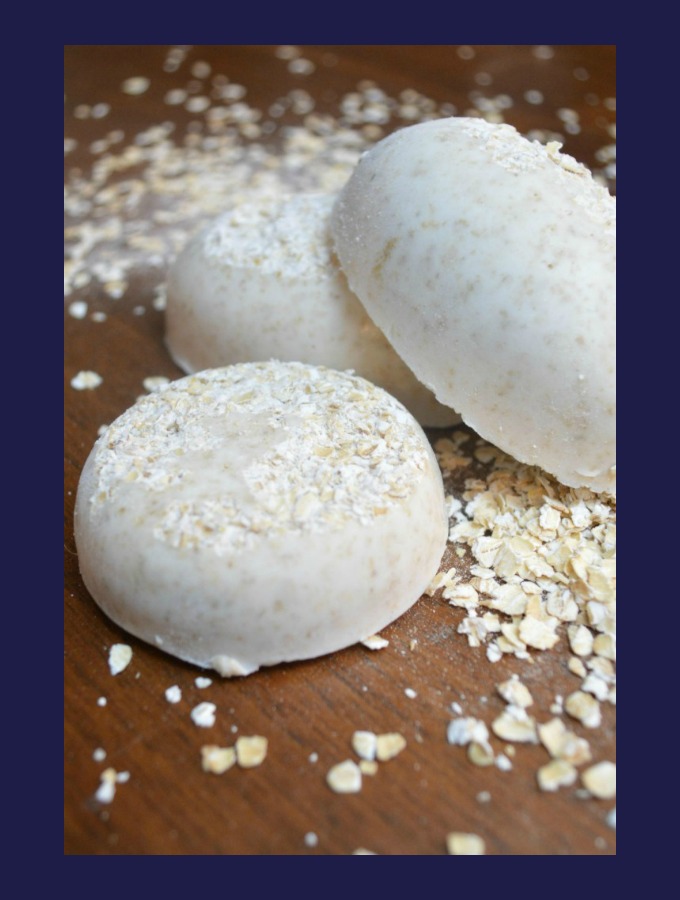
There is a dilemma in my house. I need exfoliation. I bought one of those exfoliating brushes on the end of a long handle and my husband banned it from the house because every time he looked at it, it reminded him of the old lady in the shower in Caddy Shack. I also don’t like to pay a lot of money for stuff like soap. My solution? DIY it.
First let me say I didn’t “make” soap. Apparently only chemists should do that. I would call this “designing” soap. You buy a plain, meltable brick of soap at the craft store and then you add what you choose to it. Here’s how I did it.
Materials:
Melt and Pour soap, 12 oz for about 4 bars
1/2 c of Oatmeal
Essential Oil of your choosing (I chose Honey Almond and it is awesome)
Plastic mold in a soap like shape (I bought mine at Michael’s)
Step 1:
Melt your soap. You can do this in a double boiler on the stove, or you can melt it in the microwave in :30 increments. I chose to do this in the microwave because I didn’t really like the idea of using one of my cooking pots to melt soap. Don’t pop your soap in for 5 minutes and not check it. It can burn. You’ll probably do about 5 or 6 :30 second increments.
Step 2:
Grind your oatmeal. I used my magic bullet and pulsed for just a few seconds until it was coarse. The coarse oatmeal will act as an exfoliant and oatmeal is moisturizing and helps with itchiness from the dry winter air.
Step 3:
Sprinkle some ground oatmeal into your mold. A word about choosing your soap mold… Michael’s has an inexpensive soap mold that makes ovalish and round soap. I used that. You can also use a silicon baking mold. Those come in some cute shapes.
Step 4:
Add the ground oatmeal and your essential oil to the melted soap. I used maybe 15 drops of the essential oil and I could have used more. Mostly because I really love the way it smells.
Step 5:
Pour the melted soap into the mold. I filled the mold right up to the top. Then you have to wait. For like 2 hours. Actually, in the grand scheme of things, two hours is pretty quick. I made the soap and let it harden and then I used it the next day. Can’t complain.
Adding the little bit of oatmeal to the mold before the soap will give you that extra bit of exfoliation on one side of the soap. I use that side for rough spots and the smoother side of the soap for the rest. I can feel a difference in the softness of my skin when I’m done showering.
And if I could digitize the smell of this honey almond soap and email it to you, I would. It’s good. Really good. It’s a little sweet and really fresh. It’s definitely not perfume-y. Just clean and delicious. But don’t eat your soap.
And, yes, I would totally wrap this up and give it as a gift.
In all, the actual making of the soap was pretty quick, about 20-25 minutes not including the time it takes for the soap to harden. I spent $5 on the melt and pour soap (with a 50% off coupon at Michael’s!), $5 on the essential oil and I think $2 on the soap mold. I only used half of the soap and a tiny bit of the essential oils and I already had the oatmeal. If I overestimate, I spent about $4-5 dollars for 4 bars of soap. Not bad for a custom product made just for me!
Linking up to: Plucky’s Second Thought, Merry Monday Link Party, Motivational Monday, Frugal Crafty Home Blog, My Two Favorite Things, On Display Thursday


