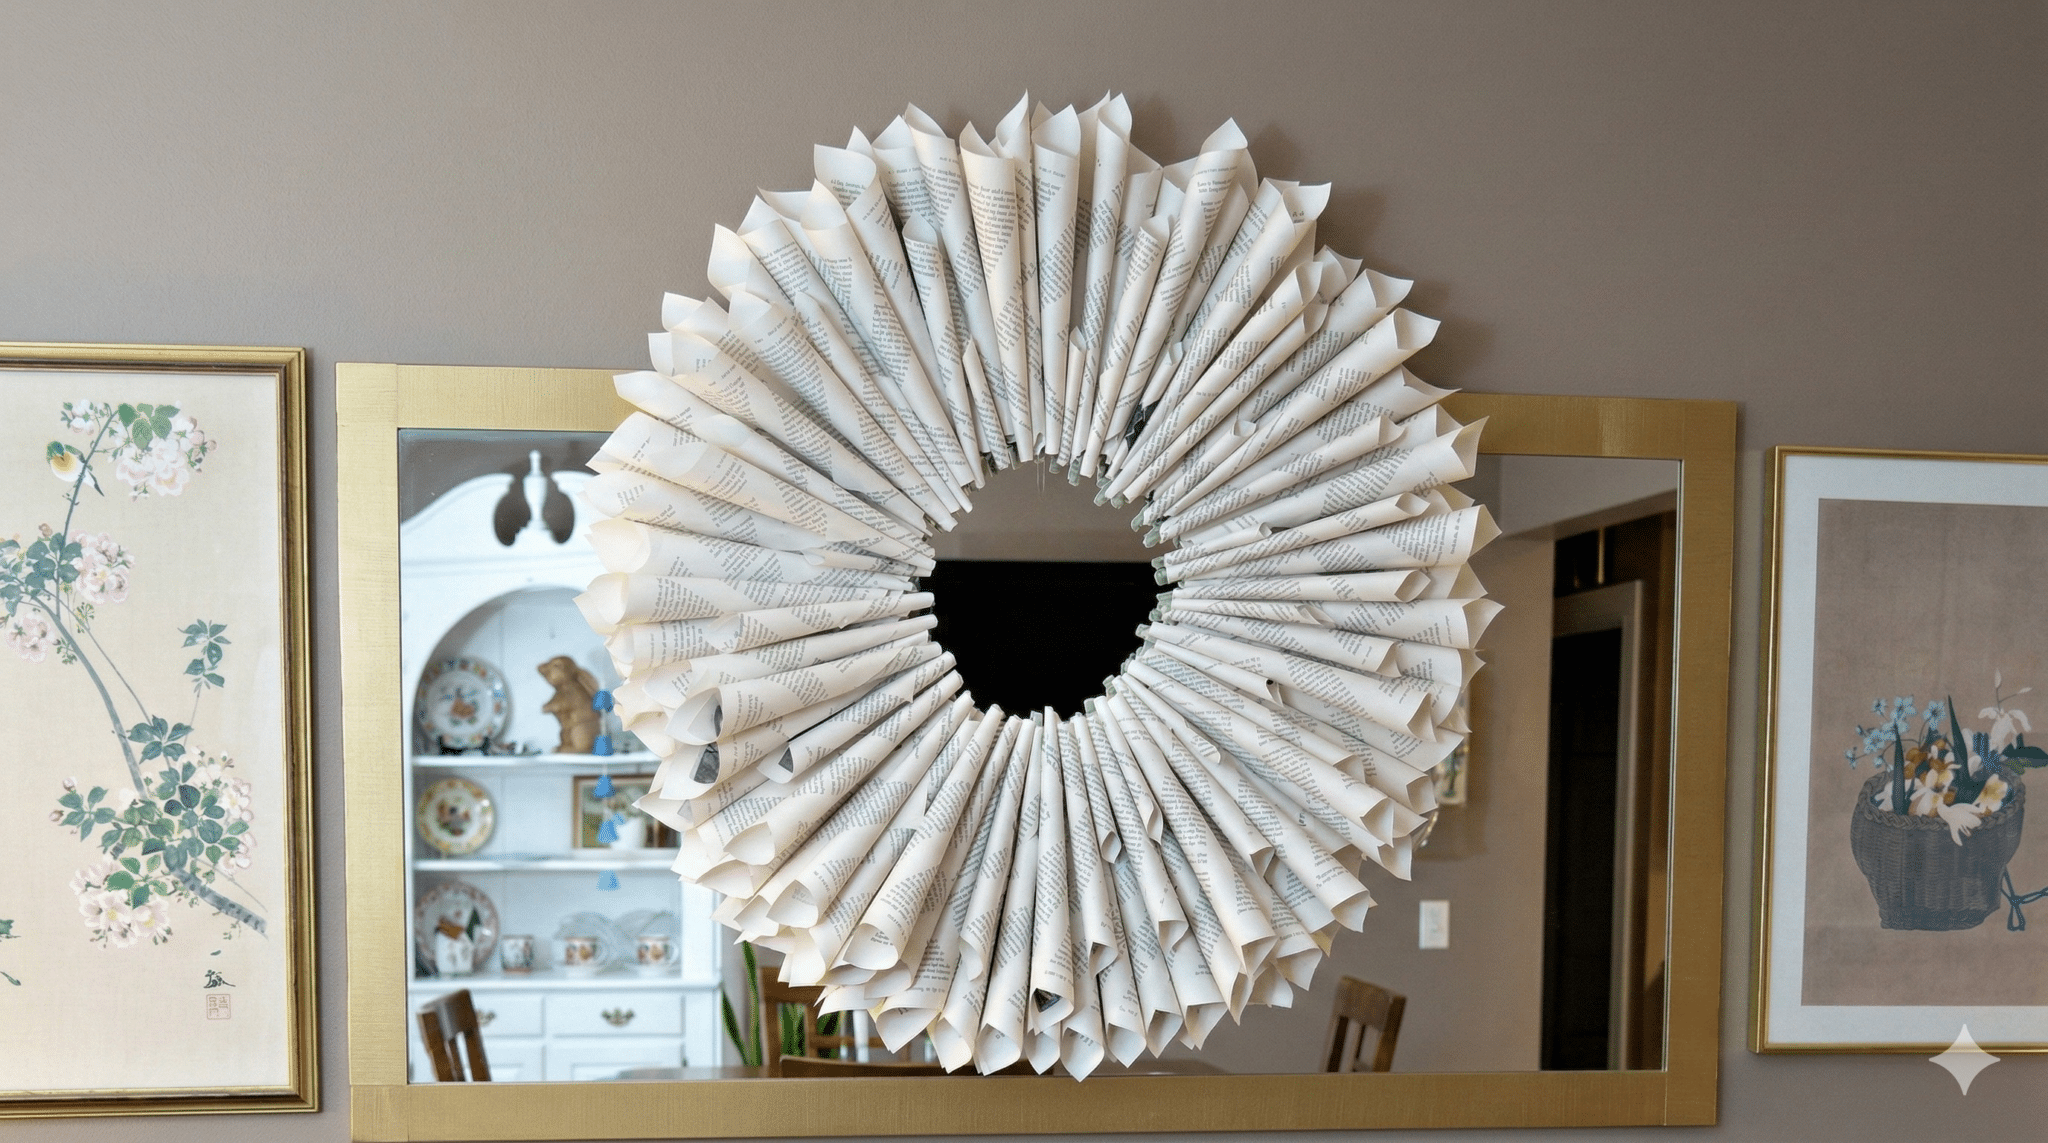
I have been wanting to make a book page wreath forever, but it never made it onto my to do list. This year after Halloween I needed to change up my door wreath, so I thought I would go for it. Spoiler Alert: What I made didn’t end up on the door, so I see another wreath in my future.

Funny aside, before I get to the tutorial. See that ripped spot on the couch? One day I found my son sitting on the couch with a pile of leather scraps and a huge (the blanket is hiding most of it) hole in the couch. When I asked him what he was doing, he said he was making a sculpture. I wasn’t even mad. And now I need a new couch. Win win if you ask me.

So this is a pretty easy and cheap project. It does requiring rolling a LOT of book pages. I broke up the project over two nights, probably less than a couple of hours each night.
DIY Book Page Wreath
Materials

1 Wreath form – I used this super cheap (less than $5) 12″ flat wooden frame. I like that it is flat, but I could have used a smaller one and it would have worked well.
Book pages – I used an old book I had, but you could thrift one if you are sentimental about your books
Glue gun and glue sticks
1. Remove a stack of pages from your book. Don’t stress is they don’t tear out perfectly; you can hide a gnarly edge.
2. Sit down in front of your favorite binge show on Netflix and start rolling paper. I can’t exactly put into words how to do this. It took me a few tries to get a groove going. You definitely want to make sure of a few things. You want the torn edge of the paper to be on the right and then start rolling the paper from the bottom right corner. You will roll sort of on an angle. This is the part that takes a little finesse. Give it a couple of tries and you’ll find the way that works best for you. Also, make sure there are words printed on the side of the paper that is face down. My pages had some blank sheets and others with pictures that I didn’t want to use. Secure the paper roll with a dab of hot glue.

If they look like cotton candy holders, you’re doing it right! Make approximately a kajillion of these and then make a kajillion more. You need a lot depending on the size of your wreath. Before you start adhering the rolls to your wreath, snip the bottoms to give them a flat, clean edge.
3. Begin adhering the rolls to the wreath form. I found it easiest to go with the pizza cutting method. Or I guess you could call it the clock method. Start at 12:00, 3:00, 6:00 and 9:00 on the wreath form and then continue cutting those quadrants (oh my god, I’m not mathy. If that makes no sense, I do apologize) in half. Then cut those in half. And so on and so forth until the entire wreath is filled. Then, for a more dimensional wreath, add paper rolls on top of the paper rolls you already glued. At the end I made some smaller paper rolls and added those in as well.

And that is pretty much it! I tied some string around the wreath form and hung it from a tack over the mirror in my living room. That room tends to be dark, so the white wreath is really brightening things up. I’m very, very happy with it! OH! I almost forgot. I didn’t end up using it on the front door because it is WAY to big. If you want one for your front door, use a smaller wreath form, OR, don’t attach the paper rolls at the edge of the wreath. Happy wreathing!