I’m going to paint my bedroom. Honestly, I am at some point. I always get a little overwhelmed before a painting project because there seem to be so many steps to the process. I’ve painted many, many rooms in my time, but I still find myself starting and stopping because I’ve forgotten some important step or tool that I need. I started researching the interwebs for a good step by step and found a few, but none that really pulled the whole process together from start to finish. So, I decided to write one myself. I present, The Definitive DIY Guide To Painting a Room. ***This post contains affiliate links. If you click on one and make a purchase, I may receive a commission at no additional cost to you. Thank you for supporting Lifestyle for Real Life!***.
The Definitive DIY Guide to How to Paint a Room
Choosing your paint colors and finish.
My number one best advice on choosing paint colors is go with your gut. This sounds silly, but, the place to start when picking a paint color is to pick a color. The actual color: red, yellow, blue, gray, is really your personal preference. The hard part is deciding which shade from that gigantic color wheel is right for you. So, for starters, sit in the room you’re painting at different times of day and ask yourself a few questions.
Question 1:
How much light does the room get?
Is there a lot of light? Not a lot of light? Do you want your walls to reflect that streaming sunlight or absorb it? Light colors will reflect light and create a bright cheerful room, while dark colors will absorb that light and get you a warm, rich room. If your room does not get a lot of light, don’t rush to paint the walls bright white to bring in light. That can backfire and the crisp white you were hoping for might end up looking dull and dingy. A rich, saturated jewel tone can be a great choice for a room that lacks natural light. Don’t be scared, it’s only paint!
Pro Tip: Emily Henderson
Question 2: What kind of mood do you want the room to have?
Is it a cozy sitting room or a wake up and face the day breakfast room? Light colors are, of course, better for the wake up and face the day breakfast room while warm, deep, dark colors will help create a cozy feel.
Question 3: How much empty wall space does the room have?
A room with a lot of windows or built ins or millwork can be a great place to try a color that might seem overwhelming. My dining room, for example, has two walls with windows and the third wall is wallpapered. The dark blue I chose to paint the windowed walls does not overwhelm the room because there is so little wall space. I initially tried the exact same dark blue in my living room that has a LOT of unbroken wall space and it was a big fail. Dungeony, walls caving in kind of fail.

Question 4: What do the adjacent rooms have on the walls?
You don’t have to go with different shades of the same color, but you definitely want to go with something complimentary. In our open floor plan world, it’s something you do have to think about it. In my house, the kitchen opens to the dining room, which is open to a small parlor. I chose a camel color for the kitchen and the small parlor. Not a match to the blue in the dining room but it doesn’t compete with the blue either.

Once you’ve chosen your color and you have an idea of what shade will work in the room, go to a paint store (like Benjamin Moore) and talk to a pro. When I was ready to start painting my house, I walked into my local Benjamin Moore with a list of colors that I wanted. When I went through that list with the Pro at Benny Moore, he gave me a few suggestions. I had selected two blue colors for my sons room and when I explained that I was putting them in the same room, using one as an accent wall, he suggested that I switch the dark blue to a different shade. The blue I had chosen had a lot of green in it and the other blue had a lot of something that would clash with that green and basically he saved me from a paint disaster that I would have unwittingly walked right into. Bottom line, the people who work at reputable paint stores know what they are talking about. Listen to them.
Choosing a Paint Finish
Picking a paint finish is relatively easy. Ceilings traditionally get a flat finish and walls can be anywhere from eggshell to satin and even semi gloss. Flat finishes are very forgiving when it comes to imperfections in your surface. The glossier you get, the more you will notice bumps and dings in your walls or ceiling. Glossier finishes are also easier to clean which make them great for kitchens and bathrooms. The basic rule of thumb is High Gloss finish for trim and doors, Semi Gloss for high traffic rooms that take some abuse like kitchen and baths, Satin or eggshell for living and sleeping spaces and flat finish for the ceiling. But, of course, wouldn’t a glossy ceiling be super cool? The pros will tell you no and there are some painters who might flat out refuse to do it. But, if your walls or ceiling are smooth as butter and you’re feeling a little daring, why not bump up to the next finish level? (Actually, there is a reason to not bump up into the next finish level and it’s that the next finish level may be more difficult to paint over if you hate it, so bare that in mind if you are thinking about putting a satin finish on your ceiling. It’s only paint, but no one wants to repaint a ceiling. Ever.).
Buying Your Paint
Ok, you picked out the actual paint colors for your room. Congratulations! The question is, do you spend big bucks on the Benjamin Moore (or other premium paint) brand? The short answer, for me, is yes. I’ve found that paint is definitely one of those things that you get what you pay for. I painted every single surface (including the exterior) of this house with Benjamin Moore paint after being told by several professional painters that it was the only paint they would work with. Having also worked with it myself, I can tell you that there is nothing like rolling on some Benjamin Moore paint. You can definitely tell the difference between it and your average hardware store paint. That being said, you can absolutely ask your local hardware store to color match any Benjamin Moore paint color (or almost any other brand name). You may not even need a swatch, just the name of the paint color you selected. So if you are on a tight budget, you may save some money with a big box hardware store paint. You may end up using a little more of that hardware store paint as it doesn’t spread as well as the premium stuff, but the price difference is usually significant enough that you will still save some bucks.
If you’re not sure how much paint to buy, Sherwin Williams has a great calculator on their website that will help you figure it out.
Gather Your Supplies
You’ve got your paint, what else do you need? A lot of things.
Brushes
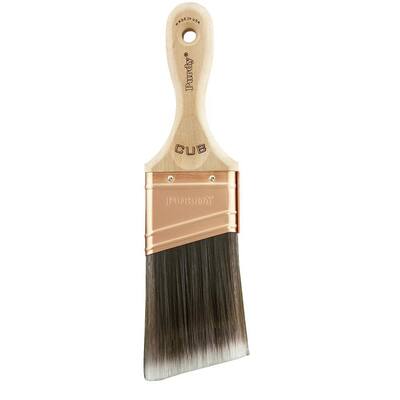
Your most important tool is going to be your cutting in brush. Do not skimp on this. I’ve used cheap brushes and they stink. Trust me. My favorite brush for cutting is this one:
It’s made by Purdy and it has an angle and it has a short handle which makes it easier for my little hands to hold. If you are a big handed person, go for a longer handle. Your cutting in brush needs to have an angle, but other than that, pick one that is comfortable in your hand. Your cutting in brush is about to be your best friend.
Roller and Roller Covers

I usually go for middle of the road price on these, like this one from Wooster and these roller covers. For painting walls and ceilings you will want either a synthetic or blended cover and you will want to use a smooth or semi-smooth nap or pile depth.
Roller Extender
You will need a roller extender for rolling out the ceiling or if you happen to have really tall walls.
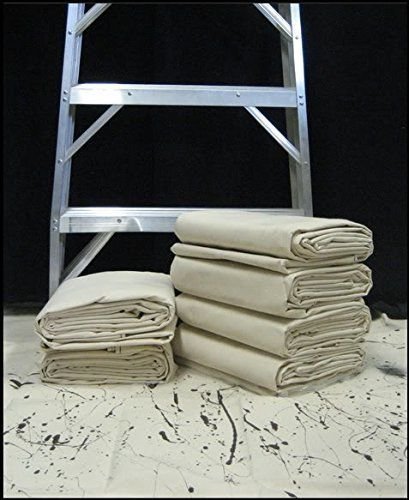
Canvas Tarp
I have a hard time spending money on a canvas tarp, but it is the best for painting. It will protect your floor better than plastic and spills will dry faster. If your floors are wall to wall carpeted, you will want to use plastic taped down with painters tape underneath your canvas tarp.
Step Stool
Use a good sturdy step stool to reach your ceilings for cutting in. Don’t use a chair from the kitchen. It won’t end well. Trust me. The sturdy step stool should have the added benefit of a place to put your paint can.
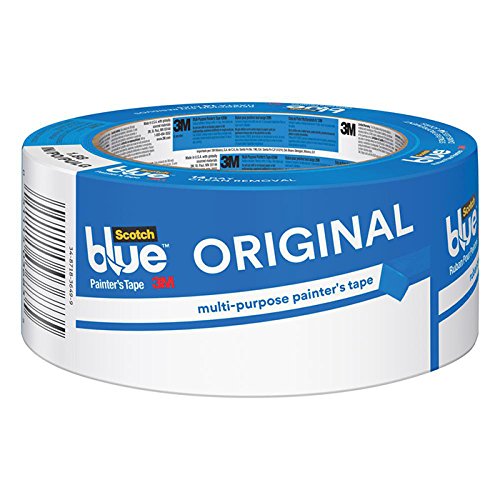
Painters Tape
I don’t use a ton of a painters tape when I paint, because I am a Jedi Master of cutting in. However, if you’re not super steady handed yet, you may want to use it around trim.
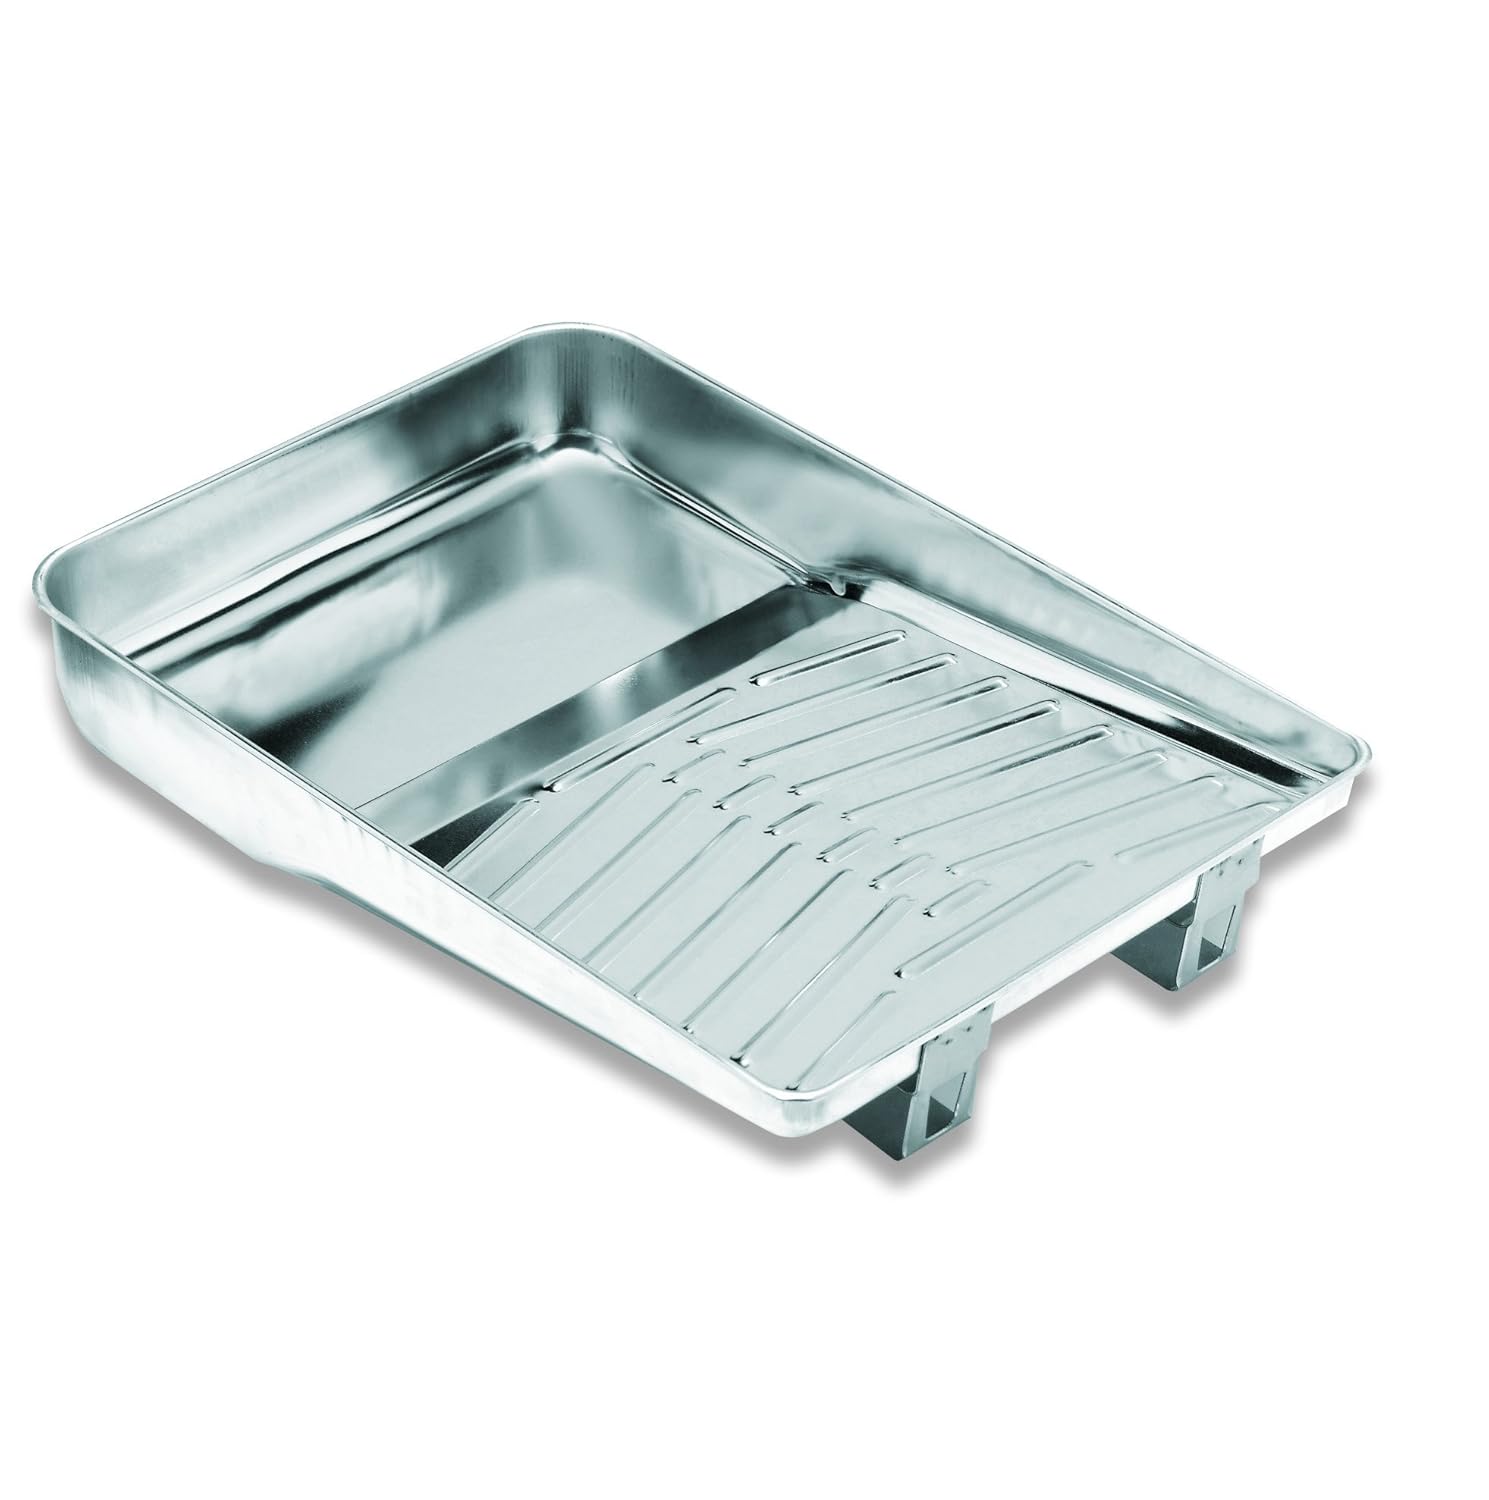
Rolling Pan
I usually use a metal rolling pan. I’ve used plastic ones and they are a little flimsy. Flimsy isn’t a good quality when it comes to holding paint.
Spackle
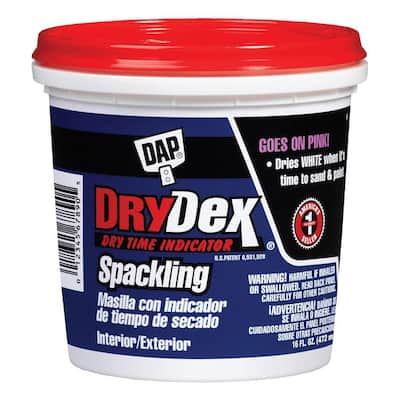
I love the spackle that starts off pink and turns white when it dries, but I’ve used others. You will need this to fill in any nail holes or other little dings on your walls.
Sandpaper
You’ll need sandpaper to sand down your spackle. A fine or medium grit sanding block should do the trick.
Primer
Primer is a step that everyone wants to skip. Don’t do it. I’m a fan of Zinsser brand primers.
Screw driver
For removing light switches and outlet covers. And maybe for opening your paint cans.
Scraper
You may not need one, but if you are doing a lot of spackling, you might want to use one before sanding.
Prep Your Walls and the Room
Start by cleaning your walls. For me that means a dusting with a clean broom and then tackling any egregious stains with a soapy, wet cloth. Nothing fancy and I don’t spend all day doing it. If you’re using a good primer, it will cover most stains.
Next, fill in any nail holes or dings with your spackle. I usually use my fingertip for small holes and just smoosh a little more than looks necessary into the whole. Allow it to dry fully and then sand it down.
You might notice while you are spackling or cleaning the walls that you have some rough spots on your ceiling or walls. Sand those down lightly.
Tape off anywhere that you feel nervous about cutting in around. If I tape off, it will be around window moldings or floor moldings. Nothing worse than paint on trim. If you’re painting a ceiling, you will want to tape off any ceiling fixtures like fans or lights. Be patient, don’t pull off so much tape that it ends up getting tangled and be as precise as possible in your placement. If a little smidgen of tape finds it’s way onto your wall, you will see that unpainted spot for the rest of your life or until you touch it up.
Remove outlet and switch plate covers. This step is annoying and boring, but totally worth it. Take the time to do it.
Clear the room as much as possible. Move furniture to the center of the room if necessary.
Cover the floor and any furniture with canvas tarps.
Make sure your lighting is good! Bring in some lamps and remove the lampshades if you are daring and try to paint at night.
Start Painting!
Fill a small pot with your primer for cutting in. Fill your roller pan with primer. Condition your roller cover prior to painting with it. You can do this by wetting it and roughly drying it with a dry towel to help remove any loose bits of nap or by covering it in painters tape and then removing the tape thereby removing any loose bits of nap.
Start with the ceiling. I know. Totally boring. But trust me, this is the place to start. Start by cutting in (see below for a how to on cutting in) a portion of the ceiling where it meets the wall. Cutting in the ceiling prior to painting the walls does not need to particularly precise. If you are going to prime and paint the walls after the ceiling, then you will cover any mistakes or drips you may have made when painting the ceiling.
Once you’ve cut in a small portion of the ceiling, start rolling. It’s best to start rolling before your cut in lines have dried. Attach your roller to the extender and pop your conditioned roller cover on the roller. Dip the roller into the paint tray and roll it on the flat angled surface of the tray to distribute the paint. Don’t plunge your roller into the paint, you want to skim the paint and then distribute it by rolling on the flat surface of the tray. When rolling out the ceiling, be generous with the paint. Apply a generous amount of paint to the ceiling, roll it out a bit, apply more paint to the ceiling, continue rolling it out until you’ve covered the area that you had previously cut in. Then go back to cutting in the next portion of ceiling. Once your coat of primer has had a chance to dry, repeat the process with your paint (1 or 2 coats if you’ve primed!) until you’re ceiling is freshly painted!
So how does one cut in, anyway? Remember the angled, stubby brush from above? You’re going to use that. Fill your small paint pot (you can buy one, but I’ve been known to use an old mug). Apply a moderate amount of paint to your trusty brush, about a 1/2 inch up the brush. Tap the brush on each side of your paint pot before going for the wall. Start about an inch from where the wall meets the ceiling and slowly angle up toward the ceiling. Long, steady strokes are key here. You are basically pushing the paint toward the ceiling with the angled tip of the brush. There is a great video from this Old House that gives a good visual of this process. Once you get good at cutting in, you will never go back to taping off the ceiling. It’s so much faster and it’s very satisfying to see that neat line you created!
Once the ceiling is done, you’ll start on the walls. Before you start priming or painting, check to see if you’ve got any drips that have come down from the ceiling. Sand those down if you have any. You’re going to start with cutting in with your primer again. Just like the ceiling, you’ll cut in a small portion of the wall and then roll out that portion of the wall. Repeat this cutting in rolling out process with your primer all around the room once, allow some dry time for your primer and then repeat the process with at least two coats of paint.
Cleaning Up
Congratulations! You have an awesome, newly painted room! Wait, you also have a big mess on your hands. What do you do with all this paint covered stuff?
Brushes – You spent some good money on your sweet cutting in brush, so you are going to want to take care of it. If you are using latex paint you can rinse your brush with water and then some soapy water. Remove all of the excess paint and gently coax the bristles back to their original neat form. There is something called a painters comb you can use to help with cleaning your brushes. This tutorial is an easy one to follow and shows you how to use a painters comb. If you have used an oil based primer, you will need to use mineral spirits to clean your brushes in addition to the soap and water. PS: You can also clean your rollers, but I must admit that I usually just buy new ones. If you are more conservative than me, this is a great tutorial for cleaning rollers.
Tarp – You can totally clean your tarp after using it. Drag it out to the drive way, shake out any loose dirt or other debris, hit it with some dish soap and spray it down with the hose. Allow it to air dry and then fold it up and store it.
Left Over Paint – The first thing you should do with your excess paint is store some in small container (a baby food jar works great for this) and label it with the room name and the color name. In six months when you have to touch up a spot, you are going to so love yourself for doing this. For any large amounts of excess paint, you will need to check with your local authorities on how to dispose of it properly. Different states have different guidelines, but for sure don’t chuck a half full can of paint in your trash can.. That’s a bad idea on a million levels.
Painters Tape – If you used painters tape, you will of course need to remove it. Make sure your paint is completely dry before removing the tape. If you find your tape is pulling up things it shouldn’t, like drywall or paint, try warming it up with a hair dryer. You can also try wetting the tape with a little soap and water or fabric softener. I hope you never have to try either of those tips and your painters always comes off in one strip.
Alright guys, I think I have you covered. That is the Definitive DIY Guide to Painting a Room. You know you’re going to want to save this for later, so why not put a pin in it?


