It’s been a while since I pulled out the old water colors, but I had the urge last night, so I thought I would try my hand at some of the pins I have pinned with DIY water color tutorials.
It didn’t go well. And it did go well. Have a look.
Here’s my first stab. I followed this tutorial from The Postman’s Knock. This was fun. It was cool to actually learn about how the watercolors are supposed to mix. I wasn’t in a floral kind of mood, though, so I moved on from the flowers quickly.
I actually had taken a photograph recently that I thought would be fun to try to replicate. After all, I had just followed a tutorial on how to blend watercolors to make flowers, so the obvious next step is to go for a complicated landscape, right?
Sort of horrible, but I definitely learned some things on this one. Like maybe not *so* many trees so close together. I figured out how difficult it is to make something that looks like a rock. I also played around with highlighting things, like on some of the trees and a bit on the stream. Yes, that’s a stream there on the right. The blue/grey thing.
I was feeling slightly deflated at this point, but still bouyed enough to keep trying. I was into the spring thing, so I went for this:
Big lesson learned here, make your letters the right size to fit on you paper. Oops. Don’t worry, I totally tried again:
 Juvenile? Maybe. But at least I got all of the letters on the page. Amiright?
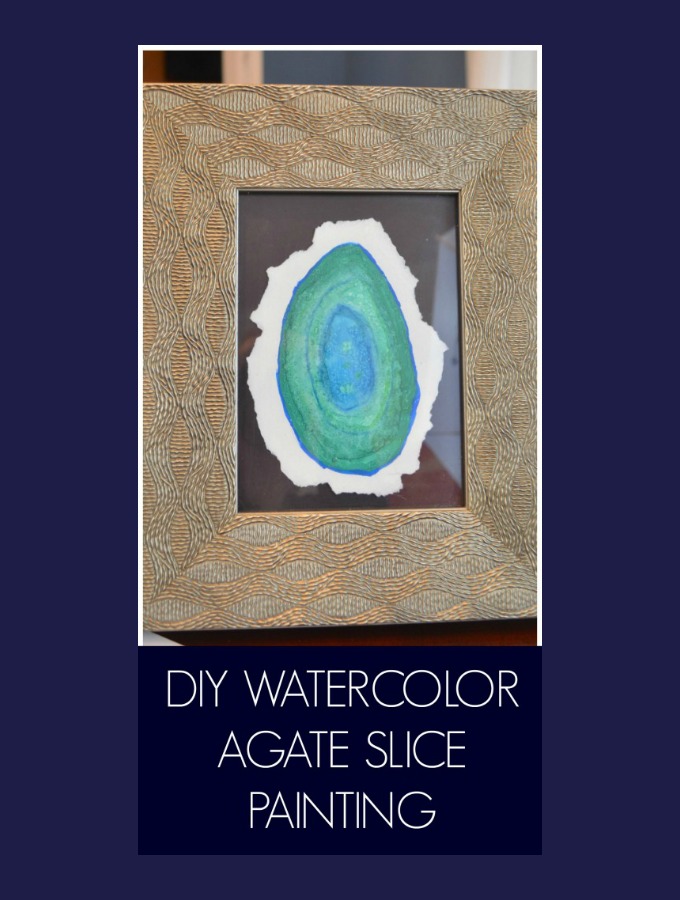
I was about to give up hope, wash off the brushes and put the paints away for another few months. But, then, I remembered another pin I had pinned many moons ago. It’s a superb tutorial from Persia Lou and it’s fun and easy and practically fool proof. I say practically because there were a few practice agates that I didn’t love. But, only like the first two. Now I’m an agate making fool.
Now this is something I can get on board with! Colorful, simple, on trend. I think the green one is my favorite. But, I do like the shape of the blue. I decided to simply rip them from the watercolor paper so that they had those messy edges and then I put some black paper behind them for a mat and popped them in some frames I already had. I’m adding these to my spring mantel. Which perhaps I will take pictures of this weekend and share with you. We’ll see if the sun decides to cooperate so that I can get some ok pictures.
PS! I’ve got a bunch more simple painting posts! Check out this one with Easy Painting Ideas and then this one with Easy Watercolor Painting Tips!


