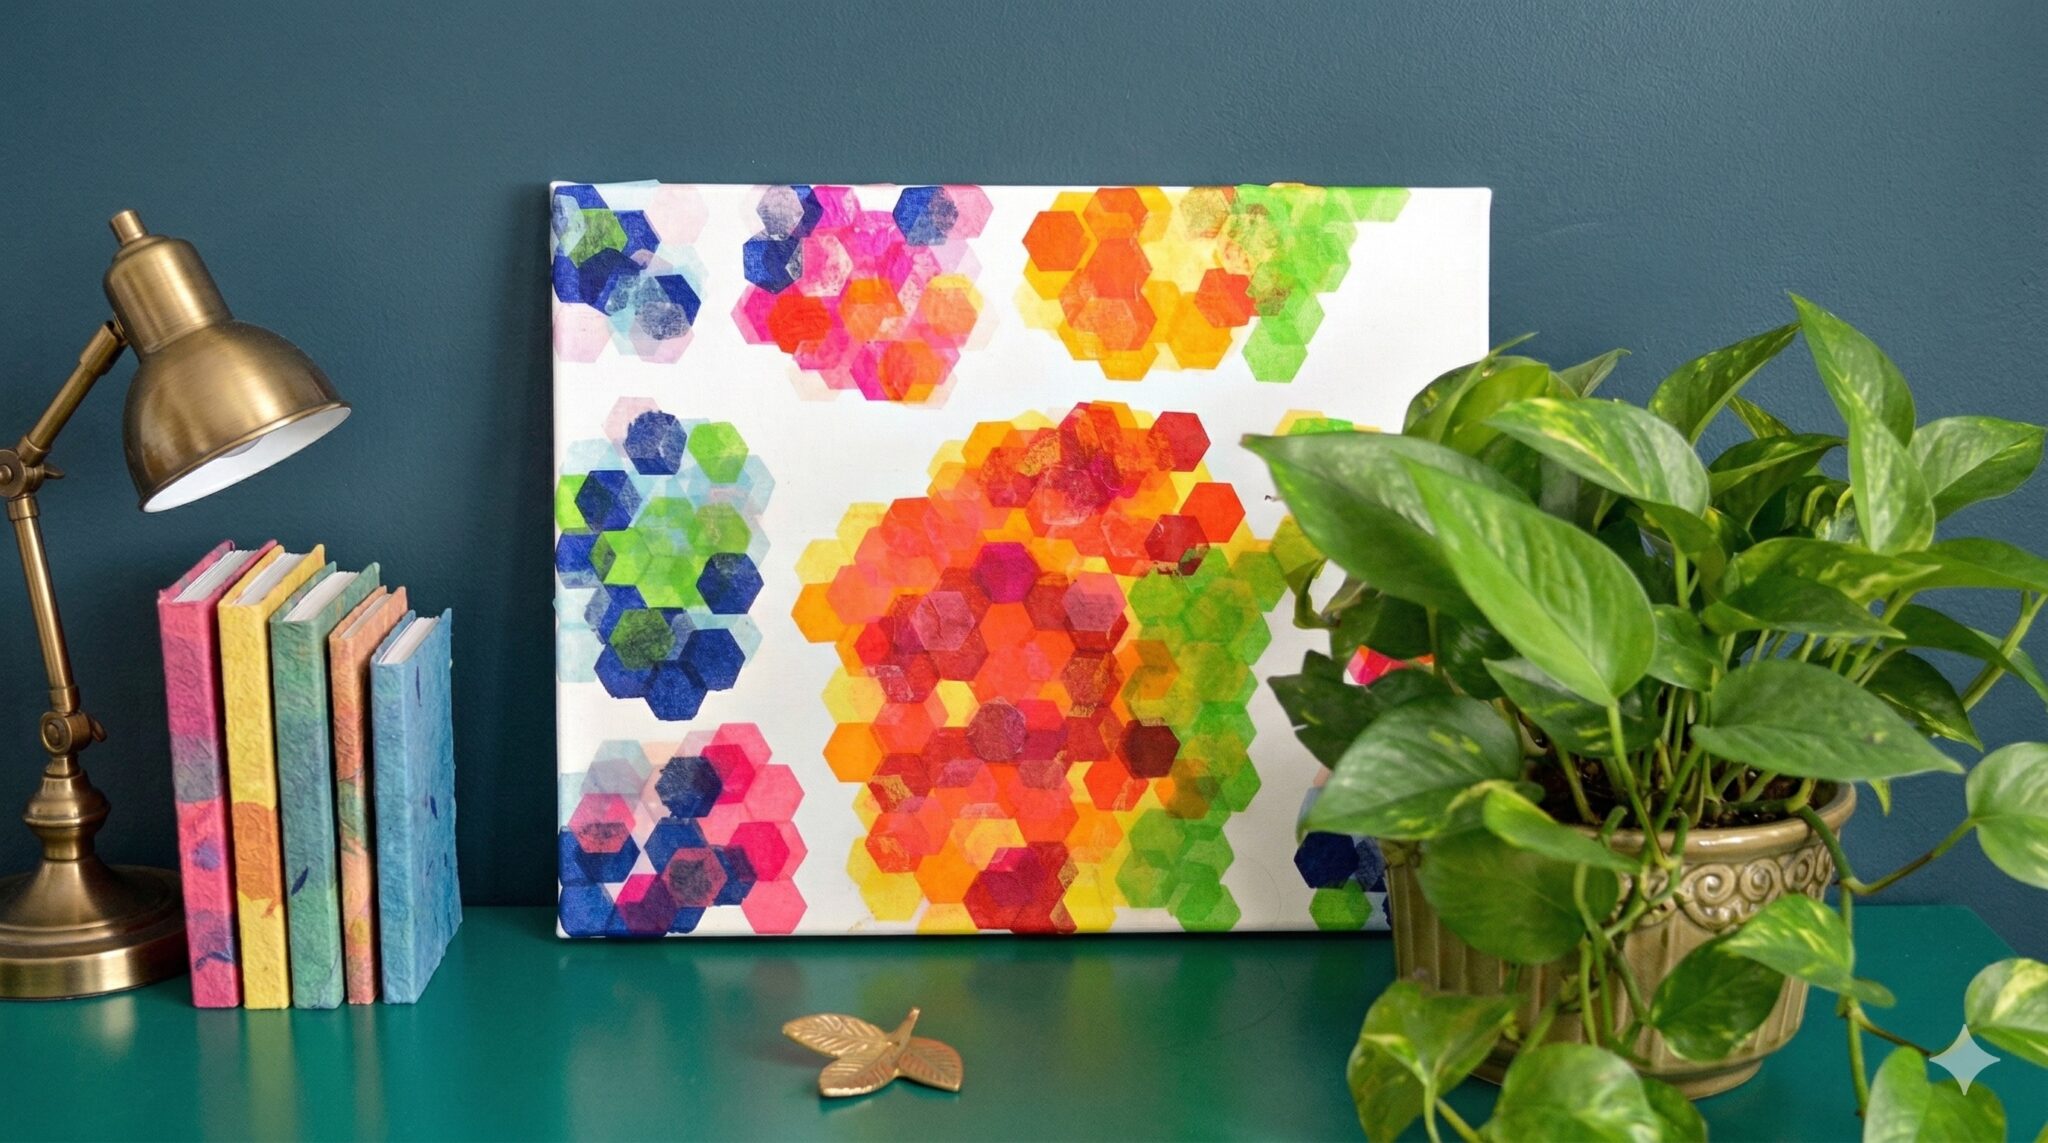
***This post contains affiliate links. If you click one and make a purchase, I may receive a small commission.*** A few posts back I wrote about upcoming projects I wanted to tackle. This was one of them:

I love that pixelated, colorful wall. I thought it would be cool to use that as inspiration for some DIY artwork. I don’t have the skills to paint something like that, but I thought I could probably do something similar with tissue paper cut into geometric pieces. And, of course, a bit of Mod Podge. Scratch that, a whole lot of Mod Podge.
Here are my finished products:


The first one is inspired by my dining room wall, which looks like this:

I think it’s a pretty cool interpretation of the wall. I’ve often said that that wall is one of my proudest DIY moments, so it was a lot fun to replicate it. PS, the wall is wall papered, not painted. I don’t have mad painting skills, remember? Click the pic (affiliate link) below if you are interested in purchasing the wallpaper for yourself. I did hang it myself, with a lot of help from my super handy and patient mom.
Ok, but back to what I was talking about before I got totally distracted by my crazy awesome wallpaper.
The Easy Art. My second try at the tissue paper/geometric mod podged art is more directly inspired from the wall in that cool work space above. Just a series of overlapping colors that are translucent. As you layer the pieces of the tissue paper, you create new variations of the color. It was really a lot of fun to make and definitely satisfies the struggling artist inside of you.
Materials
Hygloss 100 Tissue Assortment Bleeding Sheets
Small paint brush
Note: I was in struggling artist mode while making these and didn’t take any pictures of the process. But, I’m kind of glad, because there really is no method to the madness.
Step 1:
Cut out a variety of colors of tissue paper with the hexagon squeeze punch. I found it to be much easier to keep the little hexagons sorted by color, until one day I left the windows open in the dining room and my little hexagons blew all over the place. I’m still finding hexagons in random places
Step 2: Choose an inspiration picture or graphic (as I did with the dining room wall inspired piece) or, don’t, and just follow your inner artist.
Step 3: Apply about a couple of square inches of mod podge to the canvas at whatever part of the canvas you have decided to start with. With both of my pieces I started at the top left hand corner. I have no idea why. Start in the middle, if you want, you rebel! PS – If you’re messy with your mod podge, like me, then you can reference this post on how to remove mod podge!
Step 4: Place your hexagon tissue pieces on the mod podged areas, overlapping each piece a little bit.
Step 5: Repeat steps 4&5 until your inner artist is satisfied!
I loved this craft because it was fairly simple, but also time consuming. It did take several hours spread out over the course of a few days to get these two completed. But I like having a project to work on. It was sort of like leaving a puzzle laid out on the dining room table. Except if anyone tried to work on it, they were in for a world of hurt. Just kidding. (No I’m not).
I hope you give this a try and please, please, please, share your results!!
