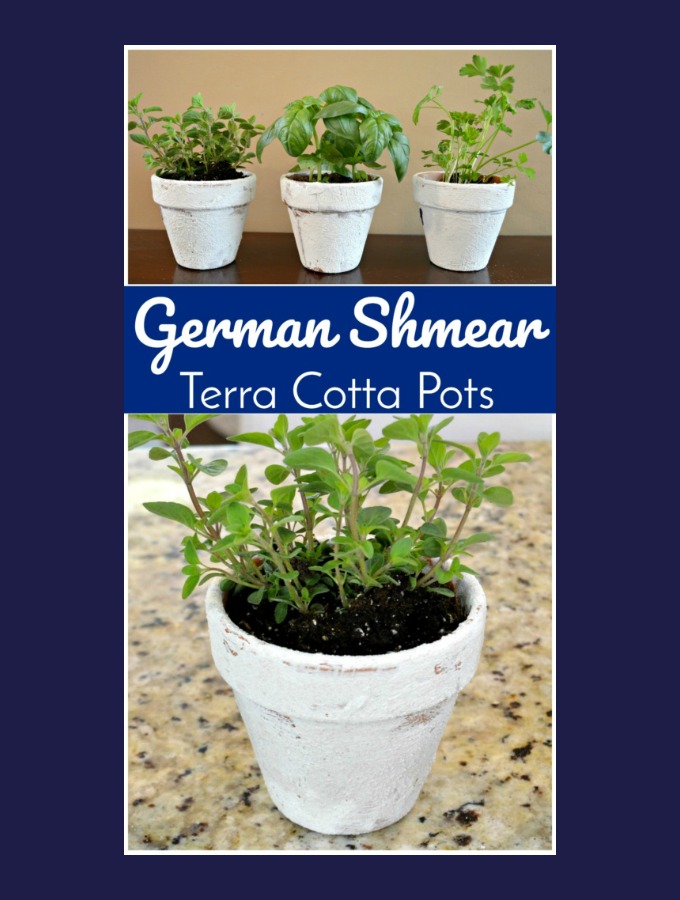
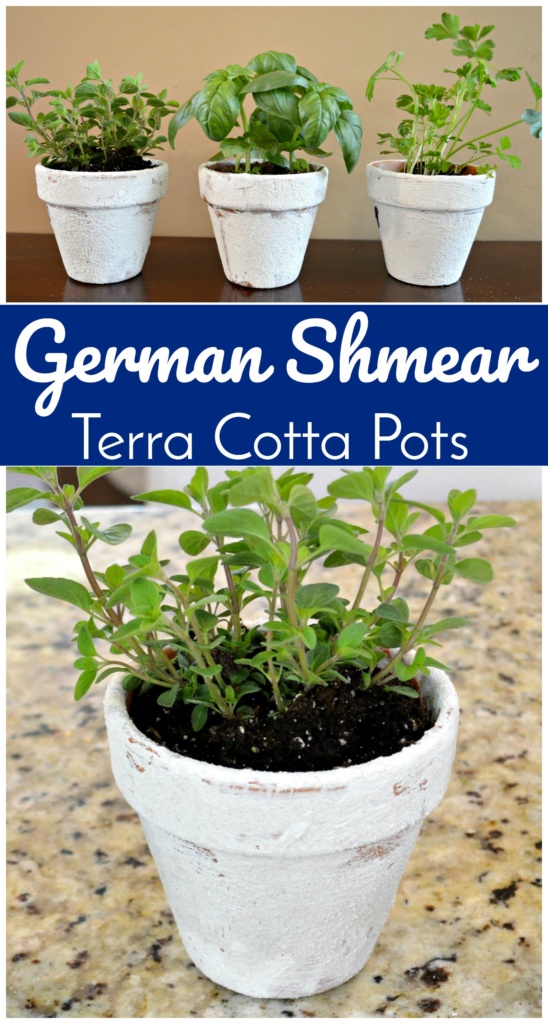
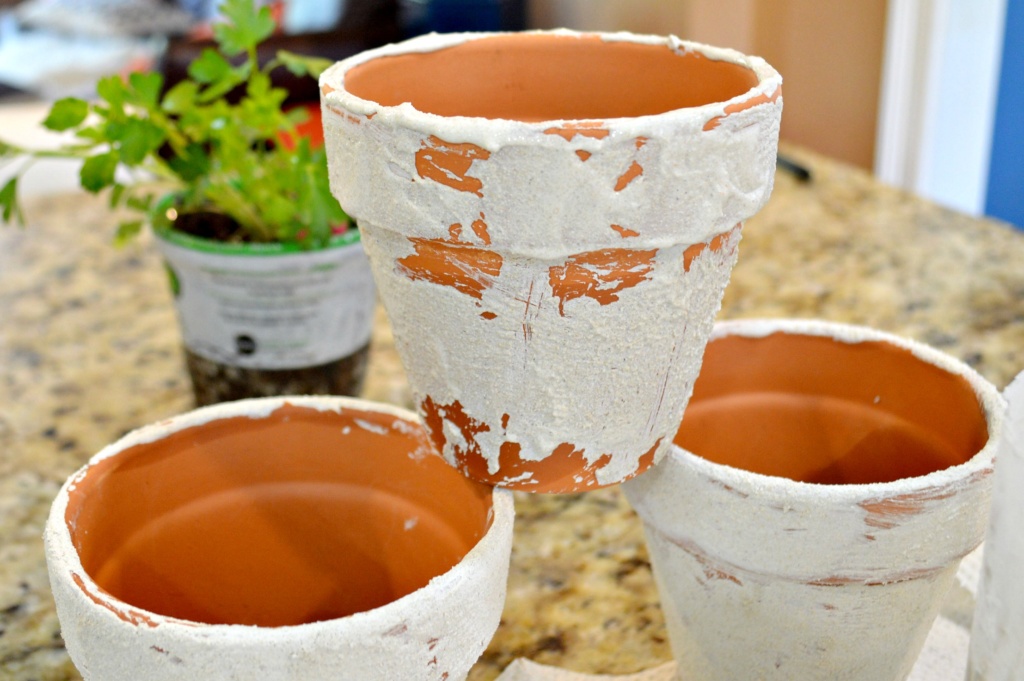
So, I’ve made a commitment to redoing my fireplace with the German Shmear application. That’s the one you’ve seen on Fixer Upper where they shmear mortar over the brick so that it’s mostly white with some red peeking through. However, I have learned my lesson on jumping right in and not doing a little bit of practice before I start a project, so I tested out the mortar shmearing with some little Terra Cotta Pots today. The pots are .78 cents and I wanted something to plant some herbs in for my kitchen anyway, so win, win. I’m glad I took on this practice project because these DIY German Shmear Terra Cotta Pots came out adorable and I learned a little bit about working with the mortar.
Very Joanna Gaines, right? Ok, maybe not, but better than a plain old terra cotta pot. You’ll give me that won’t you? And, if you stick with me til the end, I’ll share a good fail with you, too. Everyone loves a good fail.
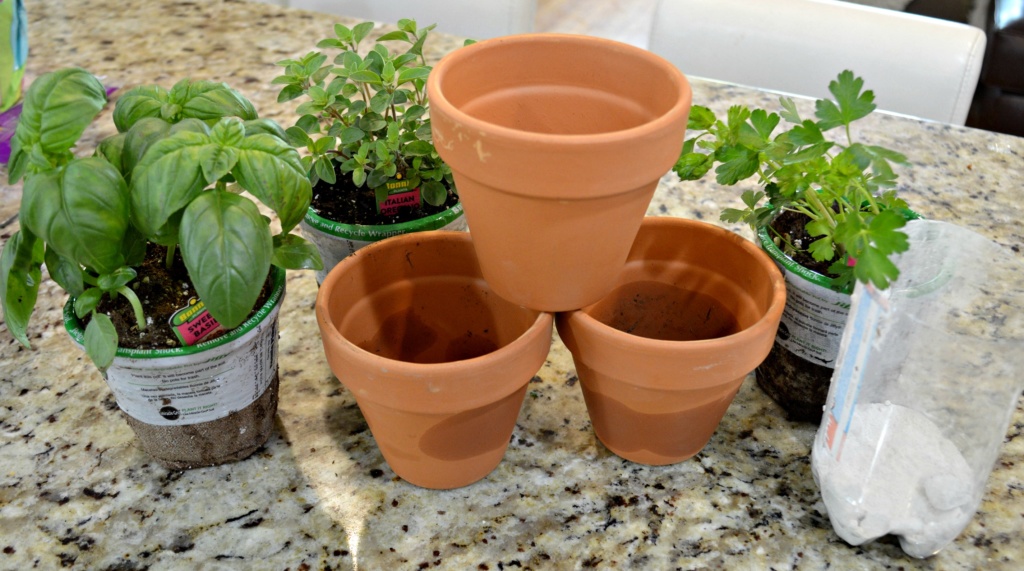
Materials for German Shmear Terra Cotta Pots
Terra Cota Pots (Home Depot)
White Thin Set Mortar (Home Depot)
Water
Sponge (not pictured, but I used one of those big ones you use for wiping off tile. You could use any sponge though).
A bowl or something similar that you don’t mind throwing away. I used the bottom of a 1 liter soda bottle
Flowers or Herbs of your choice
Step 1
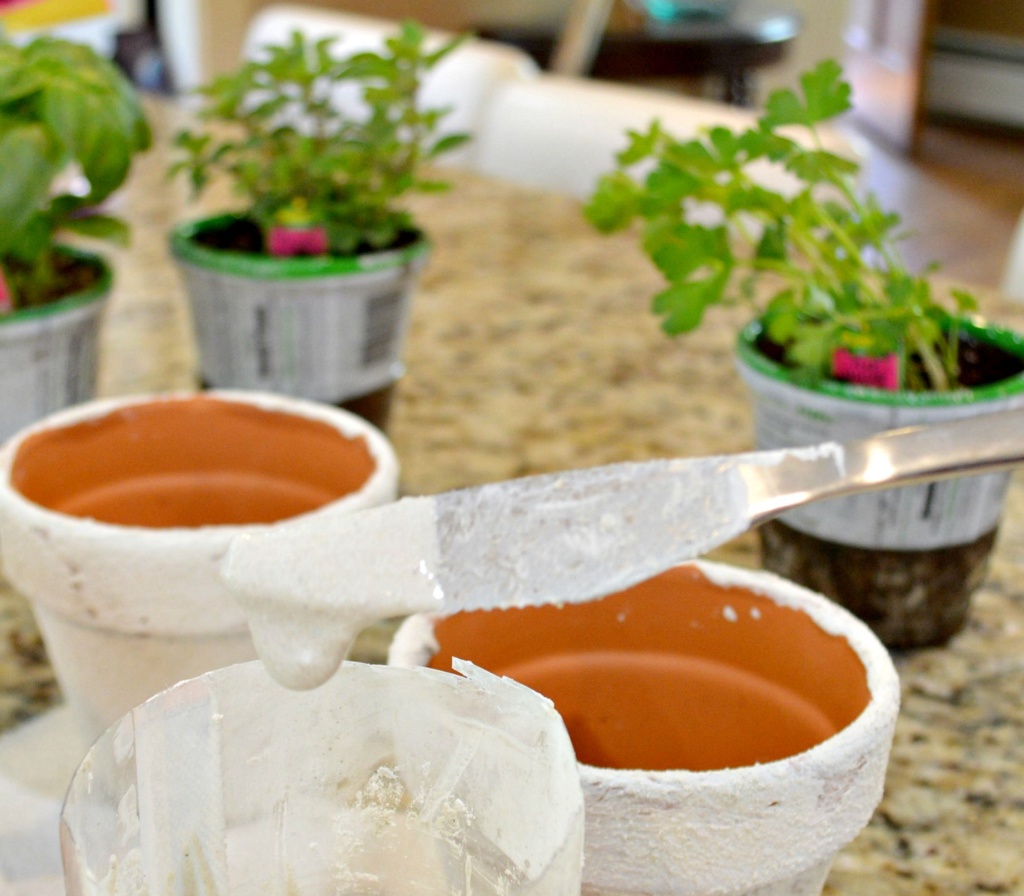
First you’ll need to mix up your mortar. I scooped about a half cup into the bottom of a 1 liter soda bottle that I had cut in half. Add some water. I eye balled it. Mix well until you have approximately the consistency of yogurt. Add more water if it’s too thick and more mortar if it’s too thin. You want it to drip off of a knife, but slowly. Sort of like pancake batter. PS, I used a knife to mix the mortar because for some reason at my house I always have way more butter knives than any other silverware. So I’m fine with never eating off this knife again.
Step 2
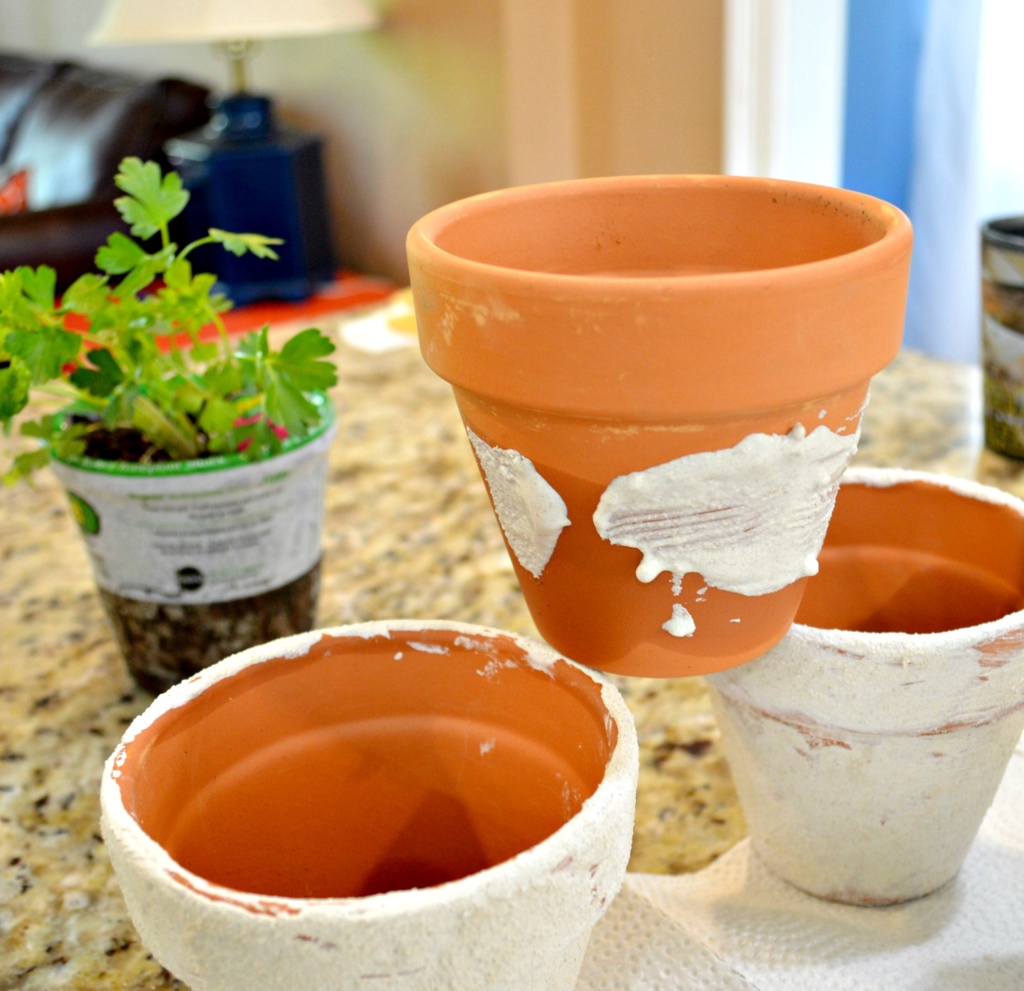
Begin to shmear the mortar onto your pot. I found the easiest way to hold the pot was to invert it over your non-shmearing hand and then you can sort of turn it around as you shmear. There is a method to the shmearing. If you want some terra cotta to pop through, you want to add your mortar in random spots at first, so that you can still see the terra cotta coming through. Continue this all around the pot, including the rim.
Step 3
Using a sponge, dab at the mortar and spread it over the pot. Leave as much or as little terra cotta poking through as you wish. Add more mortar if you need to.
Step 4
Allow to dry. Yup, that’s it.
This project took about 20 minutes, maybe? Really quick and easy. This was also fairly inexpensive if you only account for the amount of mortar you use. Home Depot only had 50lb bags and that cost $17, but I only used a half cup of that and I’m hoping I’ll use the rest for the fireplace project to come. I’ve been wanting to have some fresh herbs handy and having pretty pots to look at will make me happy!
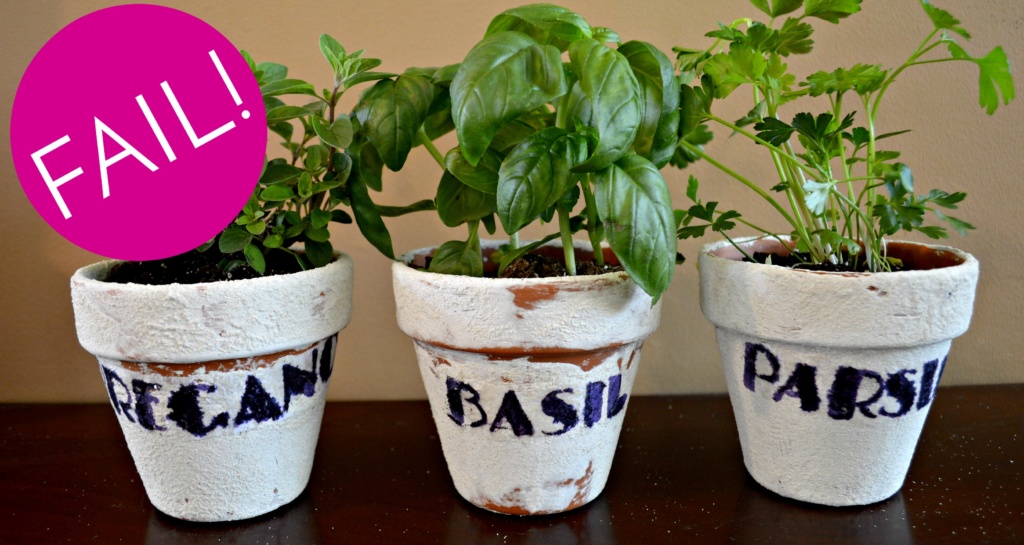
And, as promised, the fail. I wanted to label the pots so I found a tutorial for adding an image to, well anything, supposedly, but it didn’t work out so well.
What can I say, you win some, you lose some. It’s not horrible… It’s kind of horrible, actually. Anyone have any great ideas on how to label these??
I can’t wait to tackle that fireplace!!
