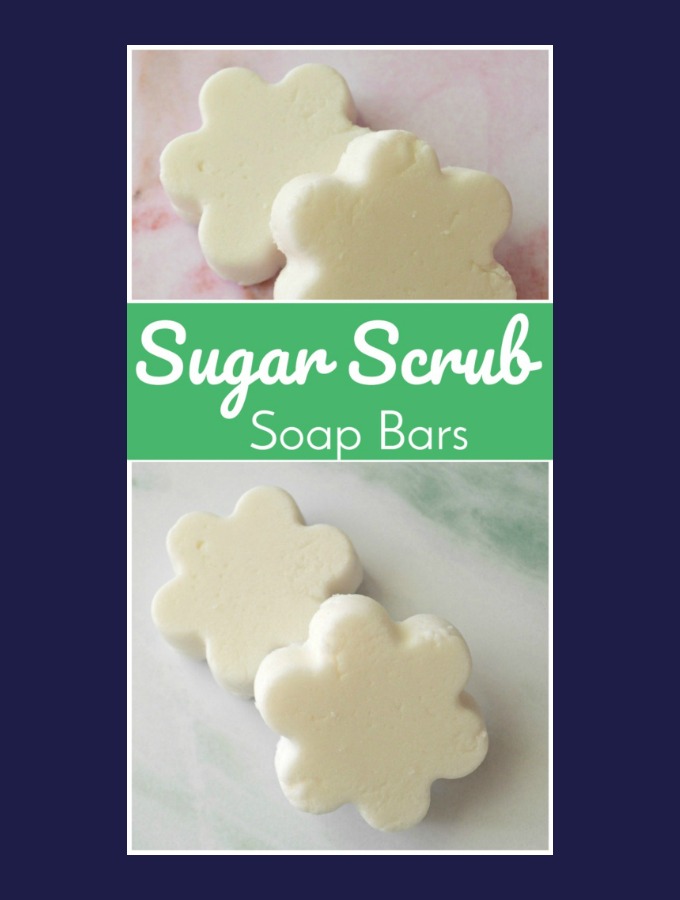
*** This post contains affiliate links for your convenience. If you click one and make a purchase, I may receive a commission at no cost to you. *** A couple of years ago, I made a lemon sugar scrub that I really loved. It made my skin feel super smooth and luxurious and was great for a pre-shave exfoliation. The only problem with it was that it was basically more liquid than solid which got really, really messy in the shower. It also meant a lot of my hard work went down the drain, literally. When I would scoop out some of the scrub, it would inevitably fall out of my hands and down the drain. Well, I’ve solved that problem by adding a little melt and pour soap to make DIY Sugar Scrub Bars!
These little guys are perfect! They are made with granulated sugar and coconut oil so you get all of that exfoliation and moisturizing, but the melt and pour soap gives them more of a solid consistency, so way less mess! They are slightly more crumbly than actual soap, so handle with care, but these totally outdo the liquid-y sugar scrub.
Ingredients for DIY Sugar Scrub Bars
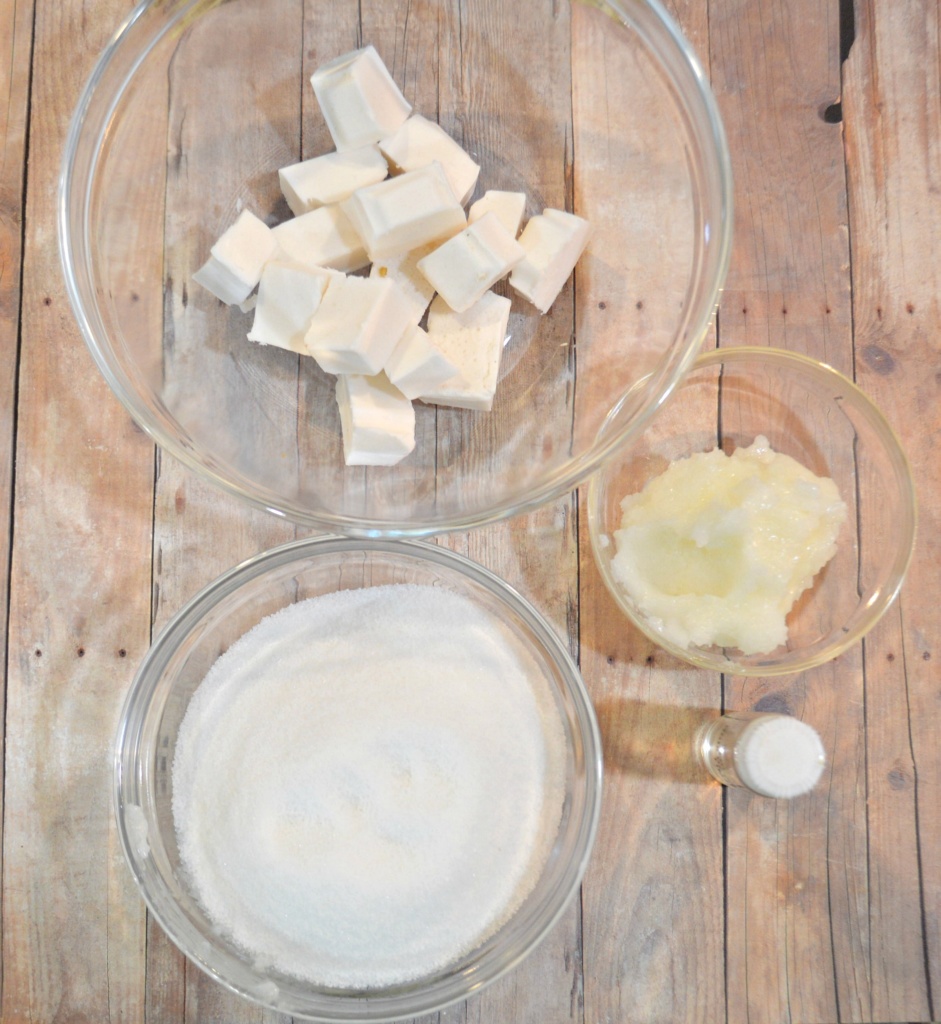 1/2 Cup Melt and Pour Soap
1 Cup Sugar
1/4 Cup Coconut Oil
Your favorite Essential Oil (I used Coconut Lime, about 2 droppers full)
Step 1
In a double boiler, melt your soap. If you don’t have a double boiler (I don’t!), just grab two pots, one smaller than the other. Boil some water in the larger pot, then put the soap in the smaller pot and put that on top of and sort of inside the bigger pot to mimic a double boiler.
Step 2
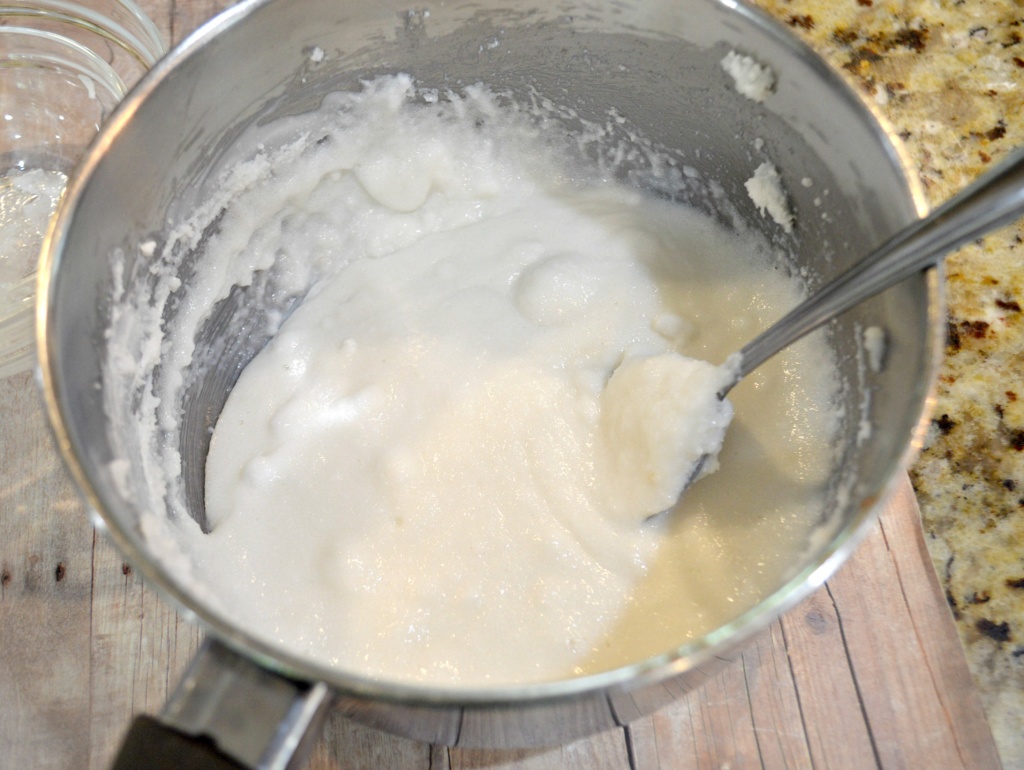
Add the rest of the ingredients to the melted soap. I found this was easier to do while still over the stove. It was easier to stir. Just don’t let it sit so long that the sugar starts to melt. Just get everything nicely incorporated and then take it off the stove. Your mixture should look something like this:
Step 3
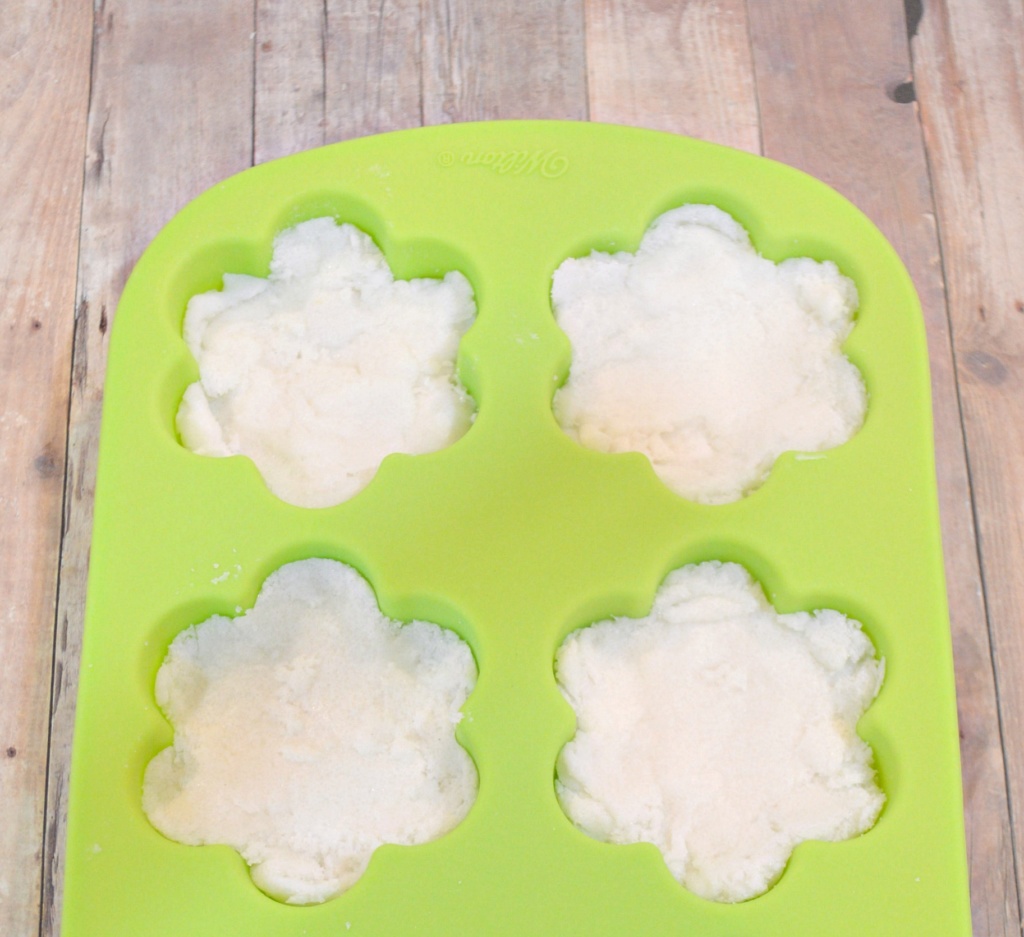
Fill your molds with the sugar/soap/coconut oil mixture. Just smoosh it in there. A word about the mold. I used a larger size mold in the shape of a flower. If you get a smaller mold, your bars will be more solid. The larger one’s are a bit more crumbly, so if that bothers you, buy a mold with smaller cups. I wanted approximately the size of a bar of soap, but you could definitely make them smaller for more of a single use bar.
Step 4
Allow to set for a few hours or overnight and then use as you wish. I plan to keep one by the sink and one in the shower!
These were super easy to make and they smell fantastic! The coconut oil gives your skin that smooth baby bottom feel. Seriously, I just rubbed the back of my hand to get an idea of how to describe the smoothness it gives your skin and now I can’t stop rubbing the back of my hand. It is really remarkable!
