I have a new thing. I started a Bullet Journal. I’m generally disorganized and I’ve always had a hard time sticking with any type of planner because I always felt a little too confined by them. With a regular planner, you’ve got a layout already there that you sort of have to stick with. That doesn’t work for me. I like to do my own thing, or at least have the option to.
So, I decided to skip the day planner and started looking into Bullet Journals. When I saw the gorgeous instagram posts and pins of elaborate Bullet Journals, I thought, “Nope, this is not for me who has the worlds worst handwriting.” Then, in my usual capricious style, I decided not to let my penmanship stop me. Why? Because I’ve found it’s just 3 Steps to Starting a Simple Bullet Journal. ***This post contains affiliate links. If you click one and make a purchase, I may receive a commission at no additional cost to you! Thank you for supporting Lifestyle for Real Life!***
What is A Bullet Journal?
“The Bullet Journal is a customizable and forgiving organization system. It can be your to-do list, sketchbook, notebook, and diary, but most likely, it will be all of the above. It will teach you to do more with less.” – (BulletJournal.com).
Your bullet journal is basically a notebook. It’s blank, or, if you choose, it could have a dotted grid or graph lines if you need help with writing in straight lines like me. It can be basically any notebook you choose. There are a few important pages that most people choose to include, but you choose what to put in it and where to put it. Oh, and you actually *write* in it, like, everything. Want a calendar in your Bullet Journal, draw one. Want a To Do List, go on and create one. But the idea is that you are filling the pages with your own handwriting. Kind of a cool throw back idea, right? Cool, but maybe a little intimidating. Don’t worry, I’ve pulled together the best tips to make it simple so you can dive in and get started with me!
Why do I Need a Bullet Journal?
If a day planner has never worked for you; if you’re that person with 8,457 sticky notes on your monitor; if you forgot your dentist appointment AGAIN, you might want to try a Bullet Journal.
I am the first to admit I’m a little scatter brained. And I think that people that are scatter brained tend to be the one’s that want to draw outside the lines. Normal planners are too rigid for me. I needed something that was fluid enough to allow me to determine what goes where, but was structured enough for me to be able to find the information I need. My Bullet Journal has become my calendar, my to do list, my diary, my food and exercise journal and my brainstorming notebook. It’s all in one place and I know where everything is. I breathe a little easier through out the day knowing that that book is chilling in my pocketbook, ready to remind me of what I forgot, record a few notes for the most amazing blog post ever or make me smile with a memory of something cute my kids did three weeks ago. (PS< that last one is worth the Bullet Journals weight in gold).
Step #1 – Choose the Right Materials
To start your Bullet Journal you need two things. A notebook and a pen. You can absolutely use any notebook or pen that you have accessible to you. However, there are some notebooks and pens that are more conducive to the Bullet Journal than others. I started with this very inexpensive graph paper composition notebook:
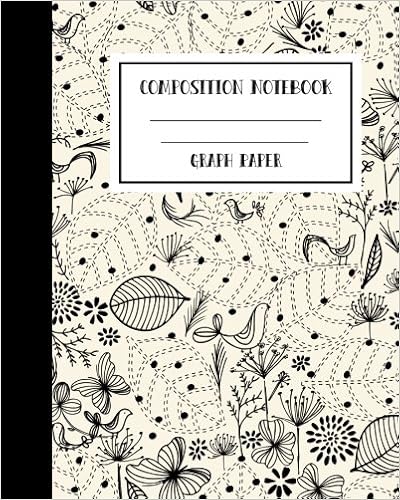
It’s cute, it’s cheap and the inside is graph paper, so it definitely works for now. However, I don’t love how dark the grid lines are on it. It’s very distracting and I would definitely prefer either lighter grid lines or a dot grid. The cover is a little flimsy, too, so I can imagine the state it will be in after a few months of heavy bullet journaling.
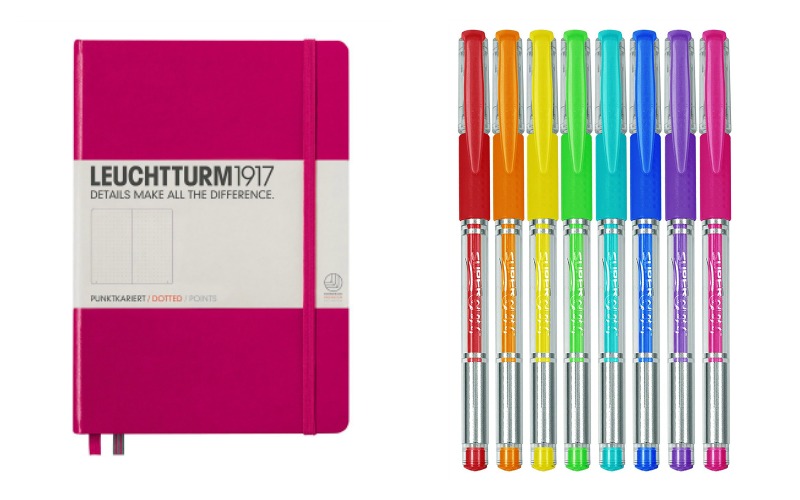
When I fill that notebook and it’s time to move on to the next one, I’m going with the standard bearer for Bullet Journals, the Leuchtturm 1917:
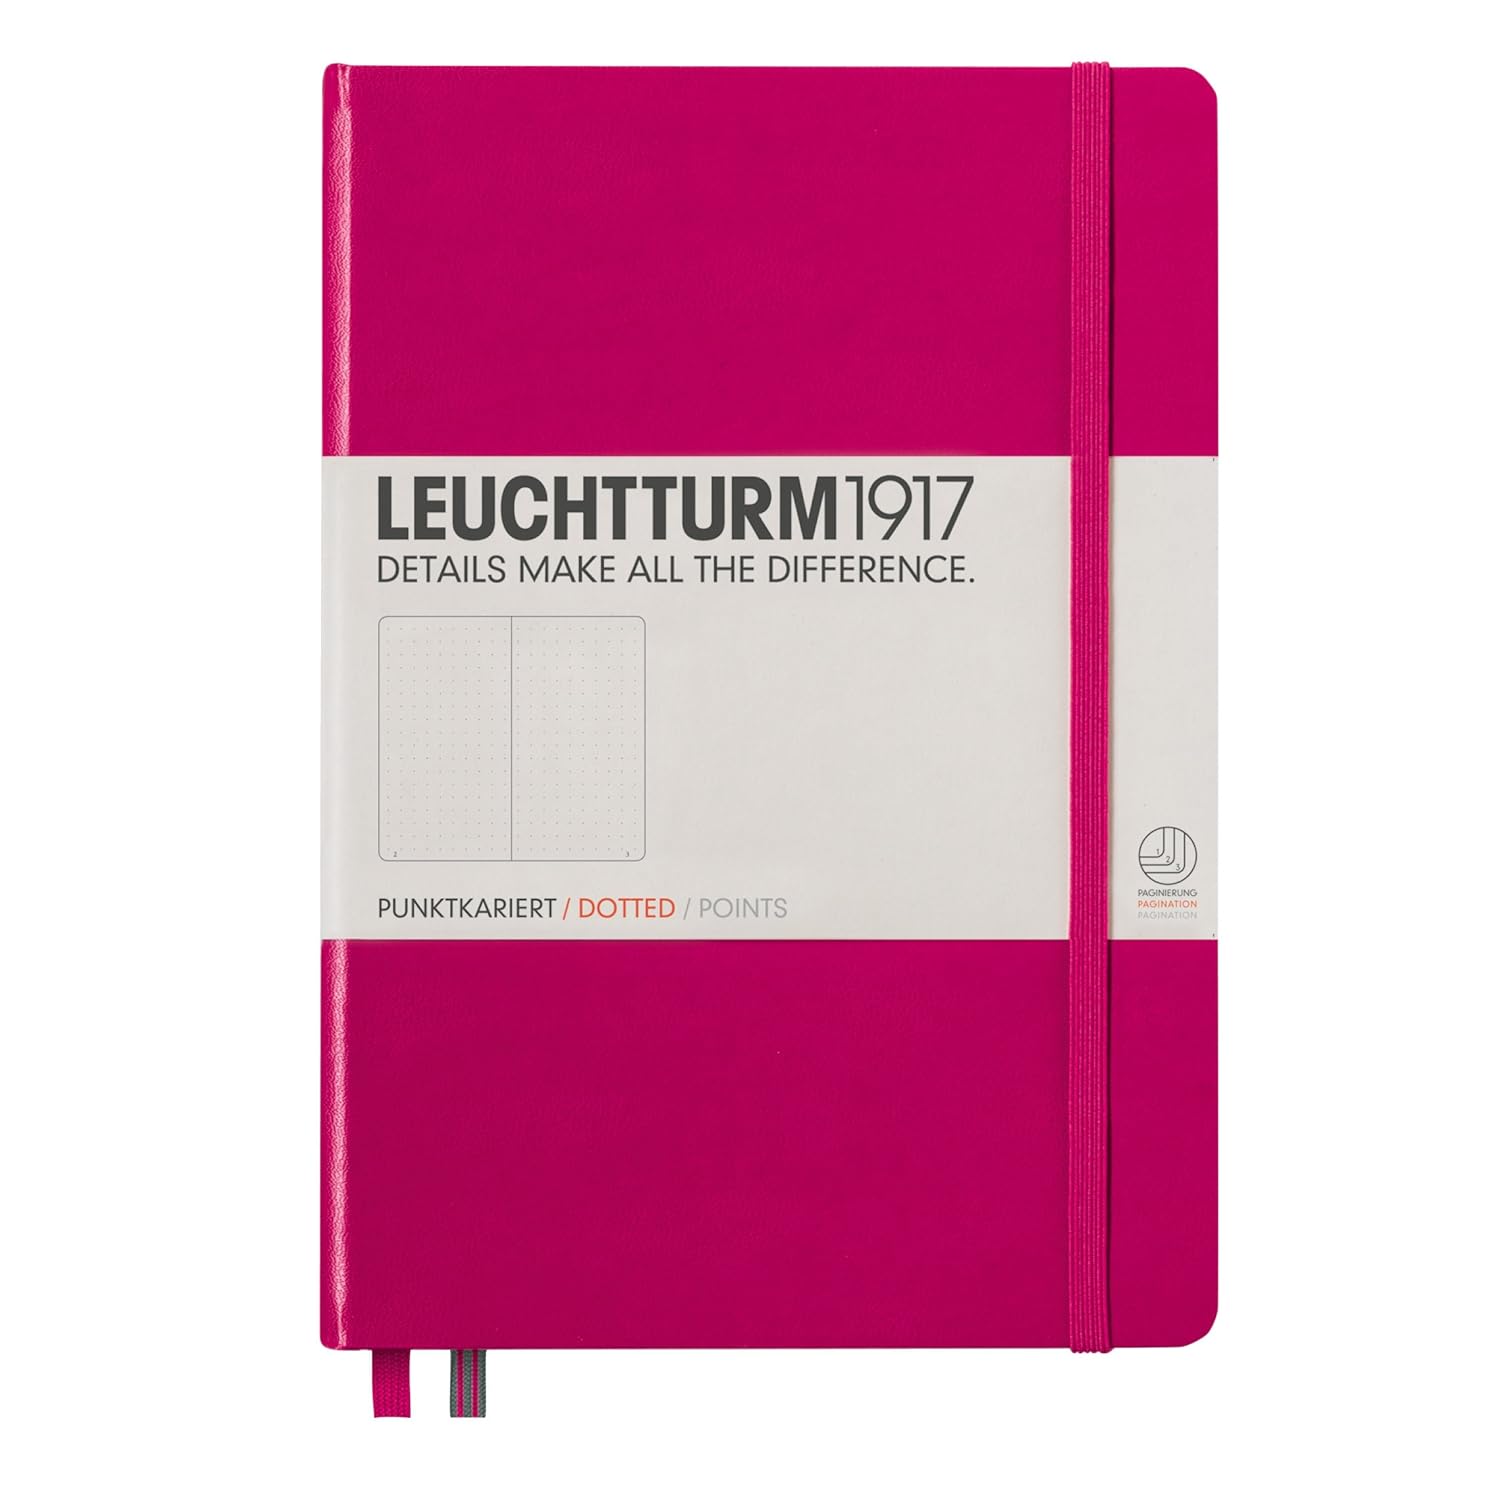
It’s $20 but, you can choose from a million gorgeous colors. You can do blank pages, a light dotted grid or graph lines which means you get nice even handwriting without the distraction of dark grid lines. I love that handy elastic that keeps the cover closed and there are also cute bookmarks built right in. The paper is thick enough to keep “ghosting” to a minimum. Ghosting is when the stuff from one page shows through on the other side. You may not have heard of ghosting before starting a bullet journal, but it’s a thing and it’s annoying. And I can’t forget to mention that it’s a hardcover notebook which means it will totally hold up to the abuse I inflict upon it.
Next, you’re going to need a pen. Go with your favorite pen as long as the ink doesn’t bleed through your paper or smudge too much. If you don’t have a favorite pen or find that your favorite does bleed or smudge too much, I would highly recommend these Gel Pens:
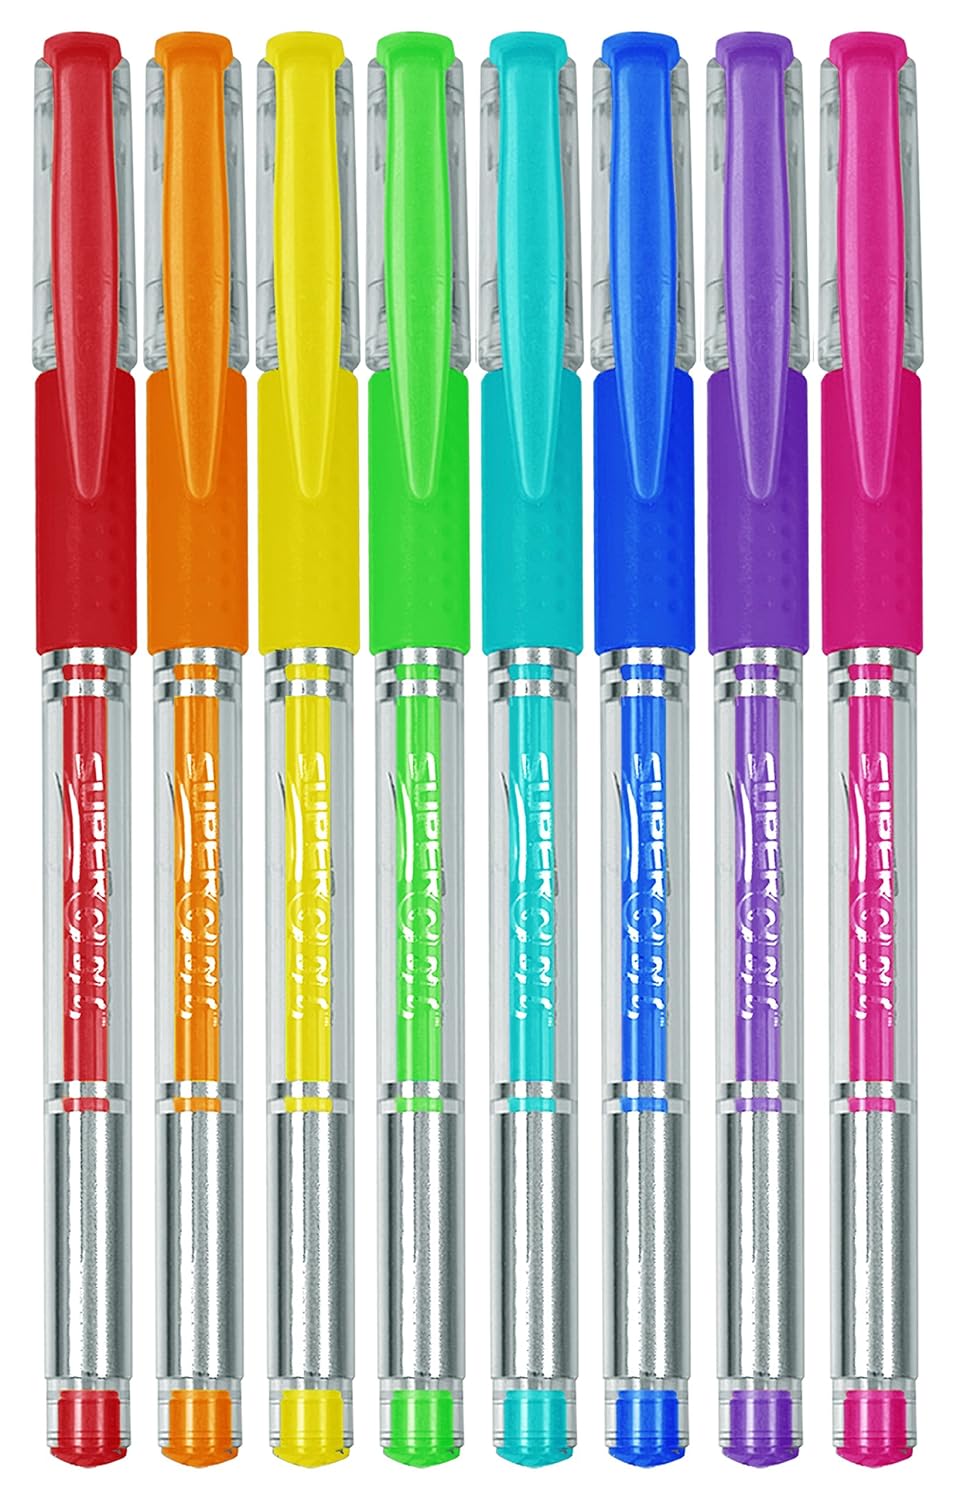
These are great for the Bullet Journal. They don’t bleed or smudge much and they are so smooth to write with. I also use these for craft projects, so they are multi-purpose!
Step #2 – Ignore all of the Pretty Bullet Journal Pictures on Instagram
There’s nothing wrong with the bullet journal pictured above. Unless you are an amazing artist and have a ton of time on your hands, don’t do a search for Bullet Journal on Instagram. You will immediately walk away from the computer or phone and pretend you never heard the words “Bullet Journal” before. Your Bullet Journal doesn’t have to be beautiful to be functional. Especially in the beginning. What’s most important to figure out in the beginning is how to make your Bullet Journal function for you, not how to make it look pretty. Once you’ve gotten into a groove and the journal is doing it’s job, then we can talk about how to make it pretty. But function first.
It’s not unlike how I see my house. Yes, of course I want it to be pretty, but if it doesn’t function for my family, then what’s the point? The house needs to have a place to eat, relax, sleep, work, study (not in that order, or maybe exactly in that order) and I also need to know where things are when I need them. That’s what you want first from your Bullet Journal. You want a place to organize your thoughts, plan your day, schedule your month and you want to be able to refer back to those pages when you need them. Once you’ve mastered that, then you can add some throw pillows and wall murals, ok?
Step #3 – Start with These Pages
If you’re sitting in front of a blank notebook wondering where the heck to start, don’t worry, there are a few pages to include that will be the backbone of your Bullet Journal.
Index Pages – You’ll want your first 2-3 pages to be reserved for an index for your bullet journal. As you are creating the content of your journal, you’ll be numbering each page and the index will be where you record what is on each page. Sort of a Table of Contents. It’s a simple page to create, but you do want to make sure you include just enough detail so that if you’re looking for something, you’ll know where to find it.

This index page from Erdal and Yuka is a great example of a simple index page. It’s easy to read and there’s a enough detail that you should be able to find what you’re looking for without too much page flipping.
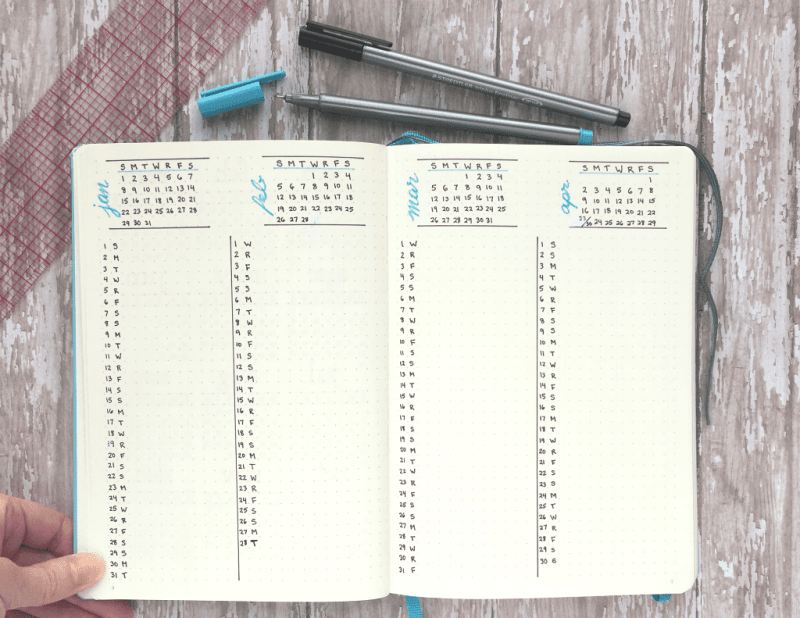
Calendar: You should have a calendar of some sort in your Bullet Journal. I went with an at a glance yearly calendar and also a monthly calendar for more detail. Some people also do a weekly calendar.

This is a great example of a simple yearly calendar from Boho Berry. You could use a highlighter for important dates and leave a spot for some notes under each month as well.

I like this simple monthly calendar from Most of the Mist.
This layout from Page Flutter is how I will do my calendar next time. This is simple and it gives you plenty of space for notes.
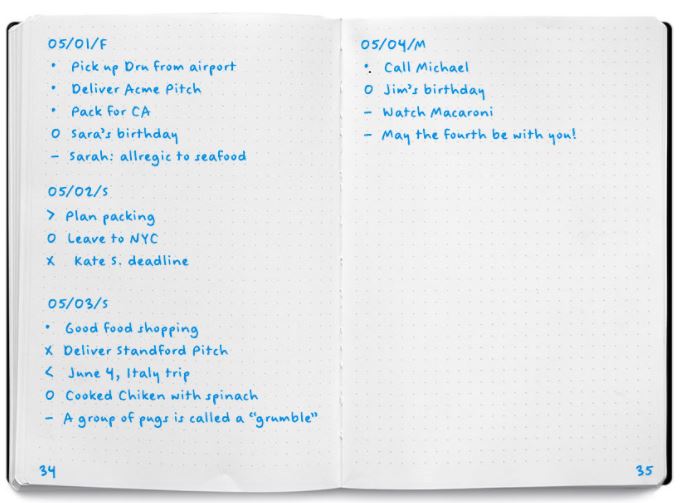
Daily Log – The Daily Log is where the “Journal” portion of Bullet Journal comes into play. In your daily log you are going to document things like to do’s, special moments from the day and accomplishments. Anything else that you found remarkable about your day should be recorded here. This is the place that you will read back through months later and remember the little things that you would have otherwise forgotten. That’s priceless.

I love this simple layout from So Steff So.
If all of these calendar layouts are giving you anxiety, you *can* find printables. Do a Pinterest search and you’ll find beautiful options like this from Press Print Party:

Is it cheating if you use a printable? Kind of. If you can live with cheating, then fine, do it.
To Do List – I think it’s a great idea to have a master to do list in your journal. You can constantly refer back to it and you get to do my favorite thing in the world, cross things off of the list!

I love this Master To Do list (although I think I would skip the highlighting). I can’t find a source for it, but it’s the vibe I’m going for. Simple, to the point. No fuss. I would look at this list when updating my daily log to see what I want to tackle for the day.
Brain Dump – The brain dump is possibly my favorite page. It could also be called a Brainstorming page, but Brain Dump is great imagery. I sometimes have a topic in mind for a brain dump, but other times, it’s just whatever has been banging around in my head that I don’t want to forget. Here’s a great example from Boho Berry:

The idea is that from this Brain Dump, you might populate your Master To Do List or your Daily log. OR maybe there’s a theme to some of the things in your Brain Dump and maybe you want to create a page based on that theme. For instance, I see a few things that look blogging business related in the list above. Maybe Boho Berry should create a Blogging Business To Do List page? In my Bullet Journal, I created a separate To Do List for each member of my family, the house and my blog. Why? Because my brain works better when I focus on one category at a time.
From your Brain Dump, you might also find that you want to create pages for tracking habits, or meal planning, or cleaning schedules… The options are limited only by your imagination and your needs. Consider the Brain Dump the jumping off point for new pages to add to your Bullet Journal. My only word of caution, don’t create pages you don’t really *need*. I’ve seen a lot of beautiful Master Grocery Lists for your Bullet Journal on Pinterest, but I don’t really *need* that… I’m good with grocery lists. So for me, that’s not something I want to add to my Bullet Journal. If a Master Grocery list would help YOU and you would refer back to it often, then by all means, add it in!
I hope I’ve demystified the Bullet Journal for you at least a little bit! It’s been a fun and useful journey for me so far. Once I’ve gotten the functional portion of the journal down, I really want to start working on my handwriting and maybe adding some pretty stuff…eventually!
If you loved it, don’t forget to Pin It!