Dollar Tree has awesome stuff for crafting. The tall glass candles are one of my favorites. I made custom photos with them before and this time I grabbed a few to try a mod podge craft. I made over the Dollar Tree Candle with some napkins I got from Ikea.
So, you’re in for a treat because this is basically an Ikea hack mixed with a Dollar Tree craft. That’s kind of like a cheap person’s crafting nirvana.
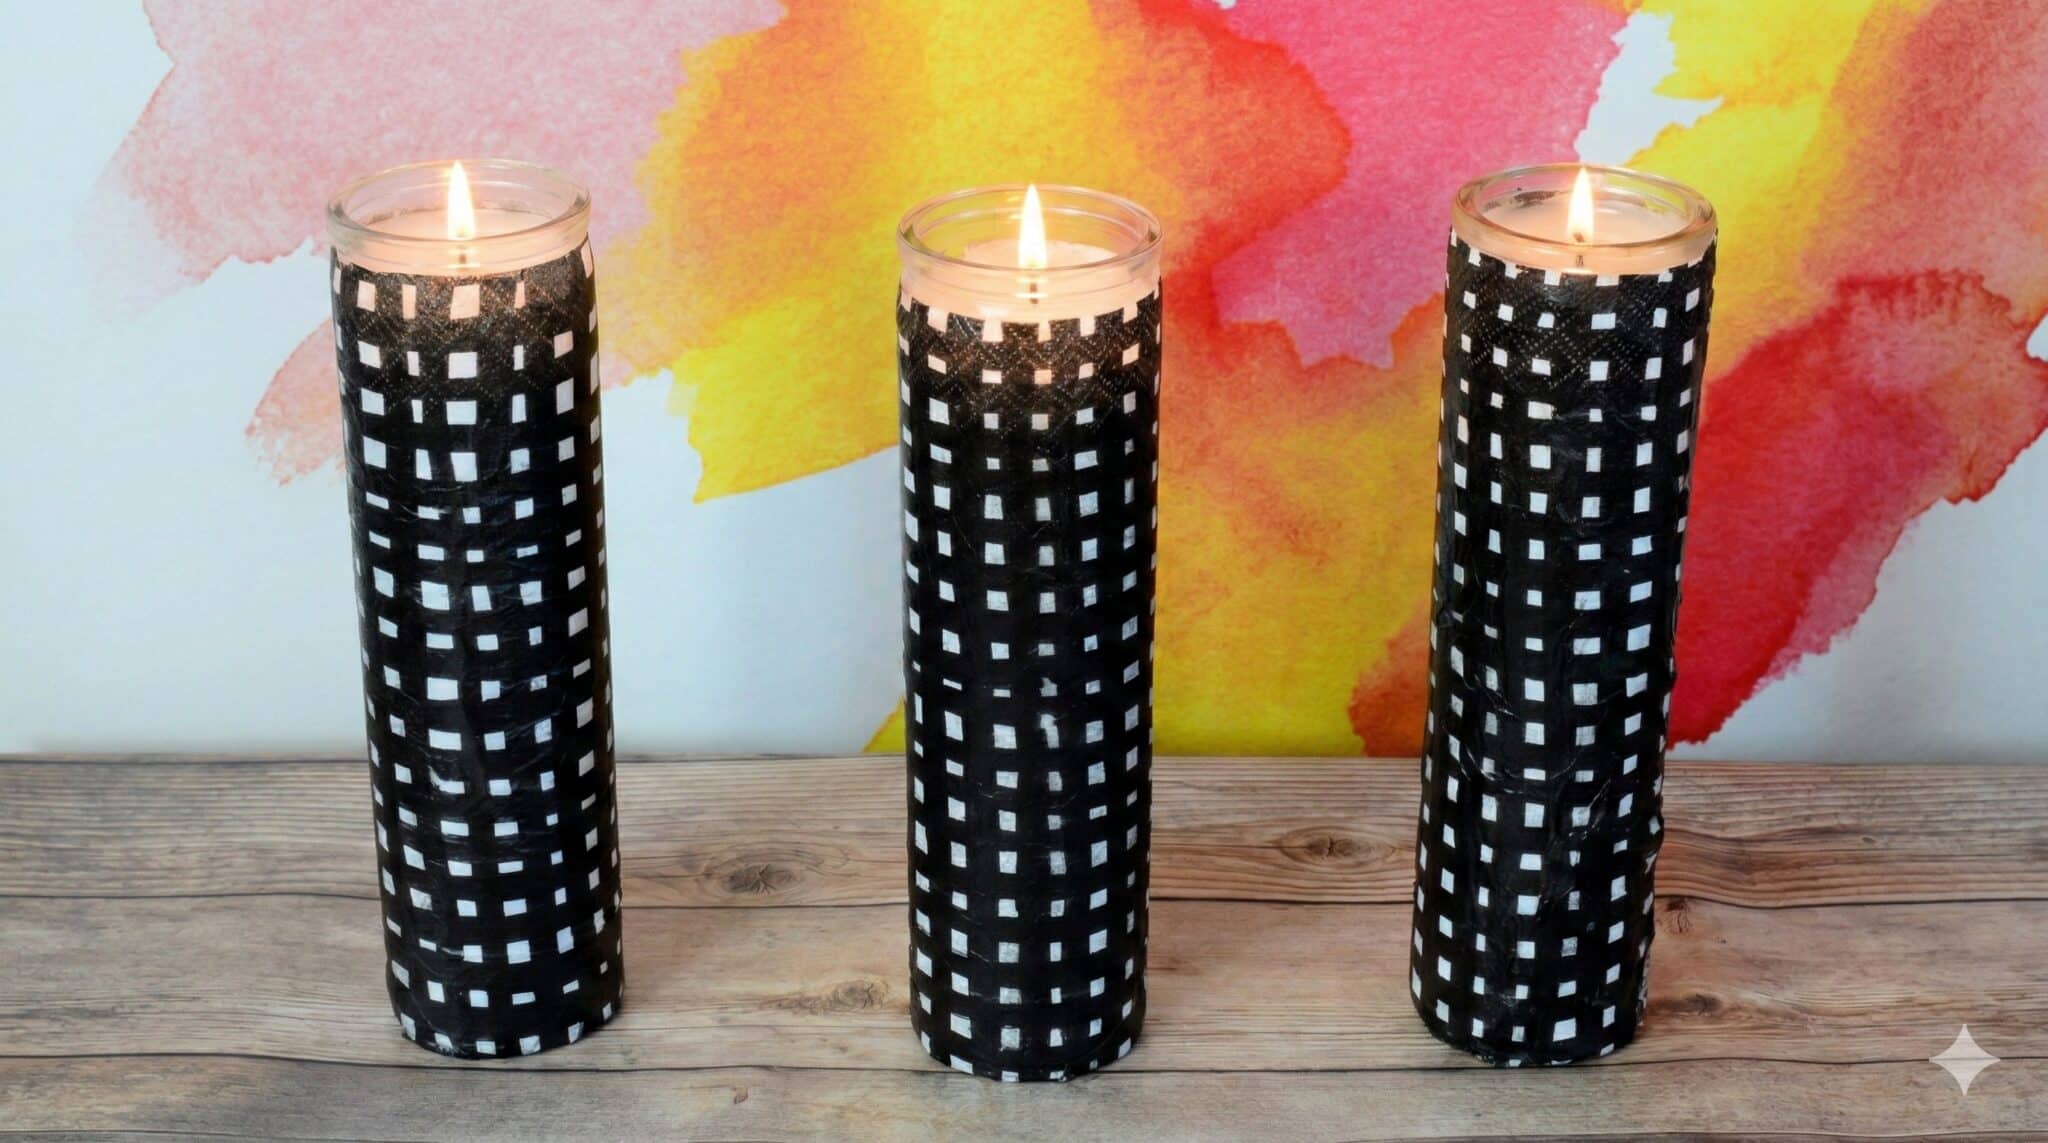
I think they came out pretty cute, even though I messed up a couple of times. I have a special trick for you at the end for fixing any mistakes, though, so don’t miss it!
Dollar Tree Candles Go Graphic Black & White
My living room has morphed into a space that has a lot of black and white. There are still pops of color, because you know I love color, but when I brought in the giant cow:
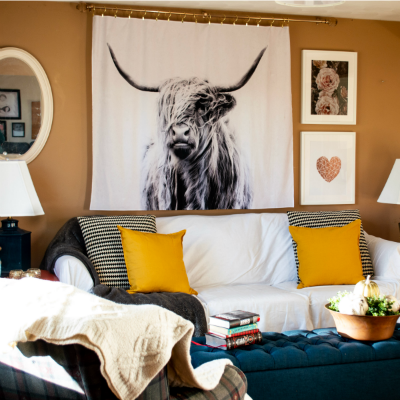
I started to add sort of like a base of black and white. So that’s why I grabbed these black and white window pane-like napkins from Ikea to wrap the candles in. There’s one spot beneath the TV in here (which you can’t see in that pic) that needed a little something and some cute candles would be perfect.
You could grab whatever napkins suit your fancy. Or you could probably do this with wrapping paper. Or almost any kind of fairly thin paper, really.

A little height on top of the little table that’s there and a little candlelight ambience will be great in this room that is right next to the kitchen. I purposely don’t like to put scented candles in this room because I don’t really like scented candles when I’m cooking, so these scent-less glass candles from the Dollar Tree are perfect!
Dollar Tree Candle Makeover Tutorial
Do you feel like I’m stalling? I kind of am stalling because I’m going to be honest, there’s not a lot to this tutorial. It pretty much can be summed up with: “Mod Podge the napkin to the candle”.
BUT! There are some nuances that you’ll be happy I have shared with you. When I say “nuances”, I mean mistakes. There are some mistakes I made that I’ll share so that hopefully you don’t make them as well!
Ok, that’s enough from me, on to the tutorial.
Wait, first the Materials.
Materials
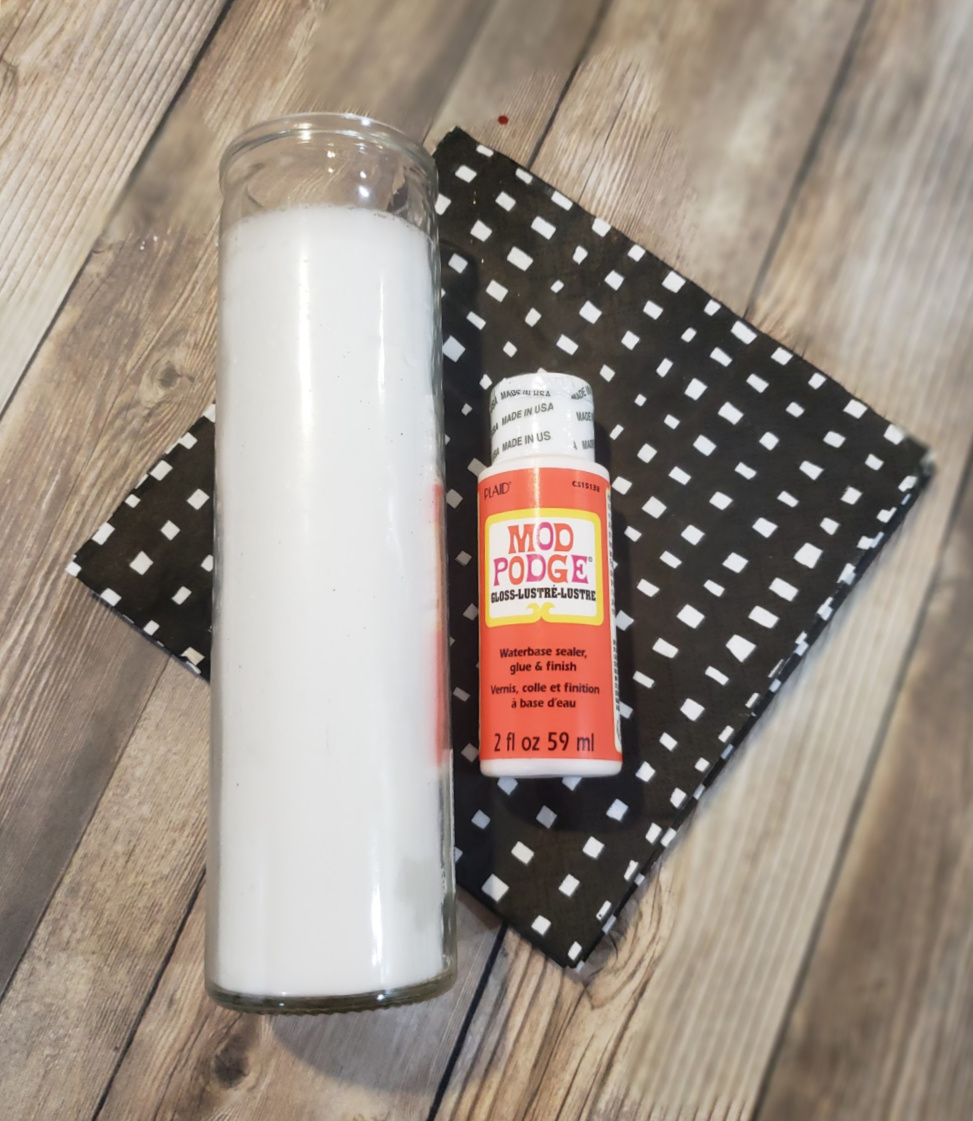
- Dollar Tree Glass Candle
- Pretty Napkin of Your Choosing
- Mod Podge
- Paint Brush (I like these foam ones for Mod Podge, but whatever you have will do)
- Scissors
psst…

Instructions
Step 1: Clean off your candles. The glass on mine had some wax on it which would have meant an unsightly bump under the napkin, so give the glass a wipe down.

Step 2: Separate your napkin. What does that even mean. As thin as this napkin from Ikea is, it is in fact two ply. And you do want to get to 1 ply. I know because I tried it the lazy way without separating and it didn’t work out well. The top piece of the napkin separated form the bottom… It was generally a mess, so have some patience and separate the napkin.
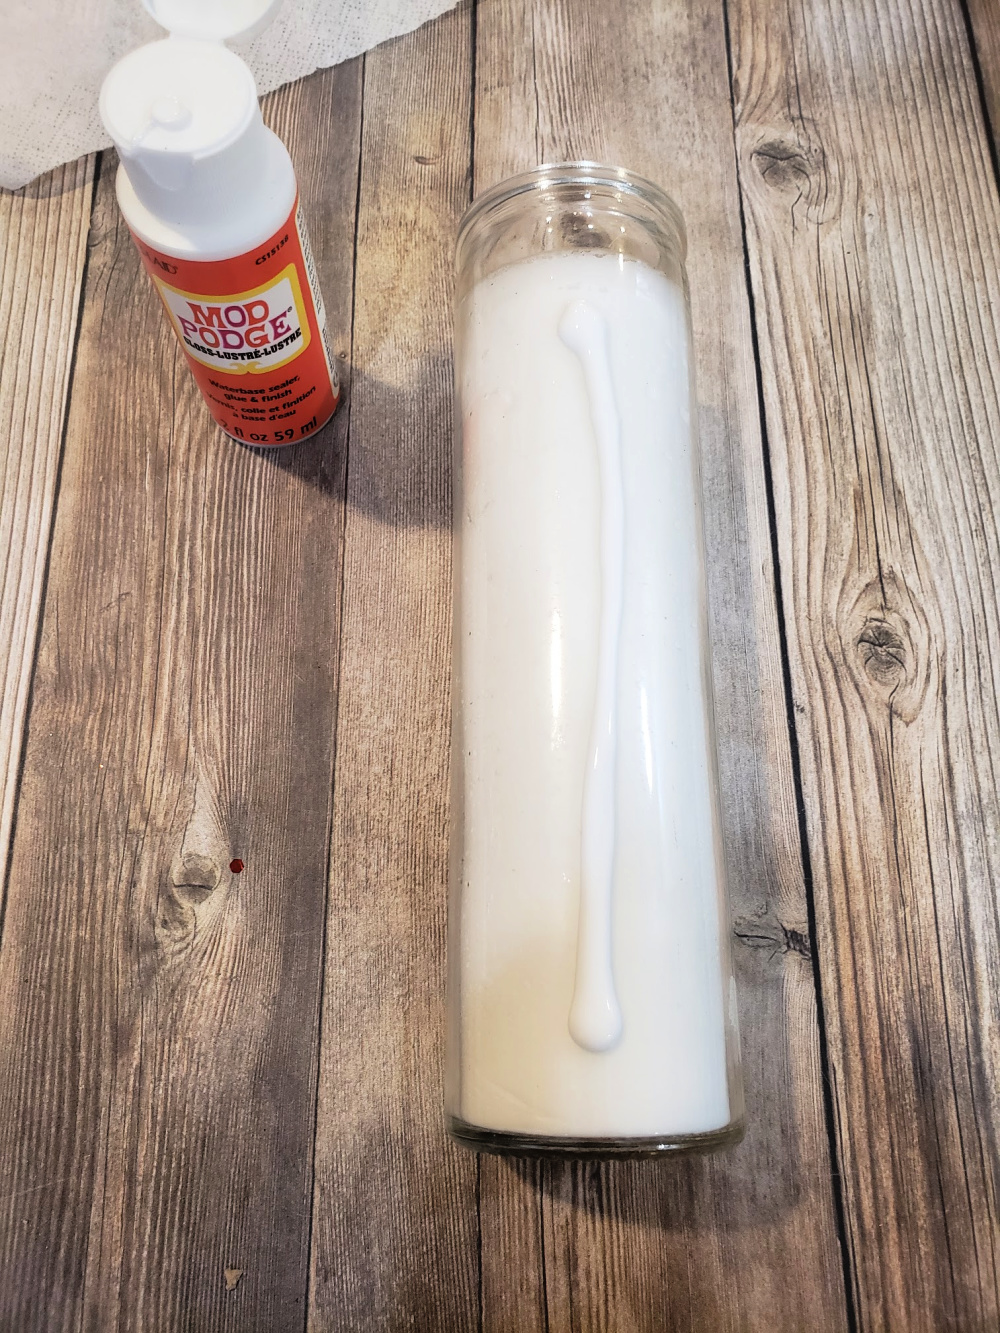
Step 3: Apply some Mod Podge to the candle, vertically with your paint brush. Just start with a small vertical section, from top to bottom.
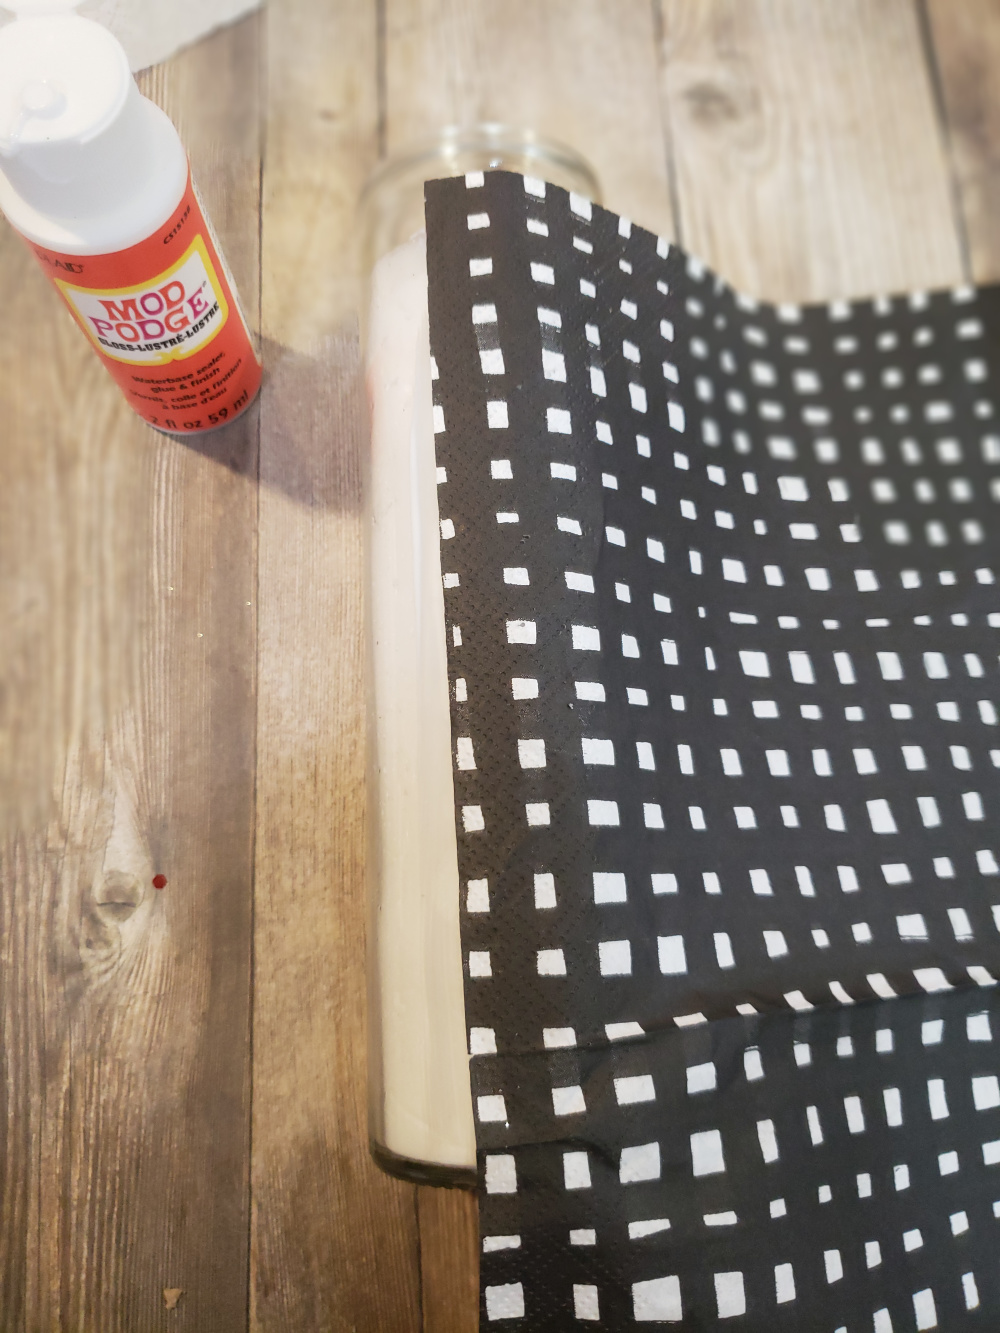
Step 4: Apply the napkin the area you just mod podged. Smooth it GENTLY! Here’s another one of those “nuances”. The napkin is now 1 ply and very flimsy. If you look at it wrong, it will rip. So go slow and steady and gently, gently smooth it, but don’t worry if it has some creases. We’re going to pretend the creases are intentional, ok?
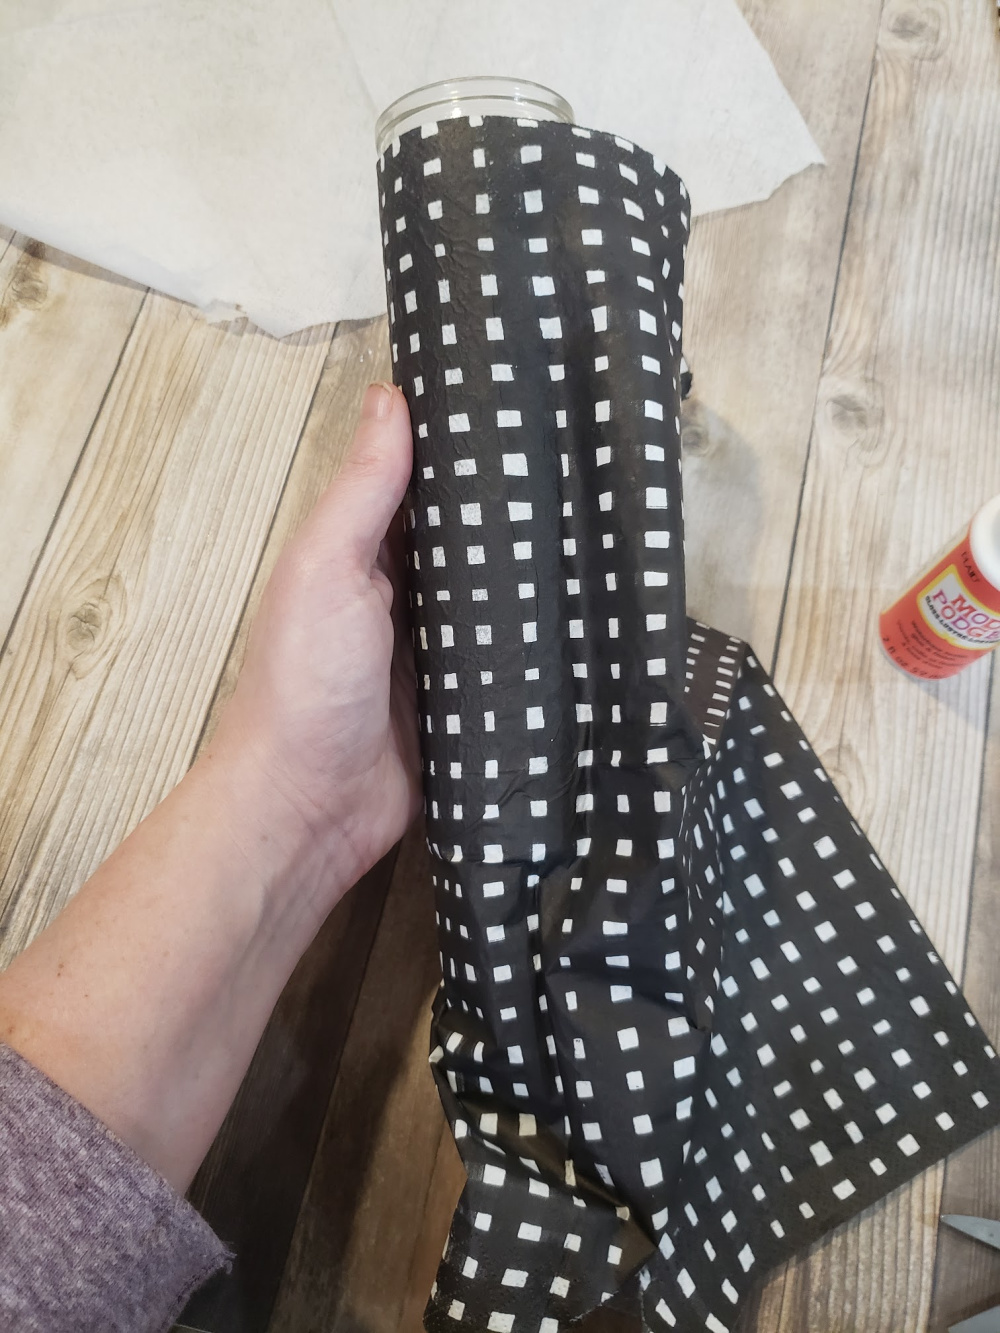
Step 5: Apply a little more Mod Podge to the next vertical portion of the candle and keep smoothing the napkin over it.
Special note: You’re going to get sticky from the Mod Podge. Your fingers will stick to the napkin and the napkin will bunch or even tear. It stinks when this happens, so do your best to only touch the parts of the candle that don’t have napkin on it.
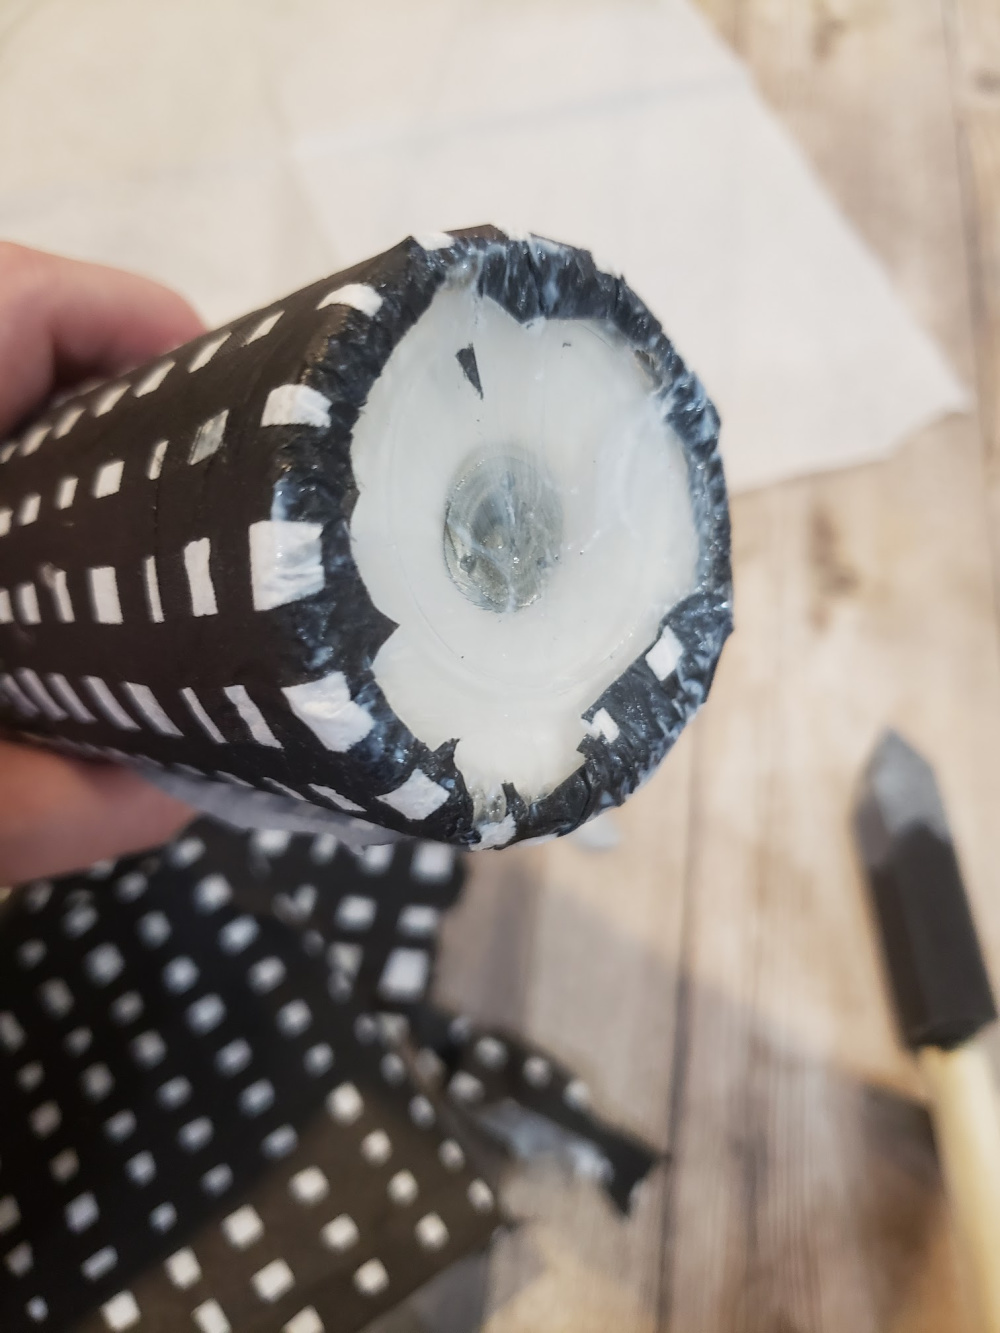
Step 6: When you’ve made it all the way around the candle, you’re going to have a lot of leftover napkin. Snip off nearly all of the excess from the bottom and sides, add some mod podge to the bottom of the candle and tuck the little bit of extra onto the bottom of the candle so that you don’t have to worry about having a perfect bottom edge.
Step 7: Apply some Mod Podge (again, GENTLY) with your paintbrush to the rest of the top side of the napkin to help it stay nice and stuck down and to give it a little bit of a sheen when it’s done drying.
Step 8: Step aside and let it dry.
Ok, I promised I would give you a special tip on fixing any mistakes, didn’t I? Here it is. Are you ready?
Turn the mistake to the back!
TADA!
You can also, depending on the type of pattern you chose for your napkin, add a little piece of the napkin to cover a hole if you’ve made one. Then turn it to the back.
Because, really the idea here isn’t that this is going to be perfect. It’s going to be really pretty, but it’s going to be handmade and unique. And if you make a small mistake, it’s not a big deal. No one will care, especially not you, when they ask, Where did you get those? And you say, “I made them”.
You’ll just be proud of pretty candles.
So, mine are going in my living room. Where I can look at them while I sit on the couch and read. They will definitely make me smile as they flicker away.
Now What?
Well if I were you, I’d be getting myself to Dollar Tree for some of those glass candles. Unless you have some in your craft stash, which is entirely possible, if you’re anything like me.
You can totally grab the Mod Podge and the Napkins and the Paintbrush while you’re there if you want to. The whole thing will cost you like 7 bucks.
The candles might not be “perfect” but they are handmade and inexpensive. That’s pretty awesome, I think.
Make More Crafts That Make People Say WHERE DID YOU GET THAT?!

My 10 Favorite Craft Projects
If you loved this craft, you’ll love “Thanks, I Made It!”
I pulled together my 10 all time favorite craft tutorials that I’ve made for myself and get tons of compliments on!
There are super simple to follow tutorials in an eBook format, so no annoying ads :-)!
There’s even a bonus tutorial on Macrame knots that will you get started with macrame even if you have no clue what you’re doing!
If You Liked It Then You Shoulda Put a Pin In It!
