My greatest fault is that I like to think about doing things. And plan to do things.
But I’m not a great do-er of things. Or follow-er through on things.
At least I didn’t used to be. But I’m turning over a new leaf and I’m going to do the things I say I’m going to do. Because time goes by really, really fast.
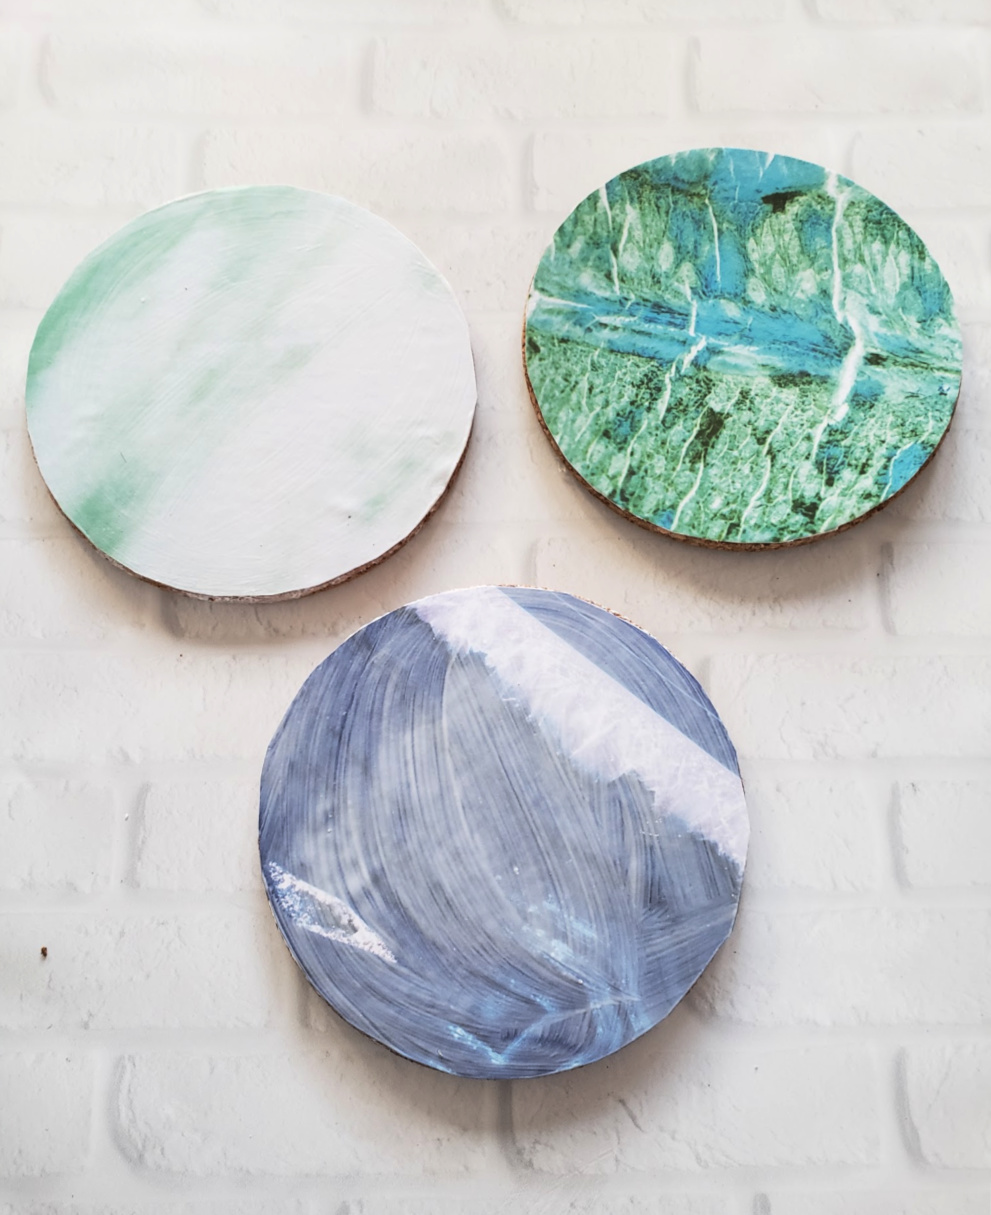
The first thing on my “Done” list are these cute decoupaged cork boards that I made for my office. I’ve had all of the materials for these strewn about in various places and actually none of them were bought with the intention of them becoming Decoupaged Cork Message boards. But, here they are.
These are a so simple craft that will take you no time at all but they have lots of impact. On your walls.
**This post contains affiliate links. If you click one and make a purchase, I may receive a commission at no additional cost to you.**
Decoupaged Cork Message Boards
My office is navy blue. It’s like a teeny tiny Navy blue room with one giant window that makes all the Navy blue doable.
So, I chose some craft paper that I had hanging around that looks like crystals or geodes or marble. The colors and the sort of subtle pattern are what I loved.
But, you might like a floral paper. Or a striped napkin. Or some leftover plaid fabric from a sewing project. That part is totally up to you and will make your Cork Message Boards totally unique to you.
Materials
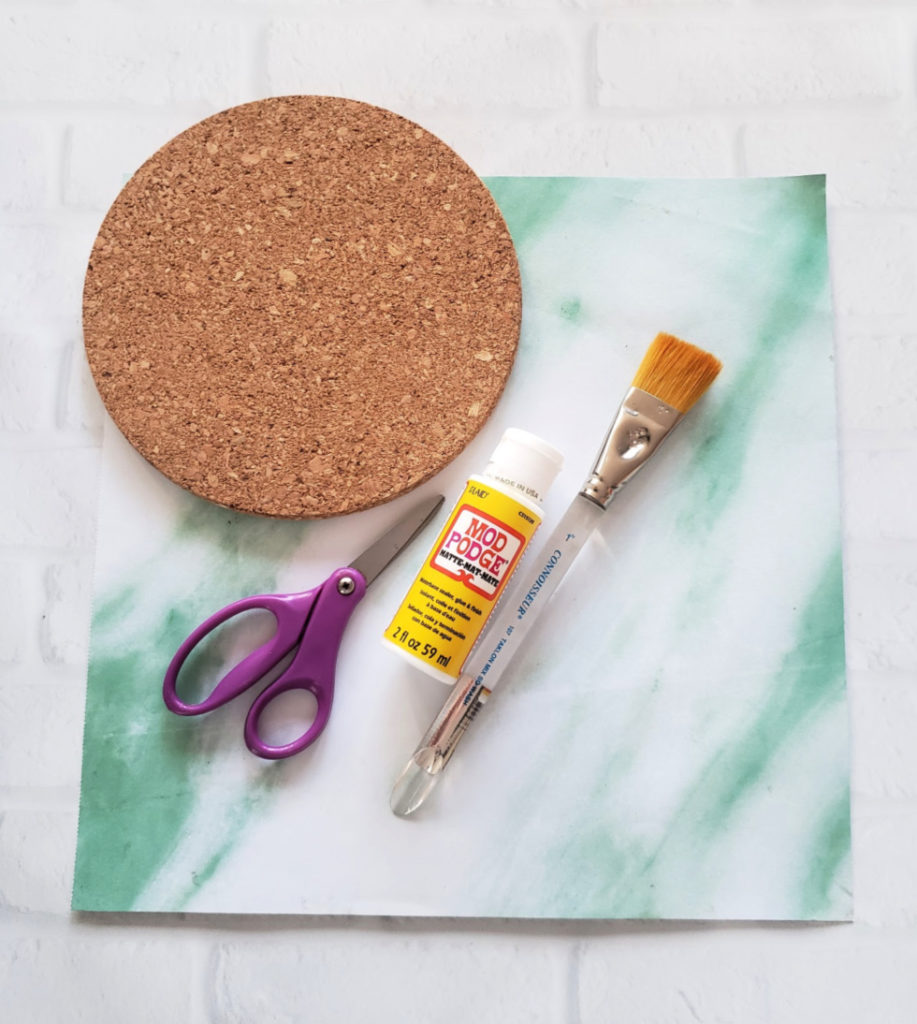
- Cork Trivets (I got mine from Ikea and they were $3.99 for 3. If you don’t have an Ikea near you, I’d get this set from Amazon. It’s a bit pricier, but there are three different sizes.)
- Mod Podge & a Paint Brush
- Patterned Paper of Your Choice (I used this one and I have tons and tons left for other projects. I only used three sheets)
- Scissors
- Double sided tape
Steps
#1 Lay your trivet on top of the back side of the paper you chose. If you picked a marbled one like mine, check to see if there is a particular part of the paper that you want to be sure is on the cork message board.
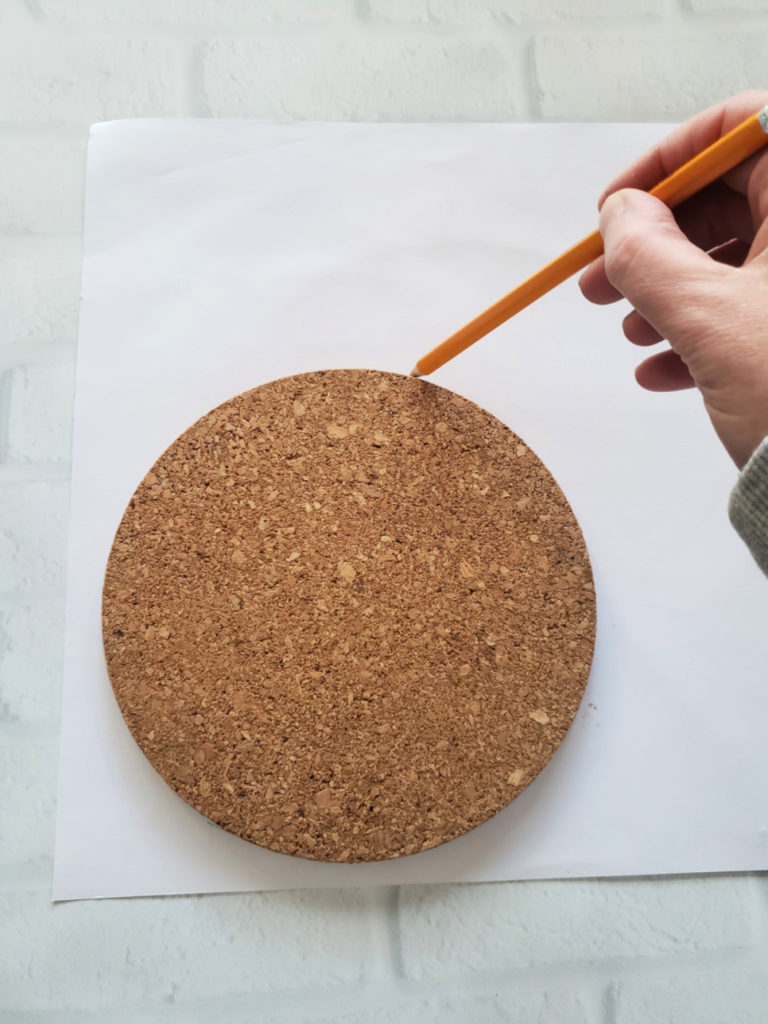
#2 Trace the outline of the trivet on the back side of the craft paper.
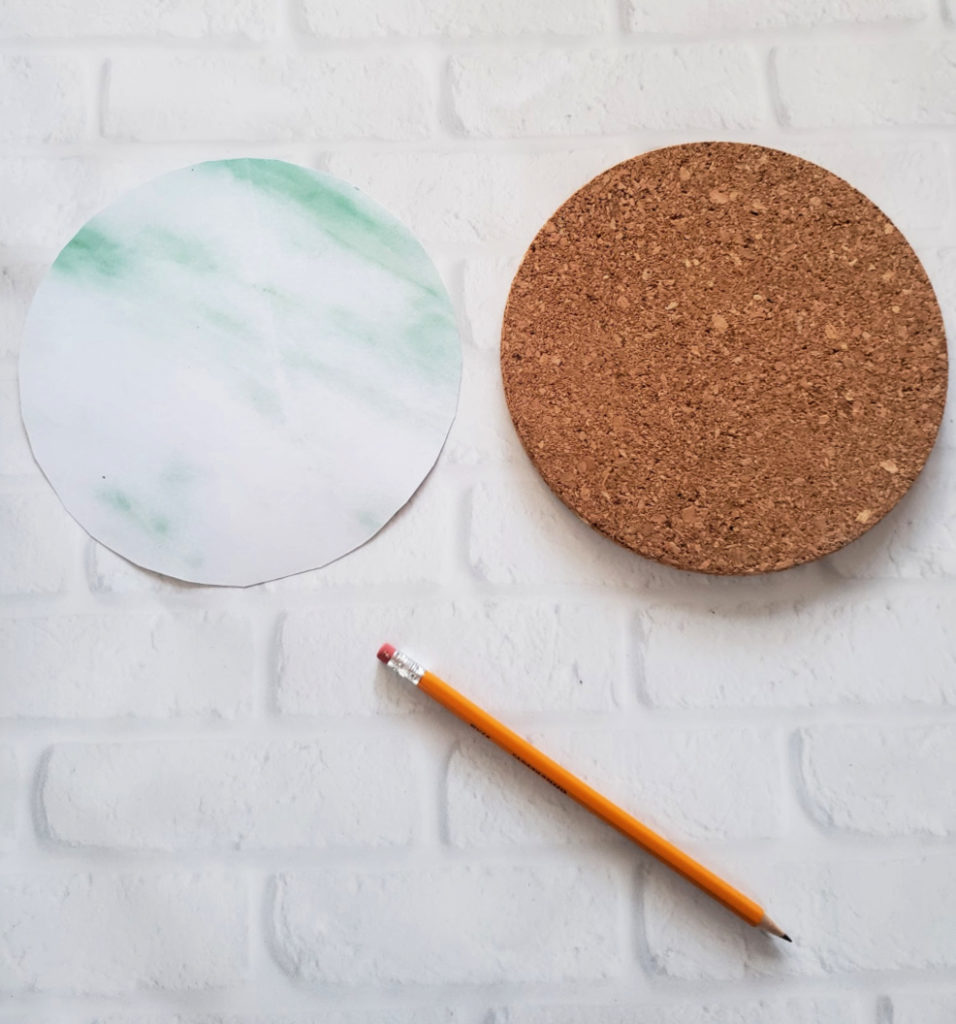
#3 Cut out the circle.
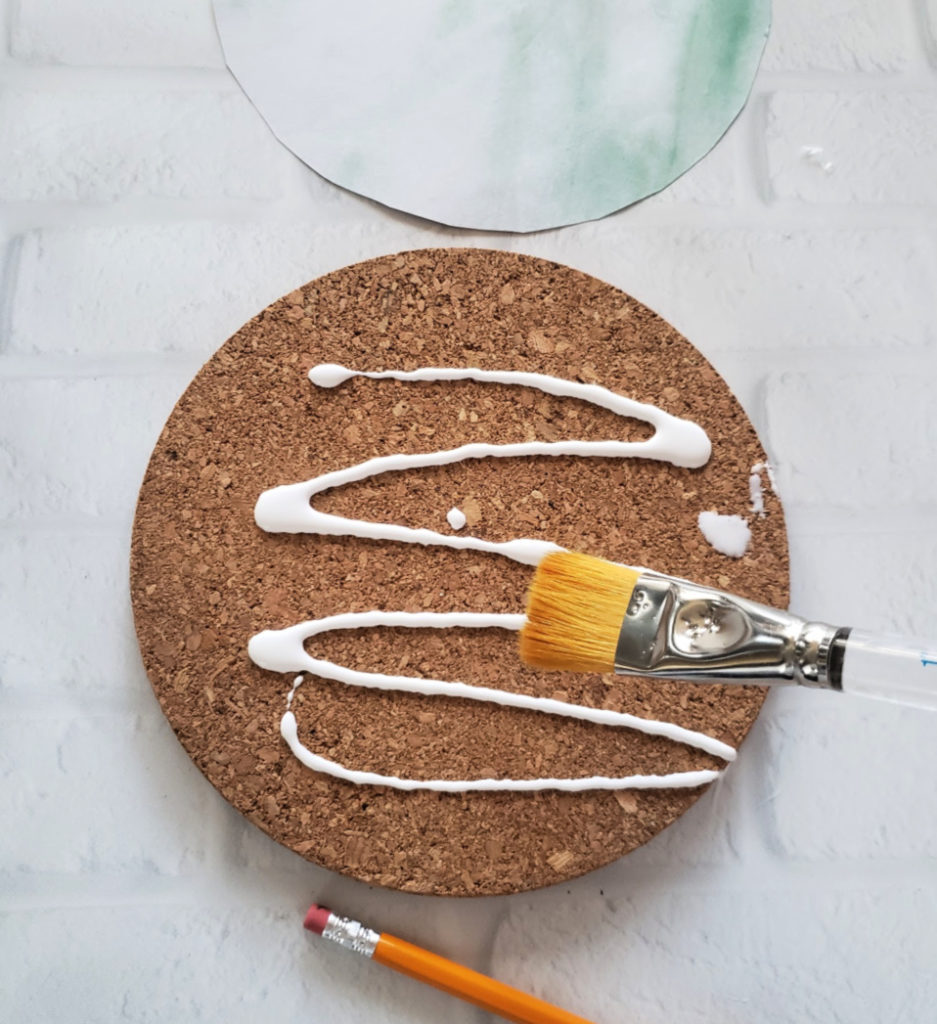
#4 Apply a good bunch of mod podge to the trivet and spread it well with the paint brush.
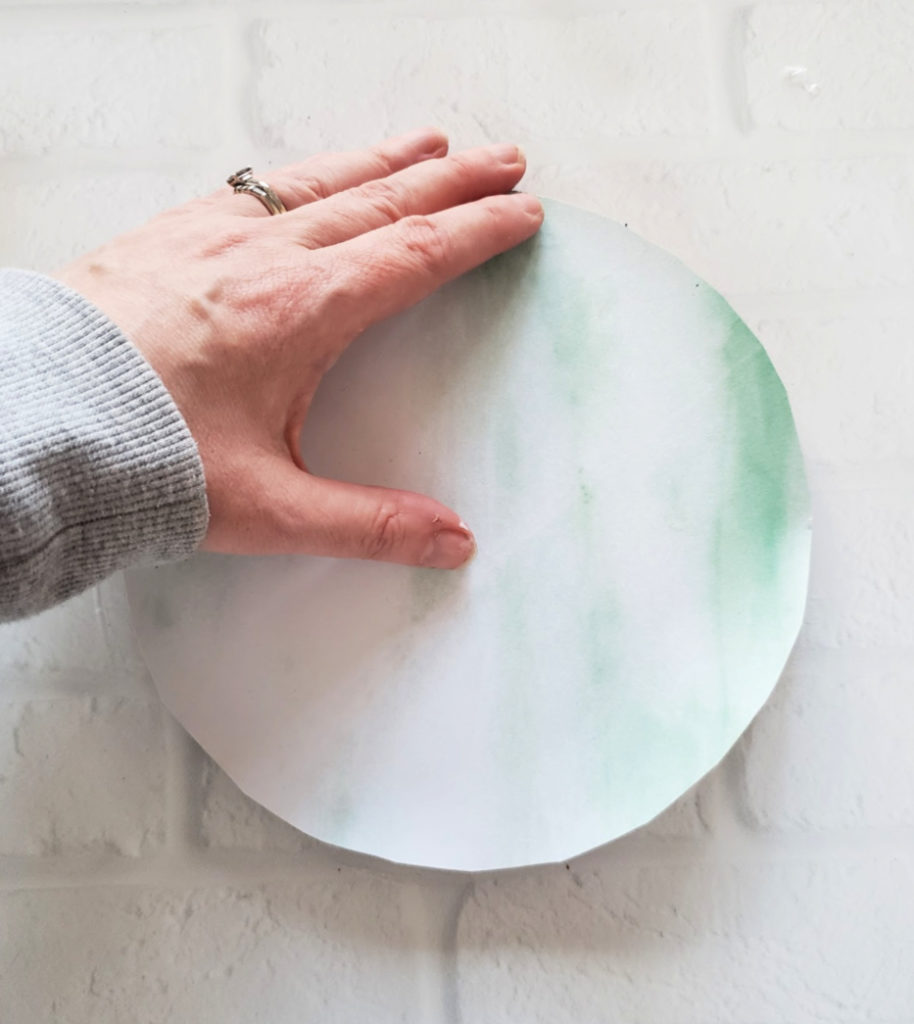
#5 Place the circle you cut out, right side up on top of the mod podged trivet and smooth it down.
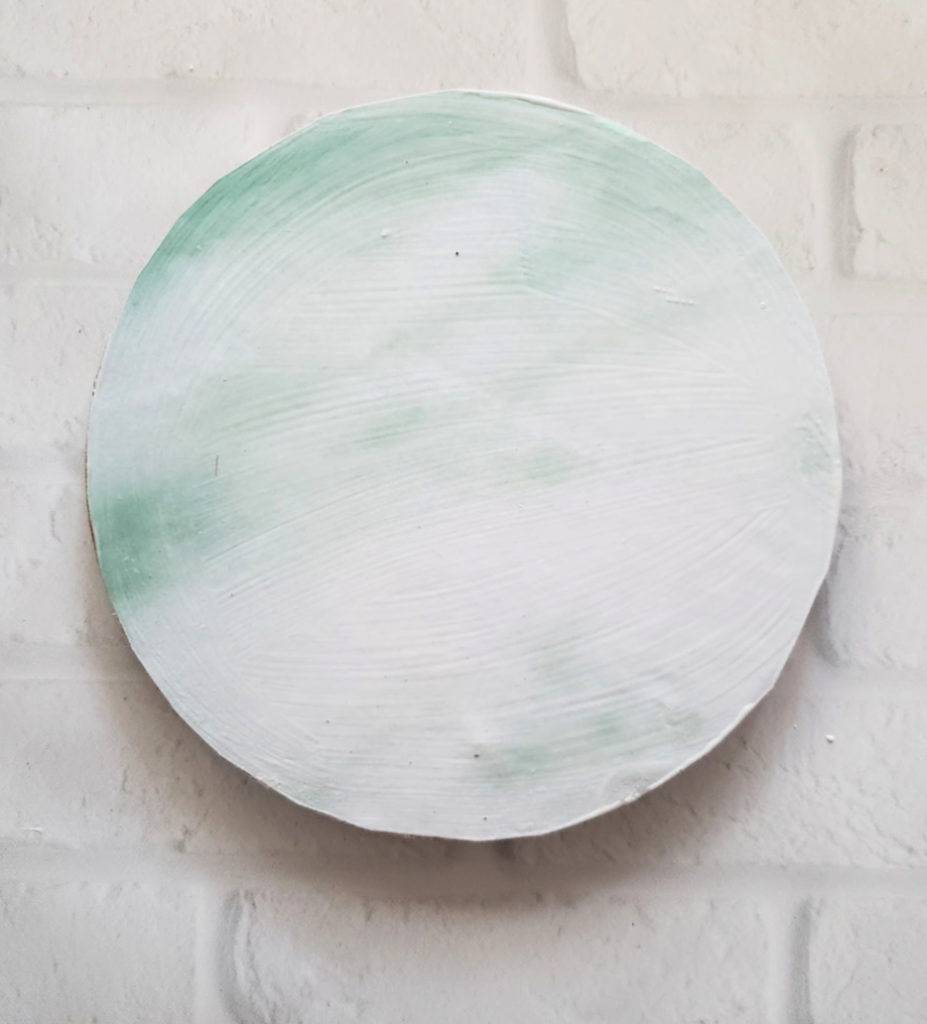
#6 Add another layer of mod podge on top of the paper. (Don’t worry it will dry clear!)
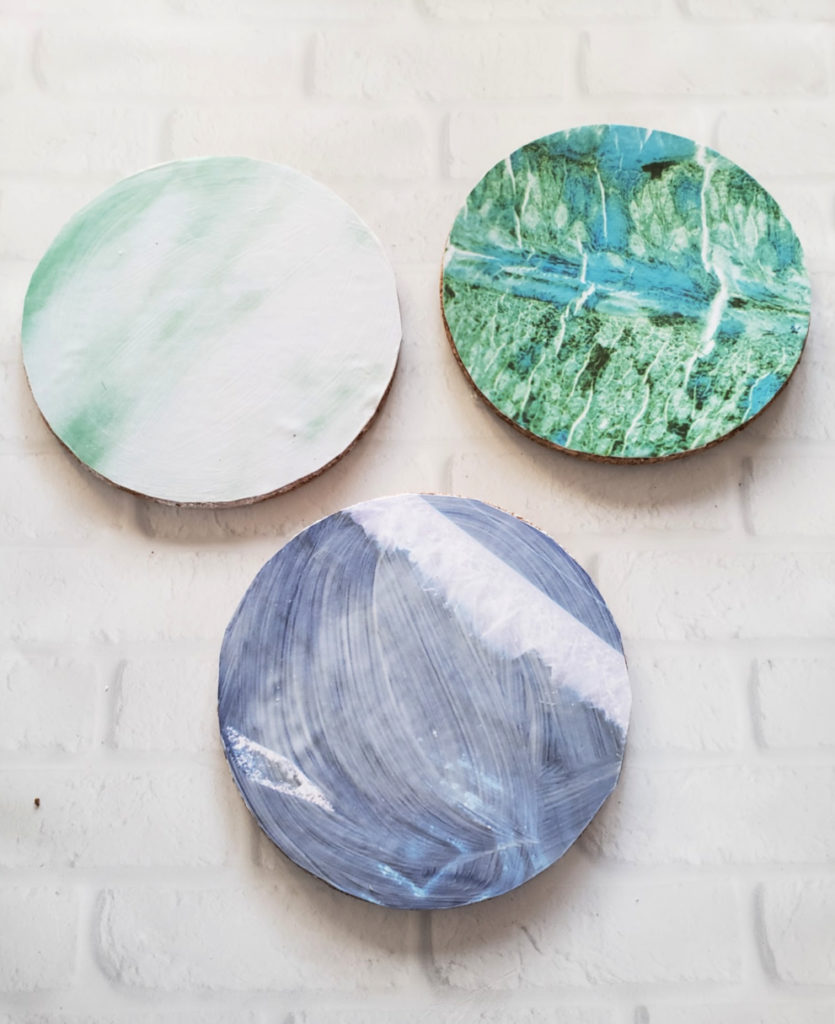
#7 Allow to dry.
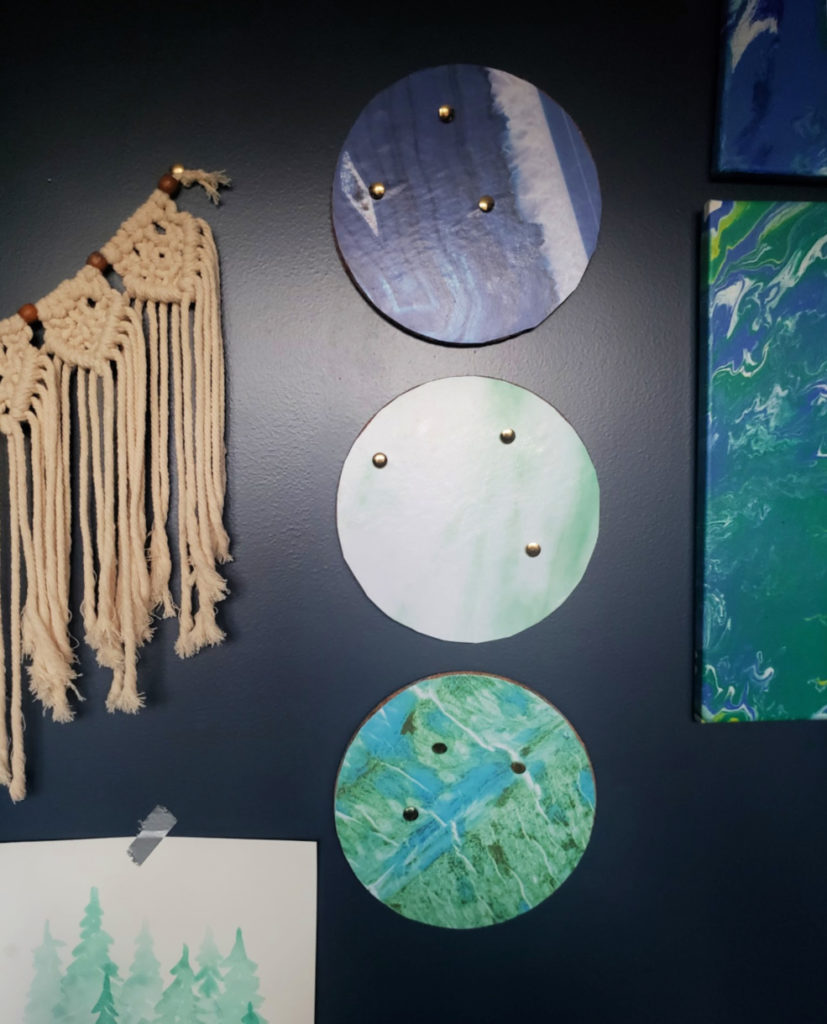
#8 I used double sided tape to affix my cork boards to the wall.
What Do You Think?
So easy, right? And really pretty, if I do say so myself. These are perfect to brighten up a dark corner and not only are they are good looking, they are functional, too. And that is the optimal craft, in my mind.
Why Do We Do This?
I like looking at my pretty cork message boards on my wall in my office. I like smiling when I realize I made them.
I love it when someone asks me where I “bought” something I actually made.
Why do you make things?
