You found the perfect printable. Maybe it’s a art print for the mantel, or a sweet watercolor for the kitchen. You download it, and then… it sits in your downloads folder for three weeks.
I get it. Printing is the step everyone gets stuck on. How do you even know where to print printables? What size do you pick? Why does it look perfect on your phone and fuzzy on paper?
Here’s everything I’ve figured out from printing a lot of seasonal decor: the fastest way to get a print in your hands today, where to order the “keep forever” pieces, and exactly what I use to print at home. Plus the one step that makes the biggest difference in how your print turns out.
The quick answer:
FREE FOR READERS
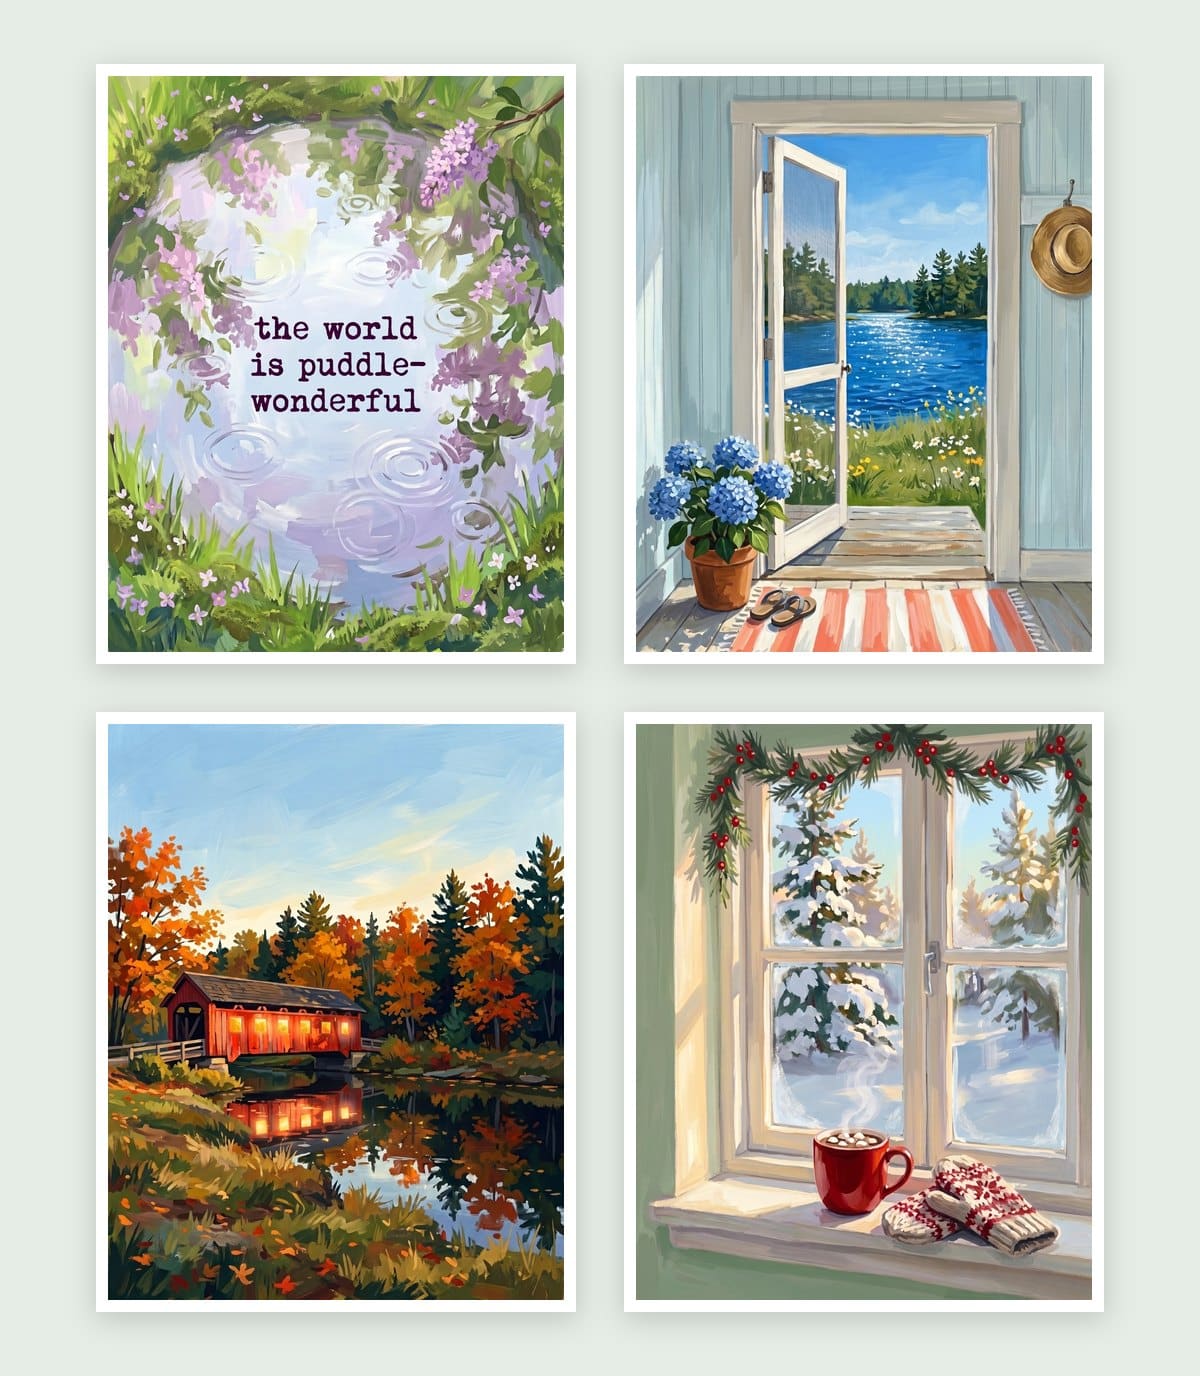
Seasonal Decorating, Made Simple
12 painted prints, three for every season. Just print, frame and swap.
- Need it today? Upload to a CVS or Walgreens photo counter and pick it up in about an hour.
- Want it to last? Order from Mpix or Shutterfly and it shows up in a few days.
- Cut-outs like garlands, tags and labels? Print them at home on cardstock.
This post contains affiliate links, which means I may earn a small commission if you buy through them, at no extra cost to you. I only recommend things I actually use.
1. Where to Print Printables and get them today: the photo counter
This is my go-to for anything going in a frame. Photo counters print on real photo paper with professional printers, so colors come out rich and smooth, and it usually costs less than the ink you’d burn printing at home.
How it works:
- Go to the store’s photo website or app.
- Upload your printable and pick the size (8×10 is the most common for framed art).
- Choose matte if you can. It looks more like real art behind glass and doesn’t glare.
- Pick a store near you and pick it up, often within an hour.
Where to go:
- CVS Photo: prints from 4×6 up to posters, with same-day pickup. They run photo promo codes almost every week, so check before you order.
- Walgreens Photo: sizes from 4×6 to large posters, with same-day pickup at many stores. Watch for their frequent deals on 8x10s.
- Shutterfly store pickup: order on Shutterfly and pick up at CVS or Walgreens, handy if you already have a Shutterfly account.
Tip: if the site warns you about “low resolution,” don’t ignore it. Down worry though, I have help for that problem. Jump down to “Size it up first” before you order.
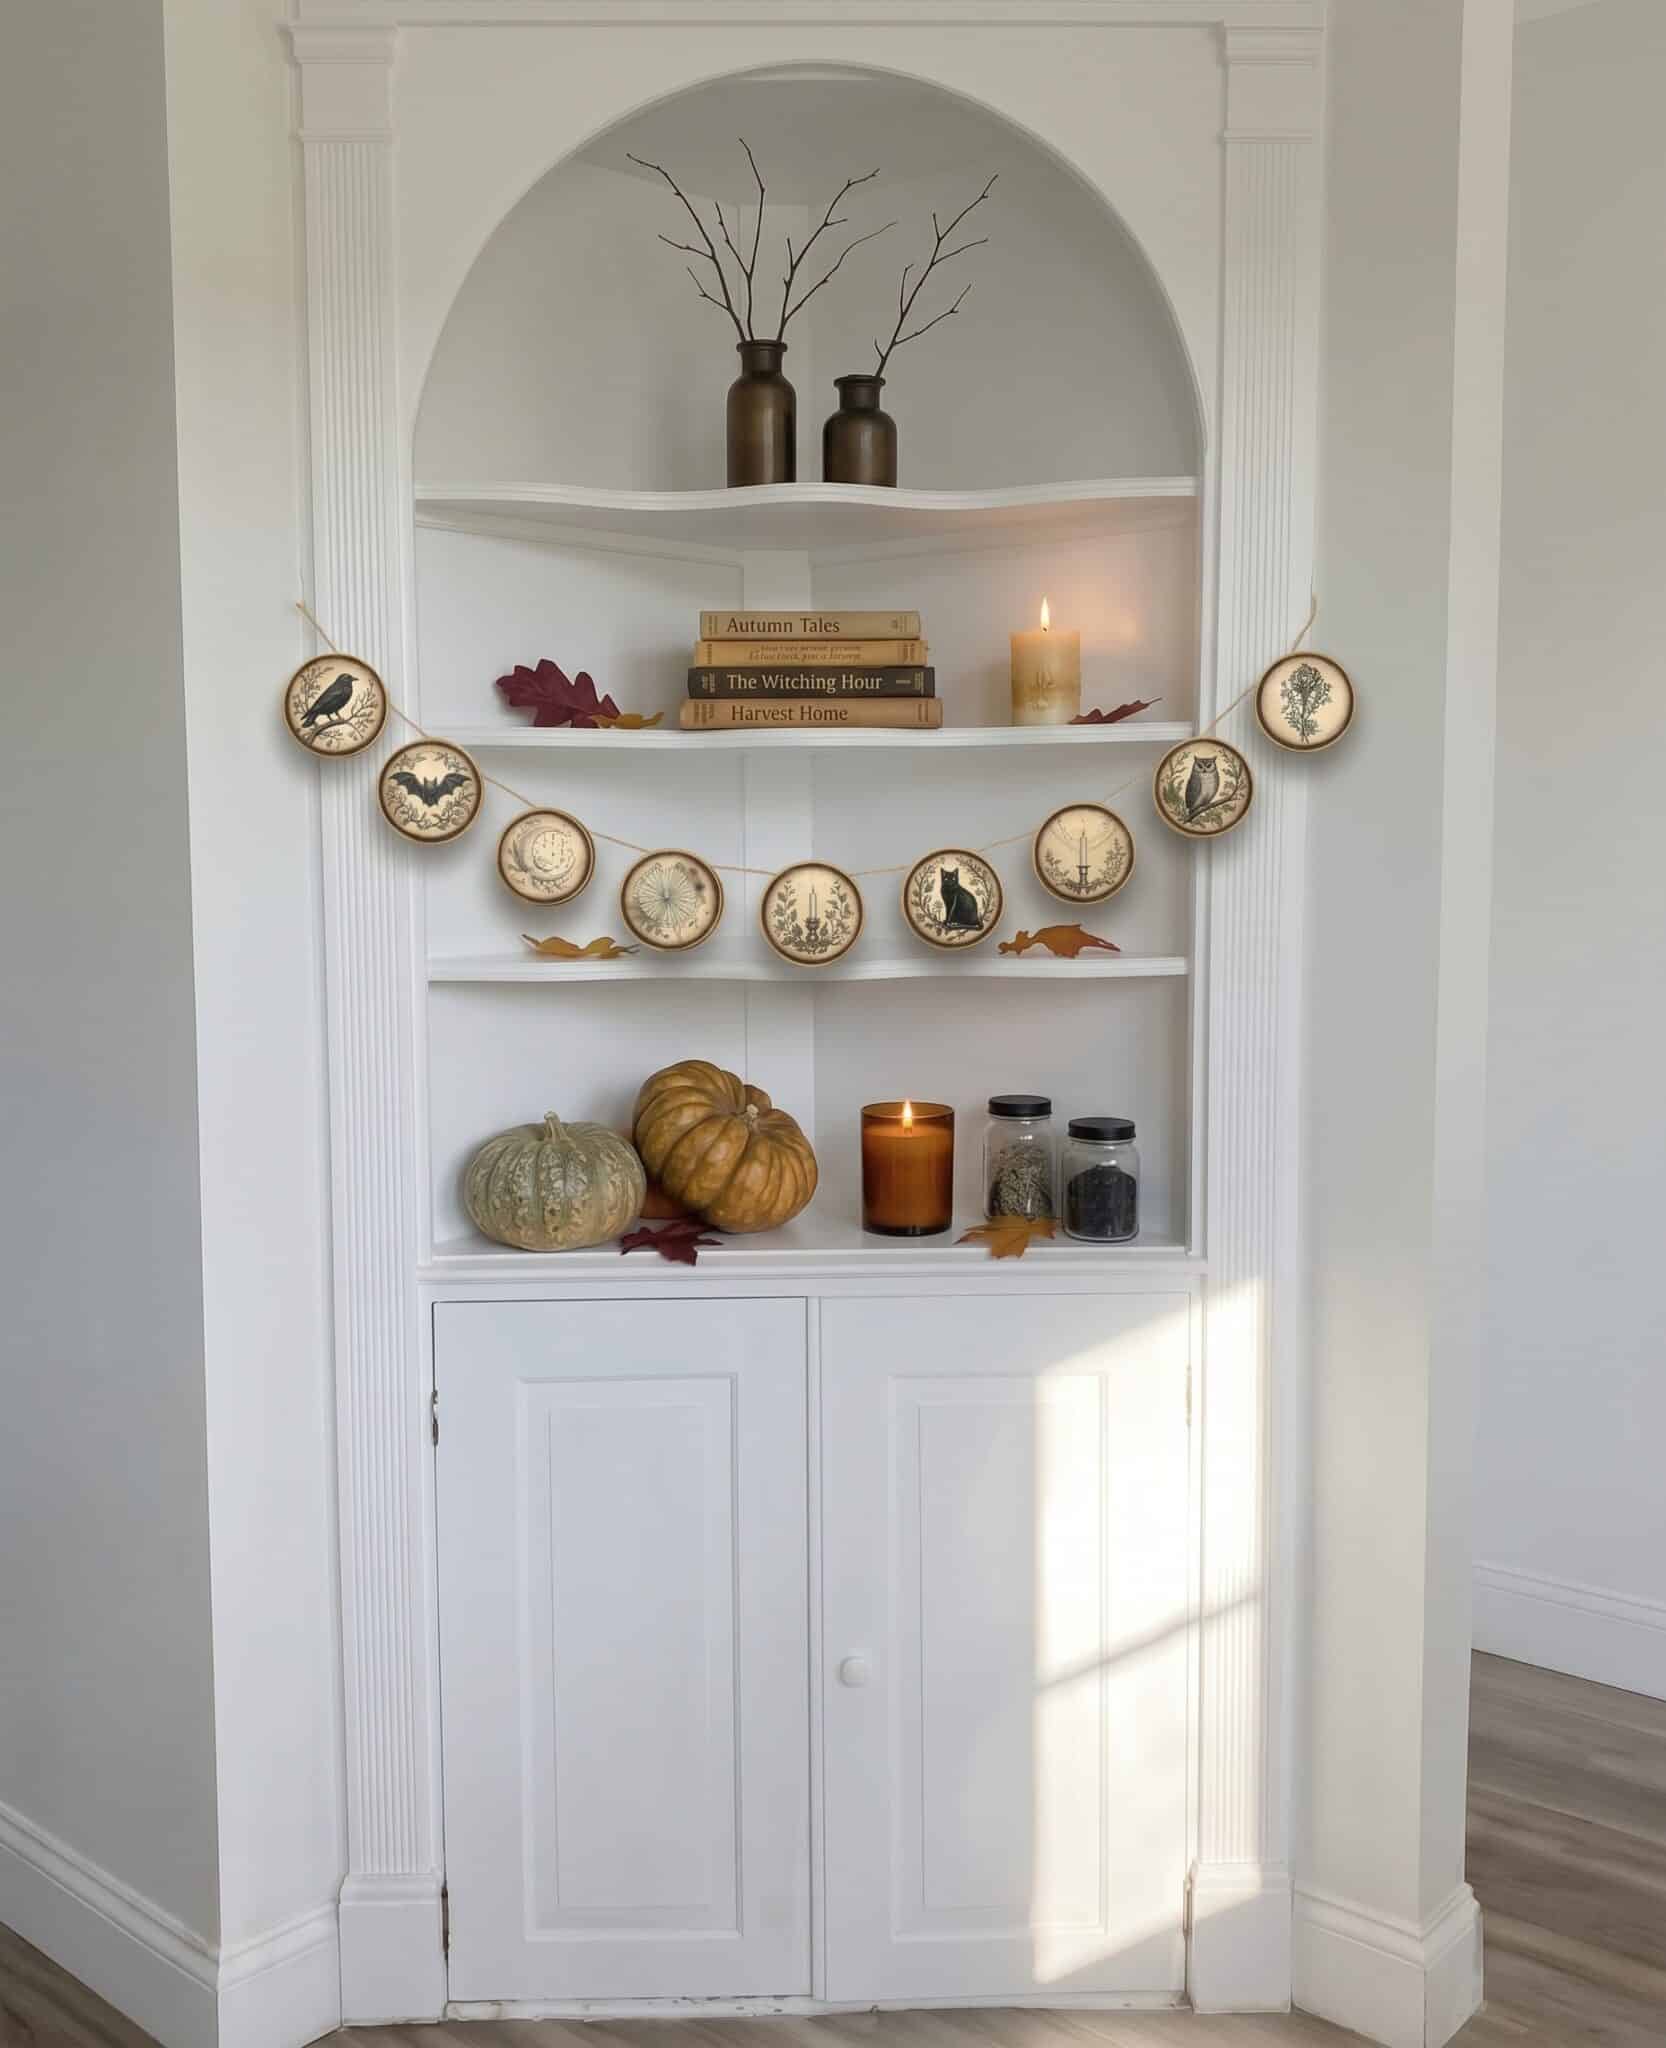
2. Order online: for the “keep forever” prints
Some prints aren’t seasonal. They’re the piece that’s going to hang in your entry for years. For those, I order online from a lab that specializes in prints.
- Mpix: my pick for the best color and paper. Their prints look like real art, and they usually ship within a day or so. If you’re framing something special, this is where I’d send it.
- Shutterfly: a huge range of sizes and finishes, and they run sales constantly. Great when you’re ordering a bunch at once.
Plan ahead: online orders take a few days plus shipping, so order seasonal prints at least a week before you want them up.
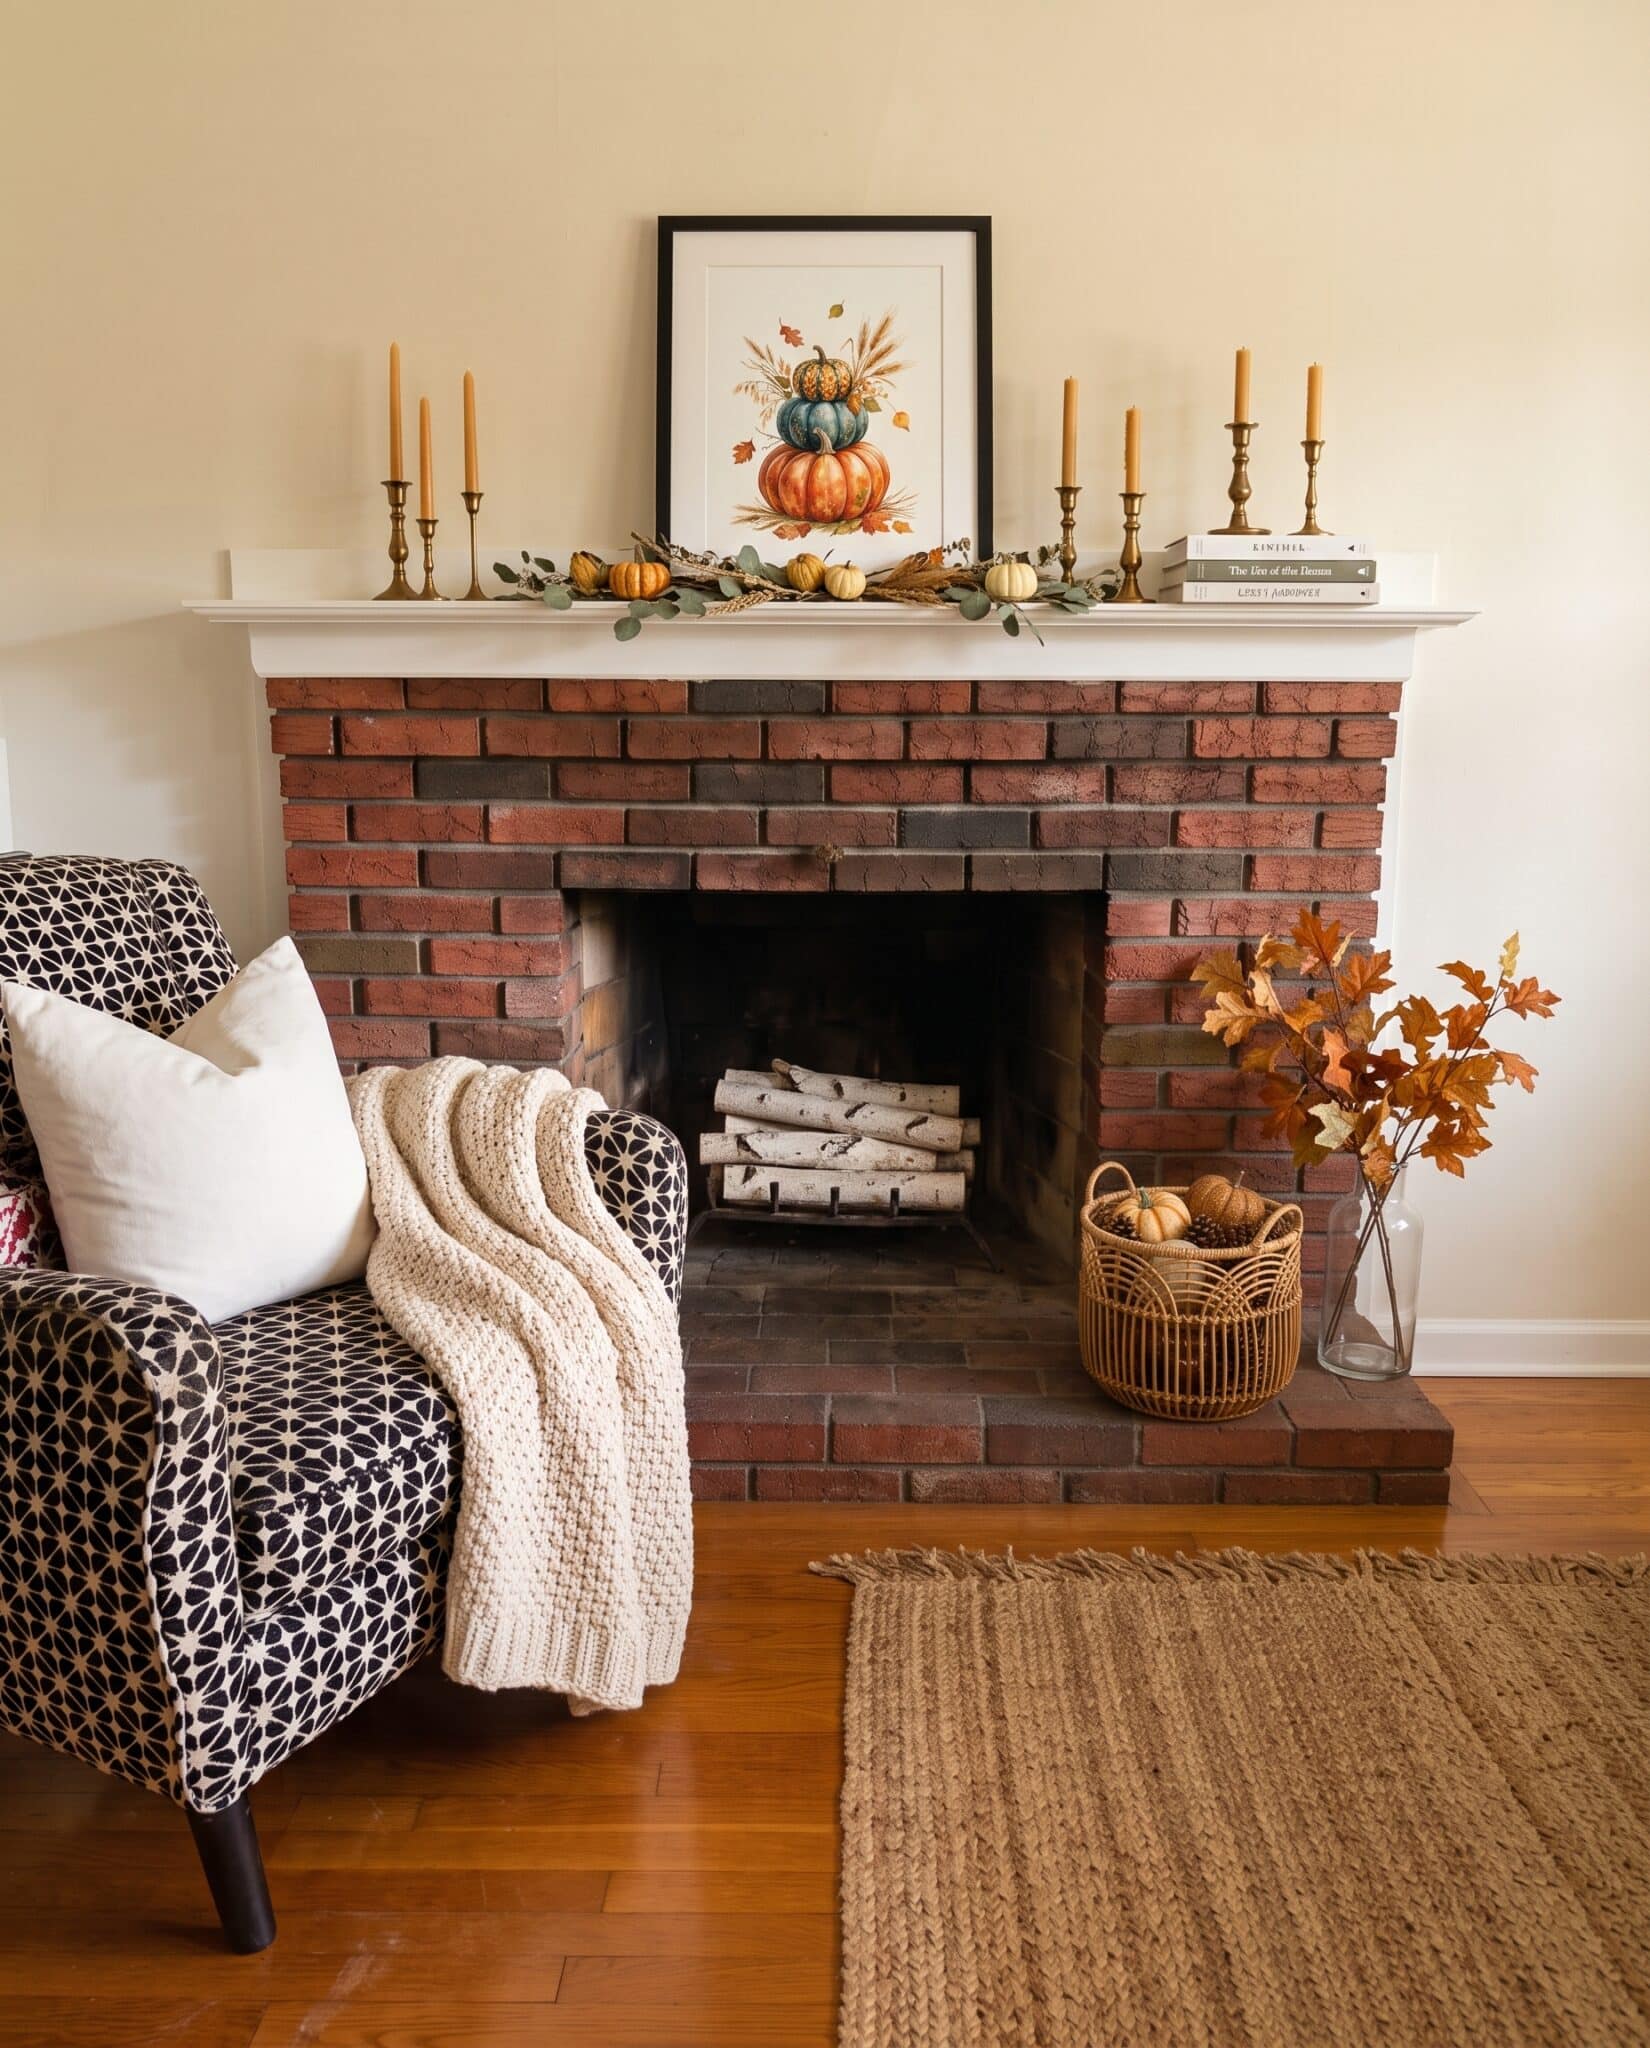
3. Print at home: my printing kit
For garlands, gift tags, place cards, cupcake toppers and labels, I print at home. You’re cutting these out anyway, and cardstock makes them sturdy enough to hang.
What I use:
- A printer that handles cardstock. Not every printer does! The Canon PIXMA TS6520 is a budget-friendly favorite for cardstock.
- White matte cardstock. I keep 65 lb cardstock for most things and 110 lb cardstock for anything that needs to stand up, like place cards and tent cards.
- Matte photo paper. Letter-size matte photo paper for framed prints up to 8×10.
- Printable sticker paper. Full-sheet matte sticker paper turns food labels and jar labels into stickers.
Get the best print from your printer:
- In the print settings, choose Best or High quality.
- Set the paper type to match what’s in the tray (cardstock, matte photo paper). This one setting changes everything.
- Print at actual size or 100%, not “fit to page,” so sizes come out right.
- Let ink dry for a few minutes before you cut.
Size it up first (the step that fixes fuzzy prints)
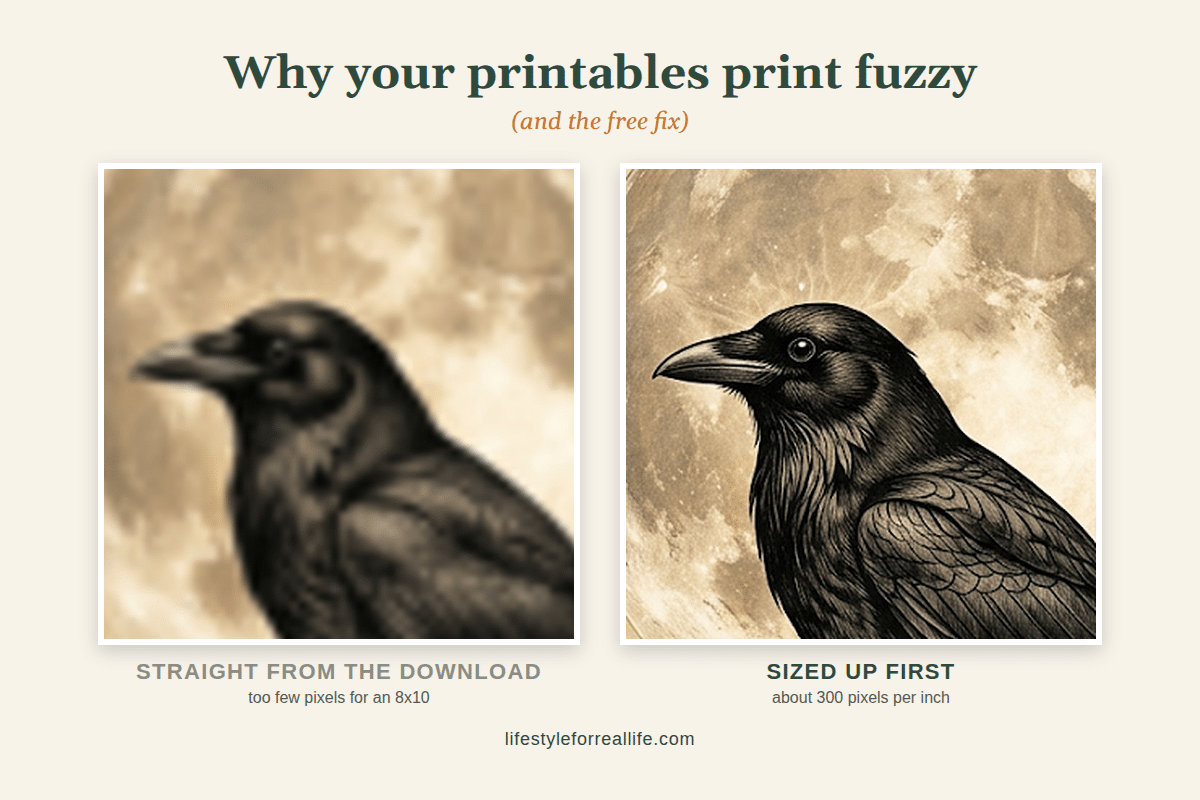
If your print ever came out blurry, this is why. A picture can look sharp on your phone and still be too small to print well, because a phone screen is tiny and a print is not.
For a crisp print, you want about 300 pixels for every inch of paper:
| Print size | Pixels you want |
|---|---|
| 5×7 | 1500 x 2100 |
| 8×10 | 2400 x 3000 |
| 11×14 | 3300 x 4200 |
| 16×20 | 4800 x 6000 |
Many images you download, including AI-made art, are only around 1000 pixels wide. That’s fine for small pieces like gift tags, but too small for an 8×10.
The fix is free: an upscaler. It enlarges your image and fills in the detail so it stays sharp.
- Upscayl is my favorite. It’s a free download for Mac and PC, with no watermark and no limits, and your images stay on your computer.
How to use it: open Upscayl, drop in your image, choose 4x, and click Upscale. Save the new file and print that one.
Check the shape, too. An 8×10 frame needs a 4:5 shaped image. If your image is a different shape, the photo counter will crop it, so check the preview before you order.
Frames and finishing touches
Here’s my favorite money-saving trick: buy frames once, change the paper every season.
- Frames: a few 8×10 frames in black or white will carry you all year. Thrift stores are full of them, too. Spray paint a mismatched bunch the same color and they look like a set.
- A picture ledge: a 24 to 36 inch picture ledge lets you lean and layer frames, so swapping for a new season takes two minutes.
- A paper trimmer: a 12-inch paper trimmer gives you straight edges on tags and cards, much faster than scissors.
- Circle punches: 1-inch and 2-inch circle punches make quick work of cupcake toppers and round garlands.
- Twine and mini clothespins: baker’s twine and mini clothespins for hanging garlands and clip lines.
Store your prints flat in a big envelope or folder labeled by season, and next year you’re already done.
Closing and next steps
That’s it!
Pick the option that fits your timeline: the photo counter when you want it today, an online lab for the pieces you’ll keep for years, and your home printer for anything you’ll cut out. Size it up first, and your prints will come out crisp every time.
Happy printing!