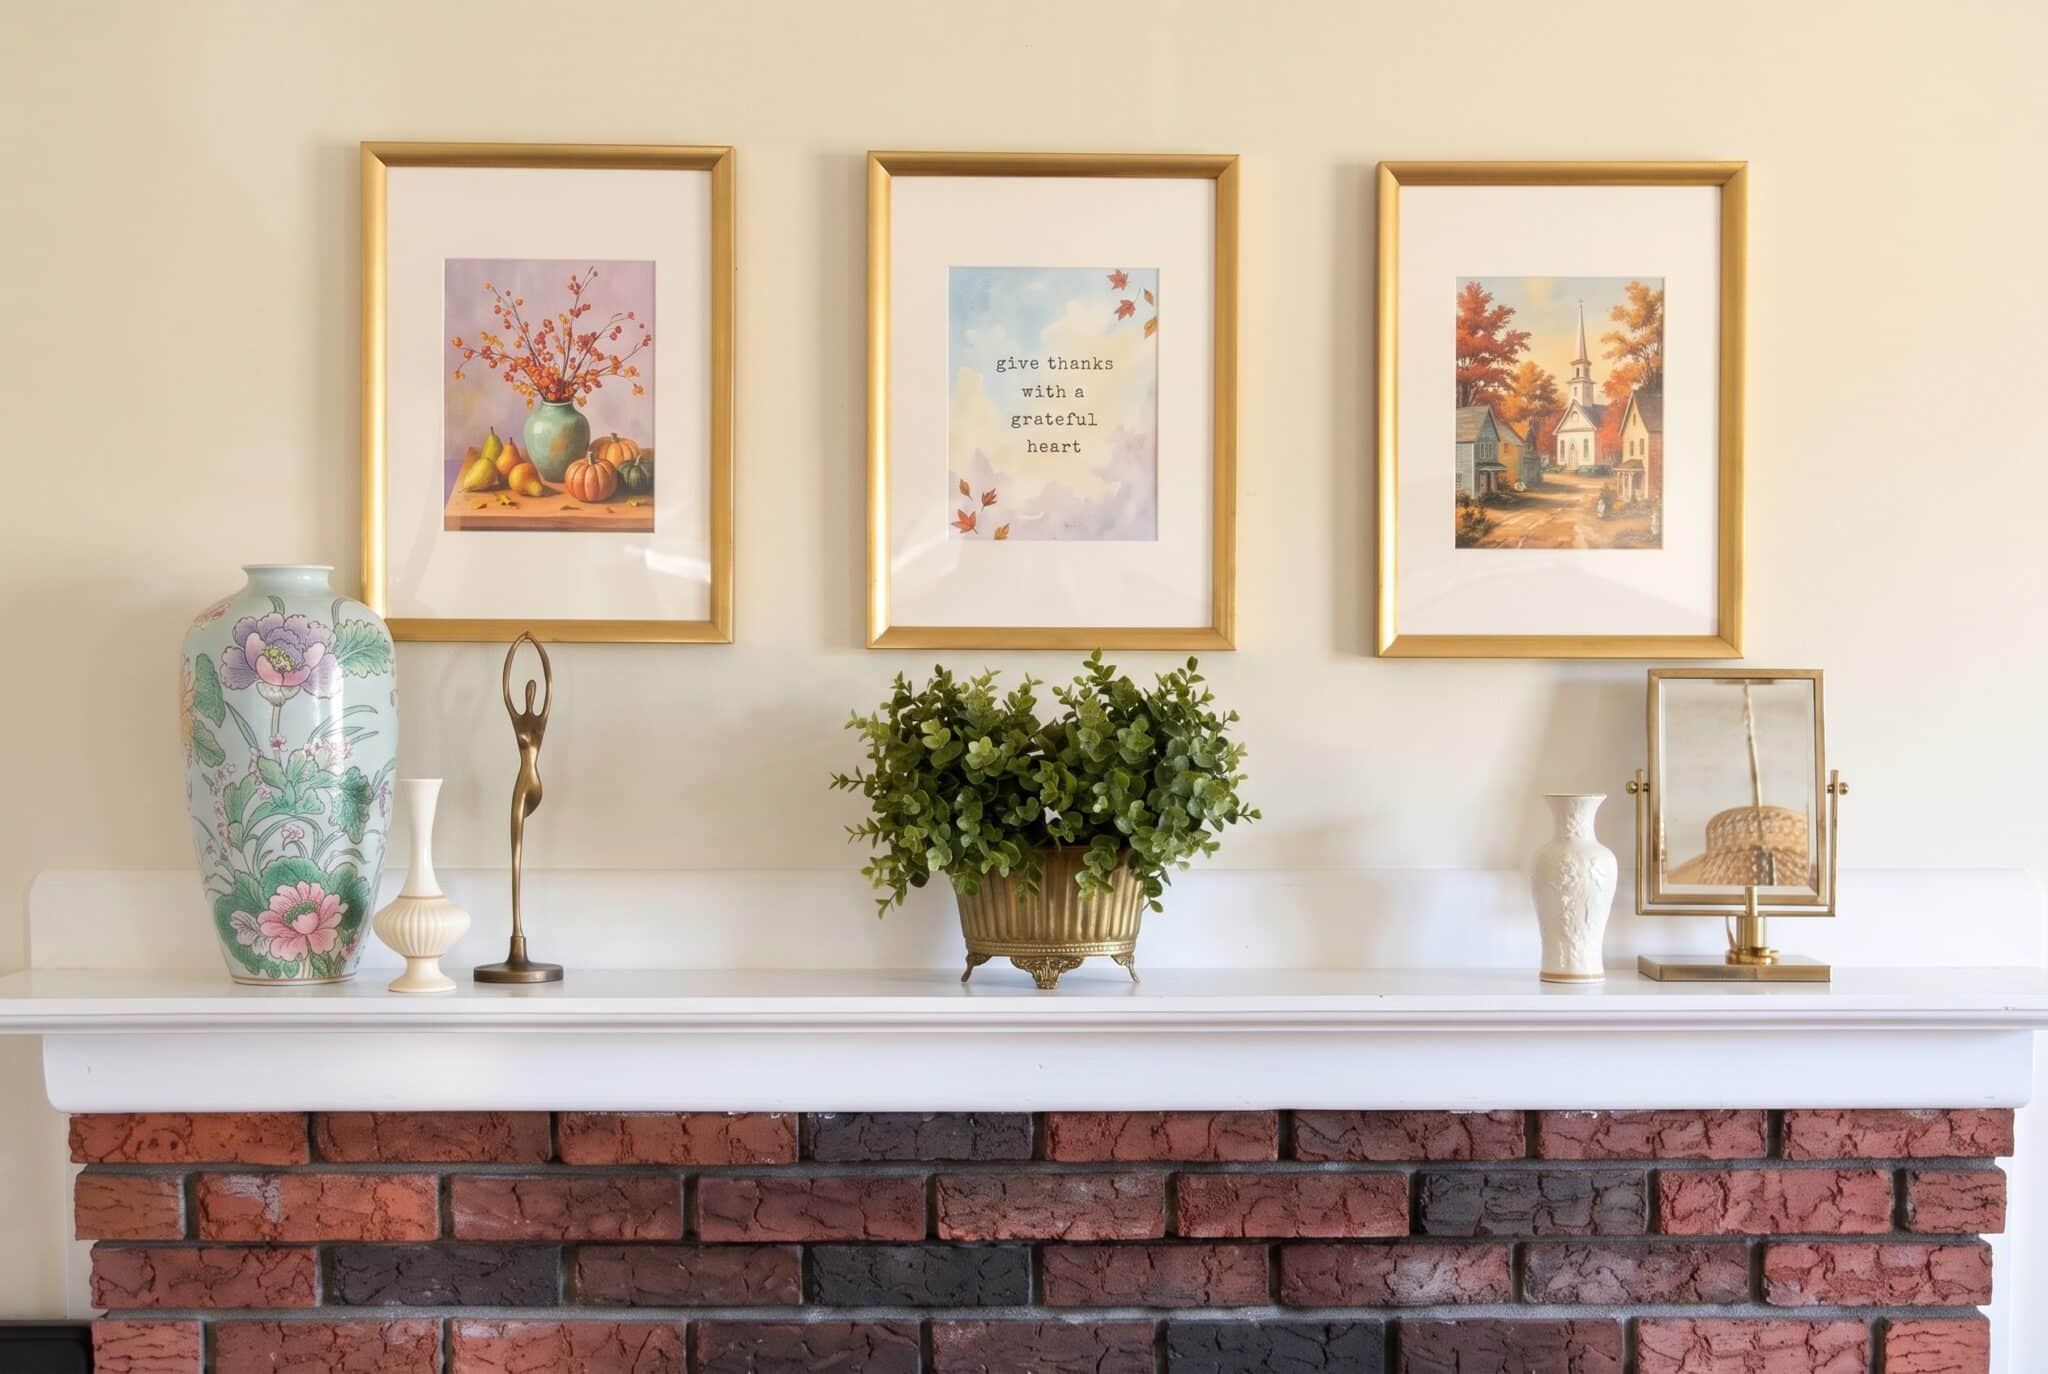
A printable can look like a cheap printout or like a real piece of art. The difference usually isn’t the file. It’s the paper, a couple of printer settings and the frame.
When I put together my free Seasons Collection, I included a printing tips page because I knew this is where most people get stuck. This post is the longer version: everything you need to get an 8×10 printable from your screen into a frame, whether you print at home or let a print shop do it.
Step 1: Pick your paper
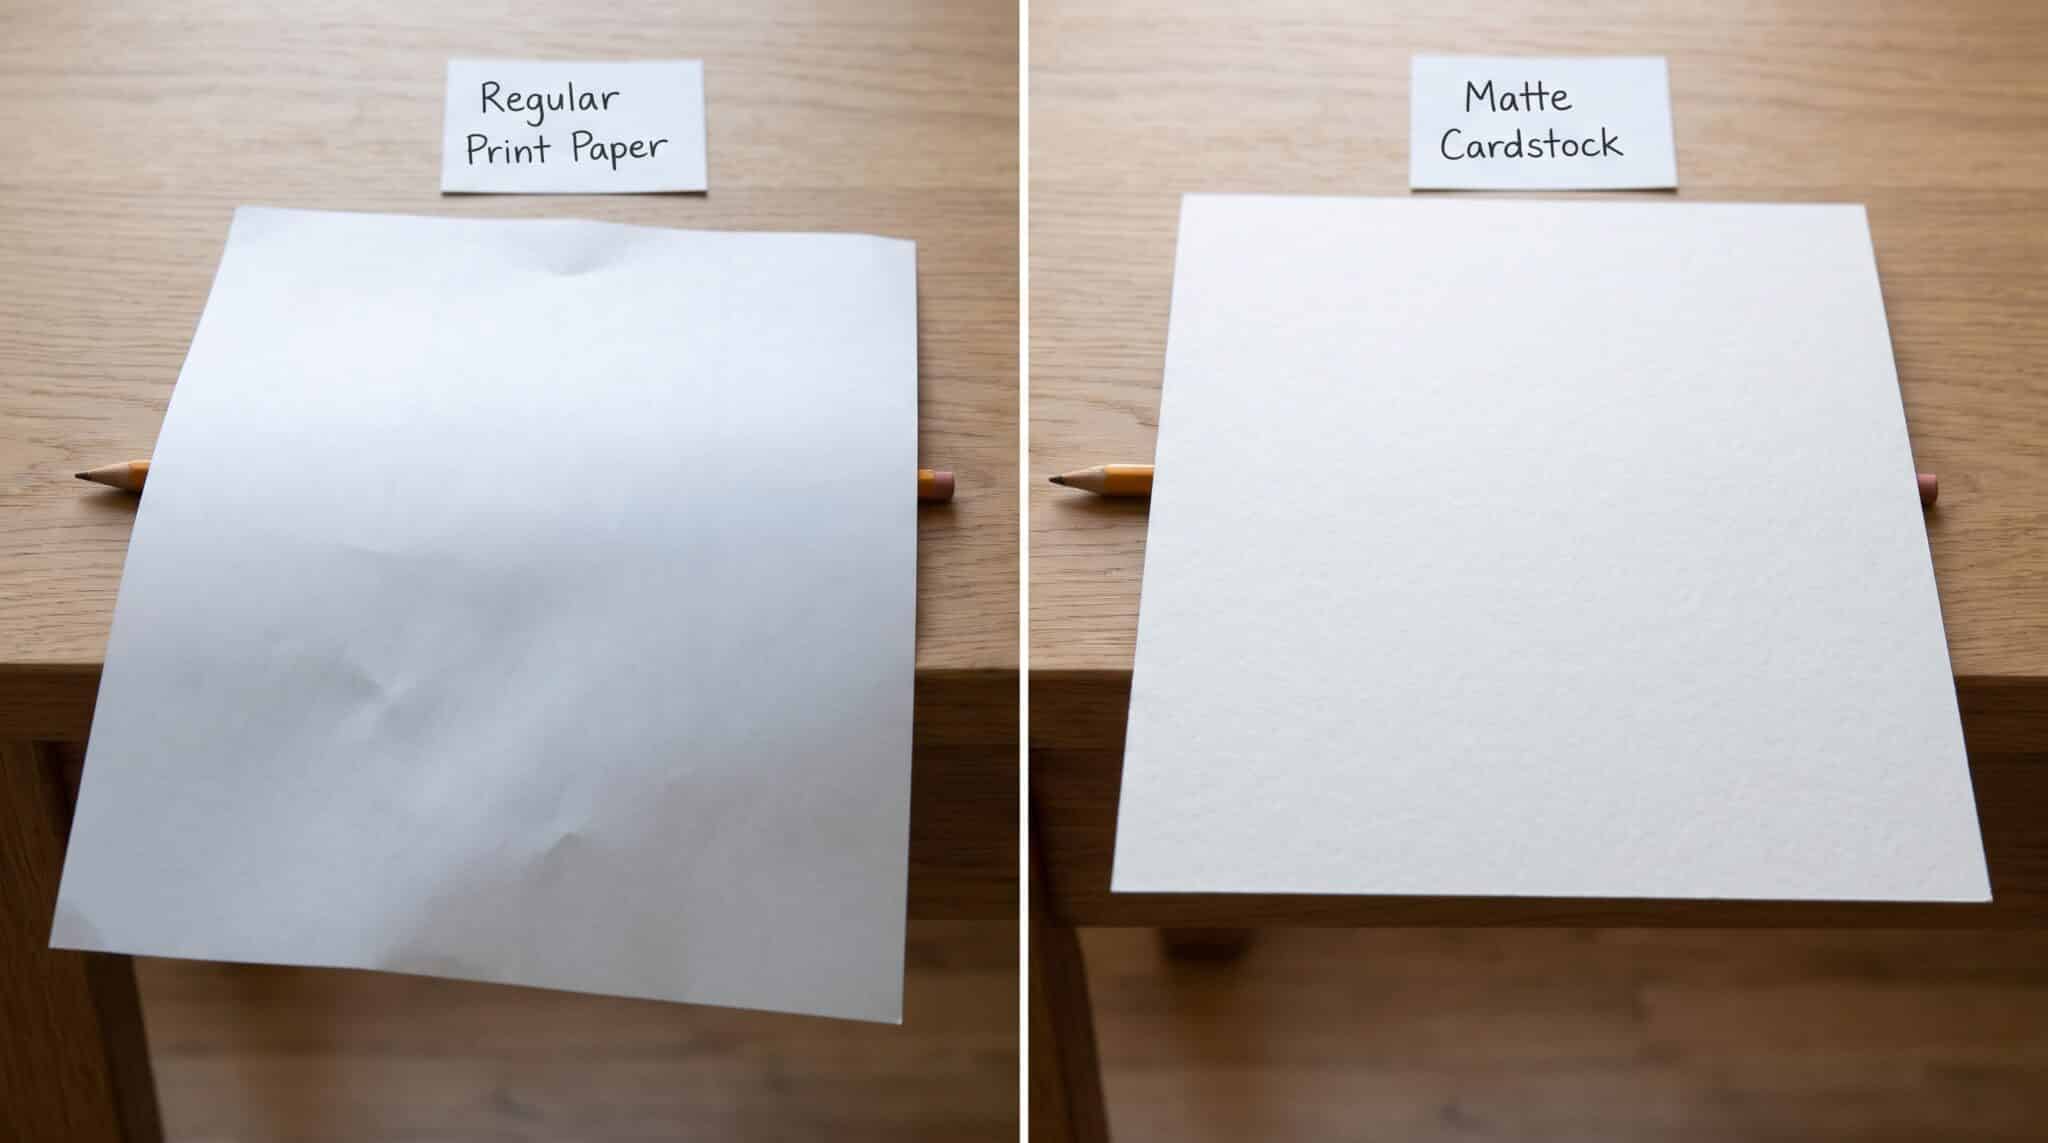
Paper makes the biggest difference, and it’s the cheapest upgrade.
| Paper | Best for | Notes |
|---|---|---|
| Matte cardstock, 65 to 110 lb | Painterly art, most printables | Soft, rich look with no glare. My top pick for the Seasons prints. |
| Matte photo paper | Sharp detail and deep color | A little more polished than cardstock. Still no glare. |
| Glossy photo paper | Photos | Can look busy and reflect light behind glass. I skip it for art. |
| Regular printer paper | Test prints only | Too thin and the colors look flat. |
Before you buy a big pack, check your printer’s manual for the heaviest paper it can handle. Some home printers jam on thick cardstock.
FREE FOR READERS
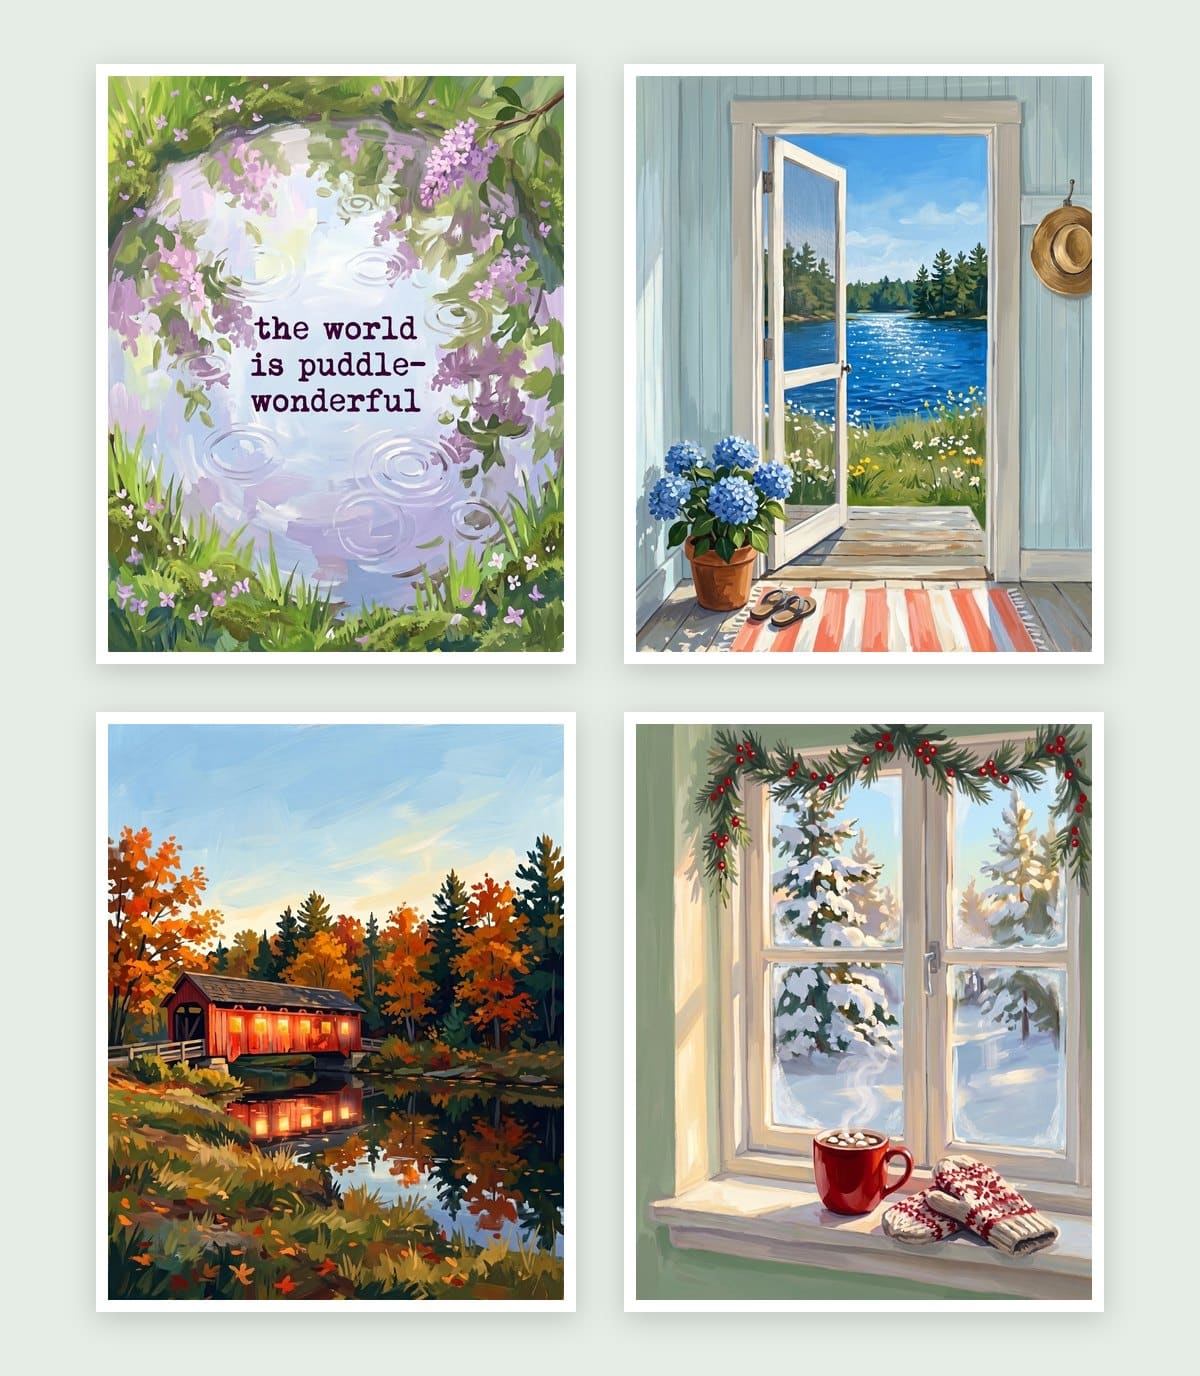
Seasonal Decorating, Made Simple
12 painted prints, three for every season. Just print, frame and swap.
Step 2: Use the right printer settings
Three settings matter most. You’ll find them in the print window, sometimes under “More settings” or “Show details.”
- Actual size or 100%. Not “Fit to page.” Fit to page shrinks your art so it won’t fill an 8×10 frame.
- Best or high quality. The default draft or normal setting saves ink but leaves the color thin.
- The right paper type. Choose “Plain”, “Matte” or “Cardstock” so your printer lays down the right amount of ink.
Printing one page from a PDF? Enter just that page number in the Pages box. My Seasons Collection has each print on its own page, so you can print only the one you want.

Step 3: Trim it to 8×10
Most home printers use 8.5 x 11 inch letter paper, so an 8×10 print comes out with a little extra paper around it.
- Measure and mark. The print should be centered, with about 1/4 inch extra on each side and 1/2 inch on the top and bottom.
- Cut with a paper trimmer if you have one. It gives a much straighter edge than scissors.
- Don’t worry about a thin white edge. Most home printers can’t print all the way to the edge. The lip of the frame covers about 1/4 inch on every side, so a hairline of white won’t show.
Or skip the printer: use a print shop
If you don’t have a good printer, or you want a bigger size, a print shop is easy and inexpensive. Drugstores, big-box stores and online photo printers all print 8x10s, usually for a few dollars each.
- Upload an image file. Most photo printers want a JPG or PNG, not a PDF. If your printable is a PDF, save the page you want as an image first. On a Mac, open it in Preview, go to that page, and choose File, then Export, then JPEG.
- Choose matte if they offer it. It looks more like a painting and won’t glare behind glass.
- Check the crop preview. Make sure nothing important gets cut off at the edges.
- Going bigger? A 4:5 image prints perfectly at 16×20. Upscale it first so it stays sharp. Here’s how I upscale for free.
Step 4: Frame and display it
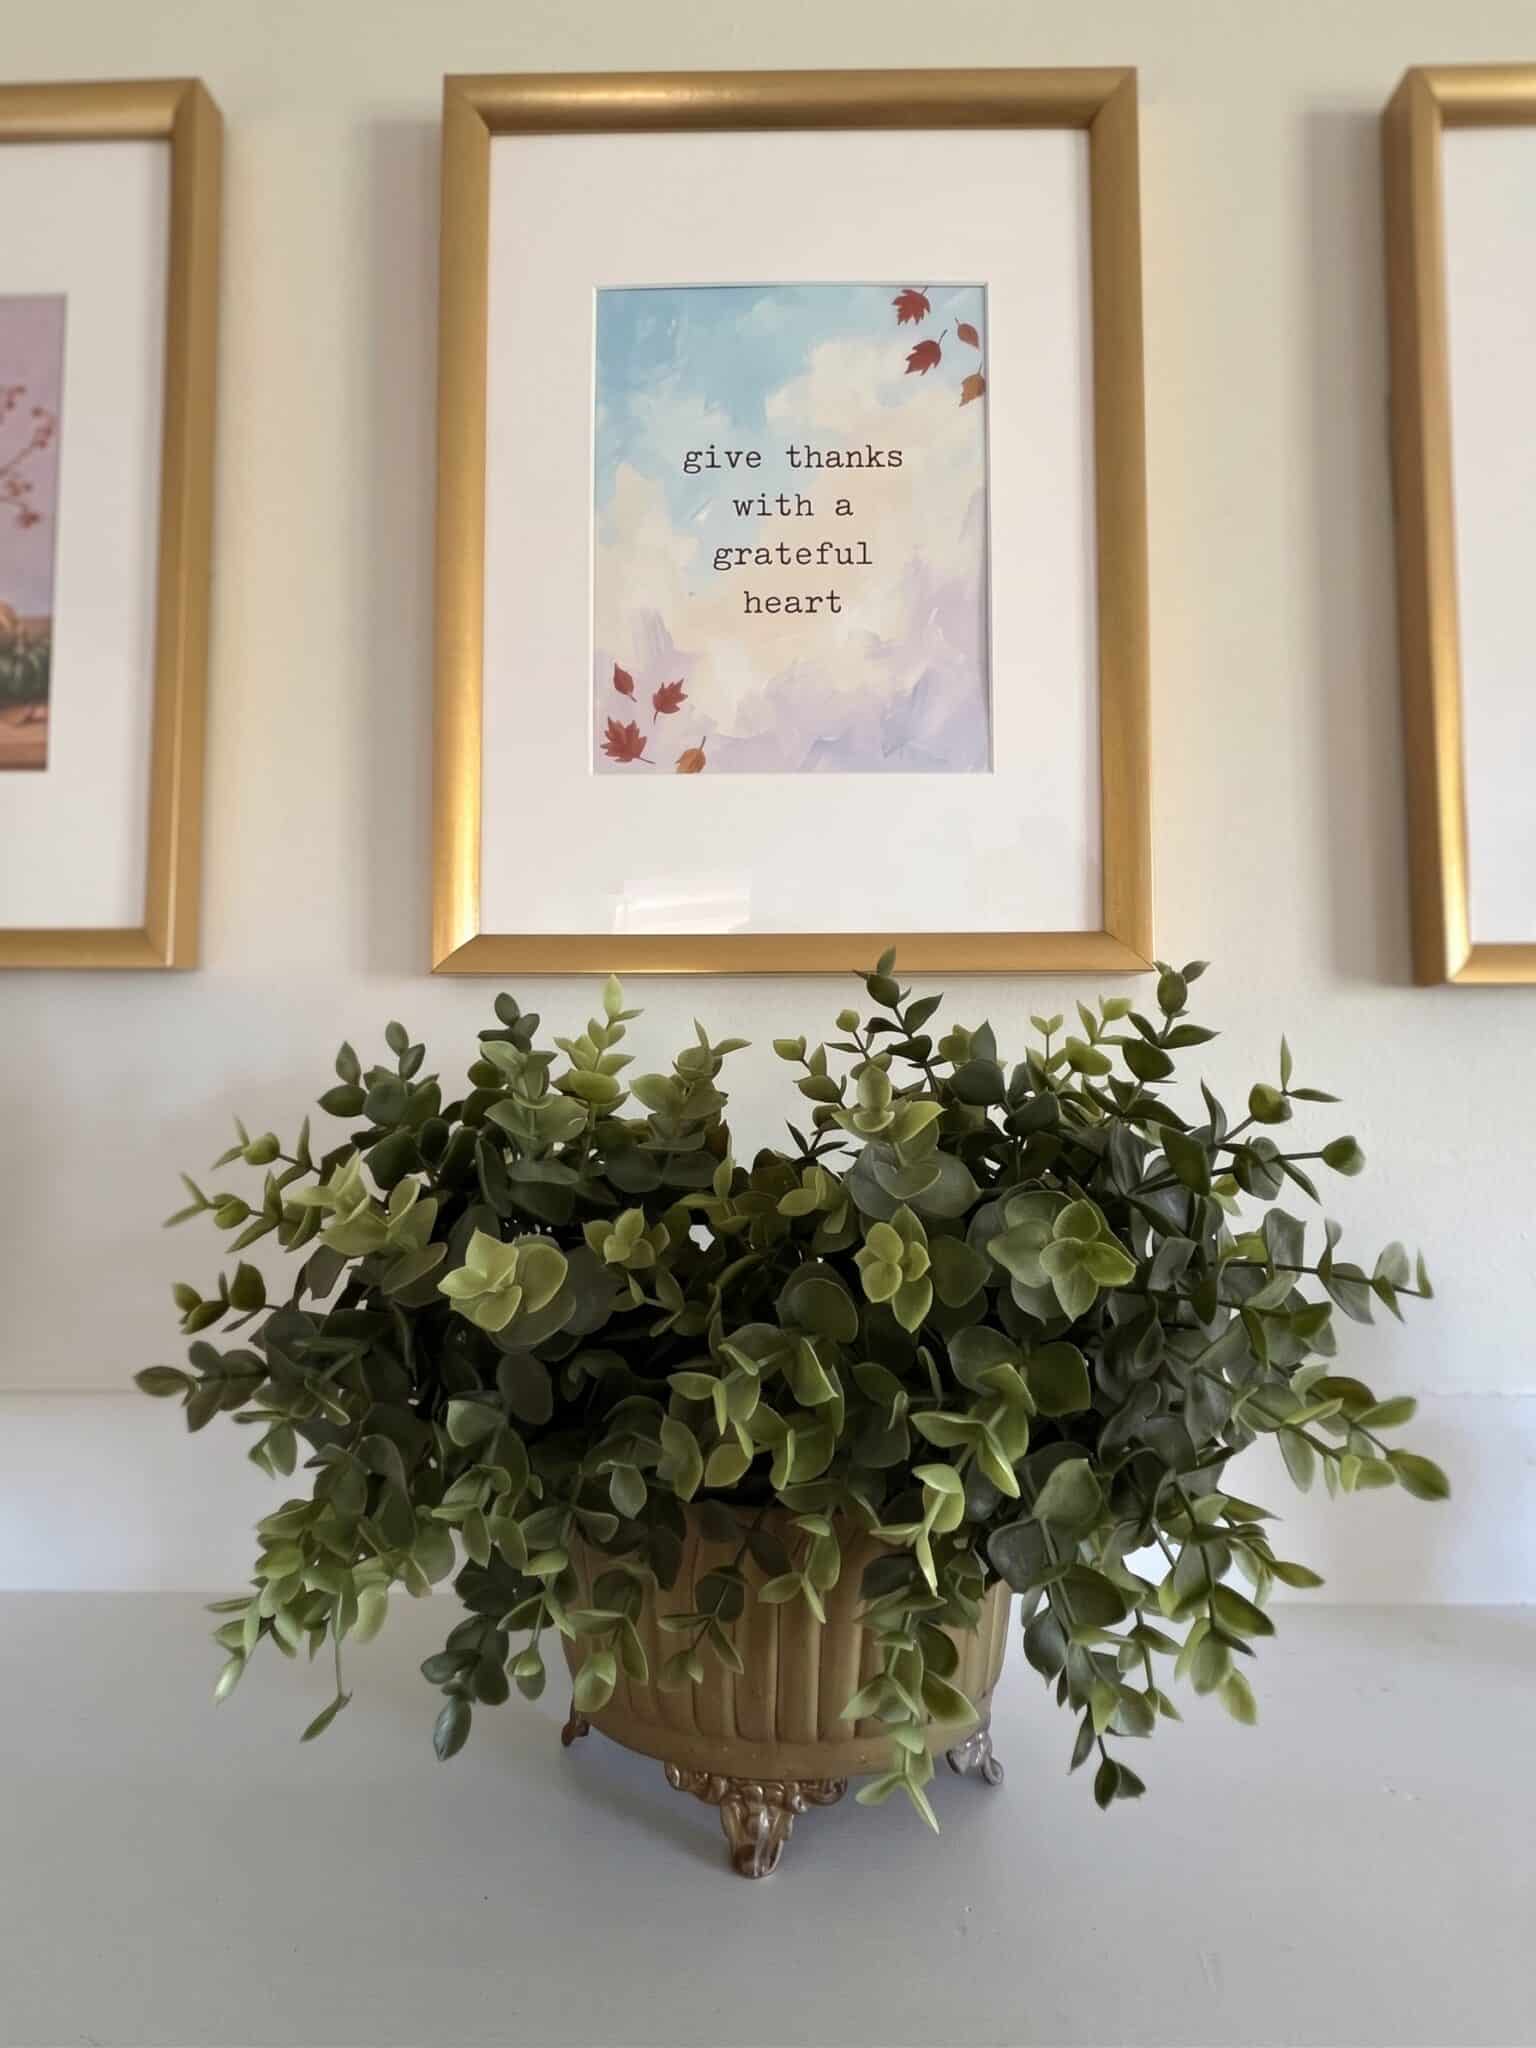
- Plain 8×10 frame. The simplest option. The art fills the whole frame.
- 11×14 frame with an 8×10 mat. This is the easy trick for a gallery look. The white border around the art makes even a free printable look expensive.
- Keep the frame simple. A thin black, white or natural wood frame lets the art be the star.
Ways to display them:
- One by the door that you swap out when the season changes.
- A group of three on a shelf. The Seasons Collection has three prints per season, so you can group a full season together.
- Lean instead of hang. Leaning frames on a shelf or mantel makes swapping seasons easy, with no new nail holes.
- Store the off-season prints behind the current one in the same frame. Next season, just flip them.
Common printing problems and fixes
| Problem | Fix |
|---|---|
| Print is smaller than 8×10 | Change “Fit to page” to “Actual size” or 100% |
| Colors look dull or streaky | Use the best quality setting and the matching paper type |
| Print looks darker than the screen | Normal. Screens glow and paper doesn’t. Brighten the file slightly or turn your screen brightness down to compare |
| Blurry or pixelated | The file is too small for the print size. Upscale it first |
| Paper jams | Your cardstock is too heavy for the printer. Try a lighter weight or a print shop |
| Ink smears | Let the print dry for a few minutes before trimming or framing |
Tip: print a test on regular paper first. It costs a few cents and saves your good cardstock.
Get something to print
Need art to try this with? My free Seasons Collection has 12 gouache prints, three for every season, sized at 8×10 and ready to print. Sign up below and I’ll send them to your inbox, along with my free Everyday Printables Playbook so you can make your own.