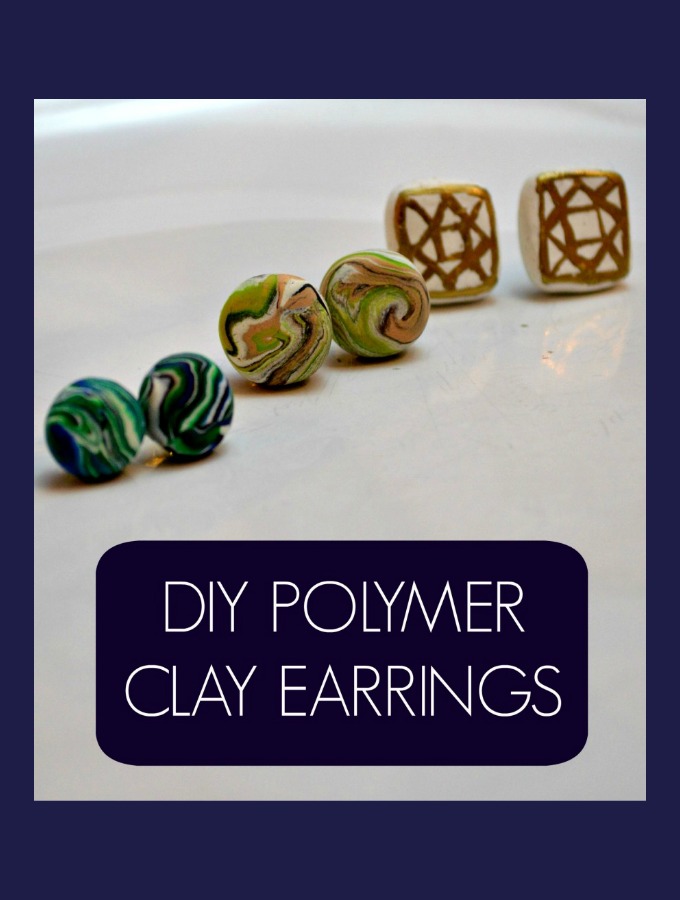
I’m going to tell you right from the get go, if you are into perfect, this is not the post for you. This post is about handmade with glorious imperfections. I made earrings out of polymer clay and I adore them! And you can make them,too!

So there are two different styles and I’m passing along tutorials for each. Here’s what you need:
Polymer Clay – various colors and you only need a small amount of clay
Earring Posts and backs (I bought mine at Michael’s in separate packages for around $5 total)
Gold Sharpie Paint Pen
Gorilla Glue (or other super glue)
1. To make the white and gold earrings, grab a small amount of white clay and roll it into a ball.
 (Sorry, you don’t need glasses. Somehow I could not get a clearer picture than this). The small amount of clay above is enough for both earrings.
2. Mold the clay into two small rectangles. Making one rectangle is easy. Making two that are exactly the same size is not. Remember, they will be on opposite sides of your head, so they don’t have to be completely perfect Just close enough. And you want your rectangle to be about 1/8 – 1/4 of an inch thick.

3. Bake the squares at 225 degrees for about 10 minutes until they are hardened.
4. Allow to cool and then decorate with your Sharpie paint pen. I practiced a few times on a paper plate and I could certainly have practiced more, but I wanted these to have a hand made look.

5. While your paint is drying, you can work on the pretty swirl button earrings. Choose 2 colors, plus a small amount of white and black clay.
6. Following the pictures below, roll out each color of clay into skinny, short snakes. Twist the snakes together. Roll the twisted snakes. Fold the rolled and twisted snake in half, twist again and roll again. Repeat two to three more times until you have the desired marbled effect. Roll into a ball and separate the ball in about half. Mold each half into a disc about 1/4-1/8 of an inch thick. 
7. Bake your discs at 225 for about 10 minutes.
8. Once all of your clay earrings have cooled and dried, you can attach your earring post. A couple of notes. Before you glue the marbled earrings, make sure you check out both sides and decide which one you like better. Use a small, let me repeat, SMALL amount of glue to attach the post to the earring. I am stressing small because I may have used a little too much on one pair of earrings and it wasn’t fun. Gorilla glue is strong. Trust me.
9. Be patient and let your earring posts dry COMPLETELY before you wear them. Just imagine a little bit of wet Gorilla glue sneaking it’s way onto your earlobe. Not a good scene. Let them dry, ok?


Looking for more ways to use your polymer clay? Here are some more tutorials:
DIY Marbled Pens – A Simple Polymer Clay Tutorial
How to Make Marbled Clay Trinket Dishes
Linking up to: The Makers